Mercedes-Benz C-Class AMG: How to Replace Serpentine Belt
The serpentine belt powers every accessory on the engine. When it wears, belt slip occurs and the belt will eventually break. A simple check of the belt's condition (cracks or discoloration) will be prevent you from encountering a broken belt.
This article applies to the Mercedes-Benz C-Class w204 (2007-2014).
The alternator, A/C compressor, and power steering pump are solely powered by the rotating motion of the serpentine belt. It rides along the pulleys that are bolted or pressed onto these components. Over time, wear occurs from temperature changes and dirt entering into the engine bay. This causes the belt to stretch, crack, and eventually break. When this happens, you lose power assisted steering, air conditioning, and your charging system will no longer be operational.

Materials Needed
- Ratchet 3/8" (preferably with a long handle)
- 17mm deep well socket
- 5mm Allen key or small punch
- Small 3/8" extension
- 8mm socket
Step 1 – Raise and remove the front wheels
If you are using a powered impact gun, be sure to loosen the wheel lug nuts before raising the front.
(Related Article: How to Jack Up Your Car - MBWorld.org)
Step 2 – Remove the lower splash shield
There are four 8mm fasteners holding the splash shield in place.
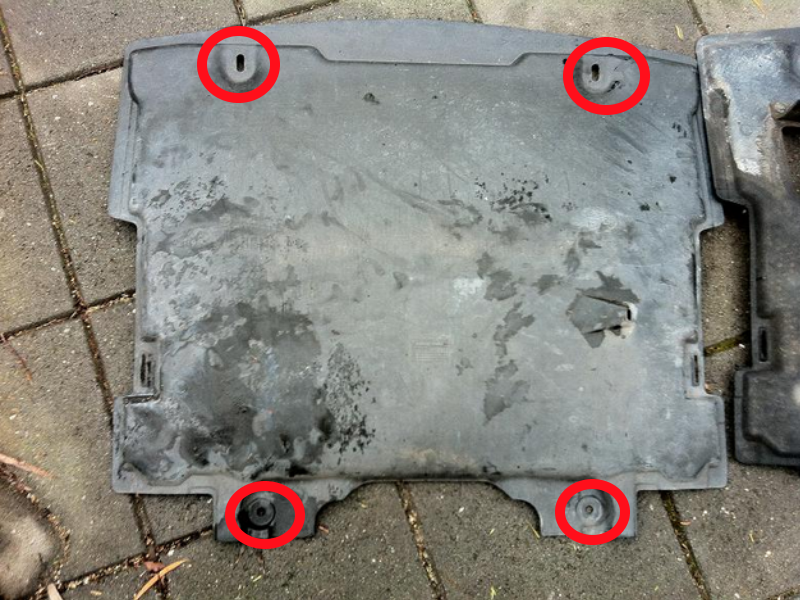
Figure 1. The red circles indicate the holes for the four 8mm fasteners. 
Figure 2. Location of the 8mm fasteners (red).
Pro Tip
With the splash shield removed, now is a good time to check for fluid leaks.
Step 3 – Remove the engine cover
The cover is easy to remove. Grab the cover in the three locations indicated by the green arrows in Figure 3, and pull upward. Then, remove the two flexible intake tubes running to the air boxes. The blue arrows represent the direction you will need to pull to remove them.

Step 4 – Remove the tension from the belt
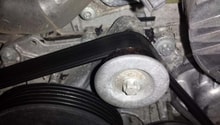
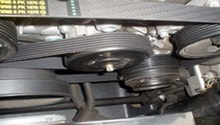
You will need either a 17mm wrench or a ratchet with a 17mm deep well socket. A regular socket with a small extension will work as well. Turn the nut counterclockwise to release tension from the belt. Then, insert a small punch or Allen key into the hole to keep the tensioner locked in position.
Number 3 in Figure 4 represents the nut (hexagon) you will need to turn counterclockwise. Number 4 represents the pin locking the tensioner. Notice how the pin contacts the edge of the tensioning device (number 6)

Step 5 – Replace belt and re-install
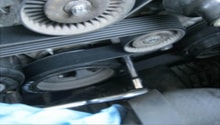
Removal is straightforward. Pull the belt away from the engine, being careful not to damage any pulleys or wiring. Take note of any areas with little clearance as you will want to route the new belt along those pulleys first.
- Once you begin routing the new belt, check that you are lining up the grooves in the belt with the grooves on the pulley.
- Grab your ratchet again, and turn the hexagon nut counterclockwise. Slide the belt onto the pulley indicated by the arrow in Figure 4. It is easier to get to the tensioner.
- Now, start the engine and listen for any squealing or chirping noises coming from the belt or pulleys. Ensure the belt is riding on the pulleys correctly.
- If everything appears to be normal, re-install the splash shield and engine cover.
Featured Video: Drive Belt Replacement
Related Discussions
- Engine Noise - Serpentine Belt - MBWorld.org
- Serpentine Belt DIY - MBWorld.org
- C63 AMG Serpentine Belt Diagram - MBWorld.org