Mercedes-Benz C-Class: How to Install Subwoofer
An aftermarket subwoofer will vastly improve the sound of your stereo's bass over your factory speakers. This guide will show you how to install one.
This article applies to the Mercedes-Benz C-Class w204 (2007-2014).
A subwoofer is a loud speaker dedicated to low frequency noises. It produces that deep bellowing noise you often hear from cars with the bass turned up high. If you're into bass heavy music, then an aftermarket subwoofer is a must have. Follow the plain instructions below, and you'll have your subwoofer set up in no time.

Materials Needed
- Subwoofer
- Line output connector
- Power wire
- Speaker wire
- Ground wire
- Crimp connectors
- Ring connectors
- Torx screwdriver
- Flat head screwdriver
- Wire cutter/stripper
- Cable ties
- Electrical tape
Disconnect the battery before you begin working on the wiring. Usually, subwoofers are installed along with an amplifier. If you plan on using a subwoofer without an amplifier, make sure that it's a powered subwoofer.
(Related Article: How to Install Amplifier - MBWorld.org)
Step 1 – Decide where you want to install the subwoofer
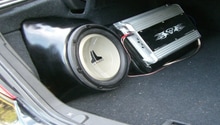
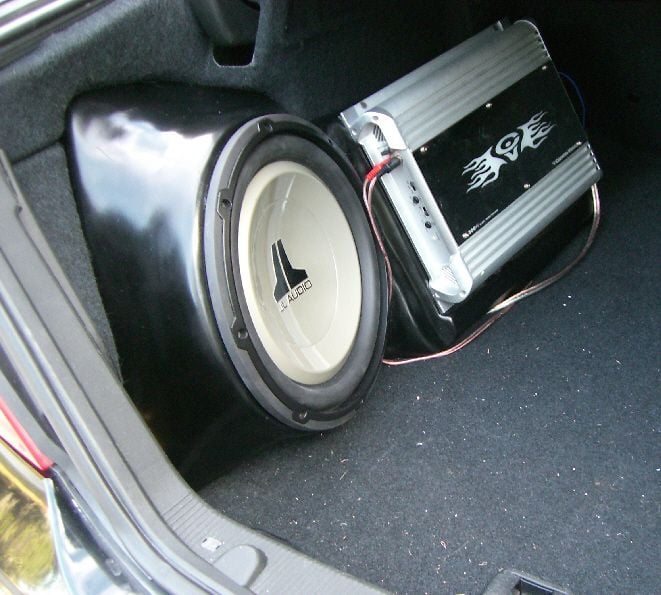
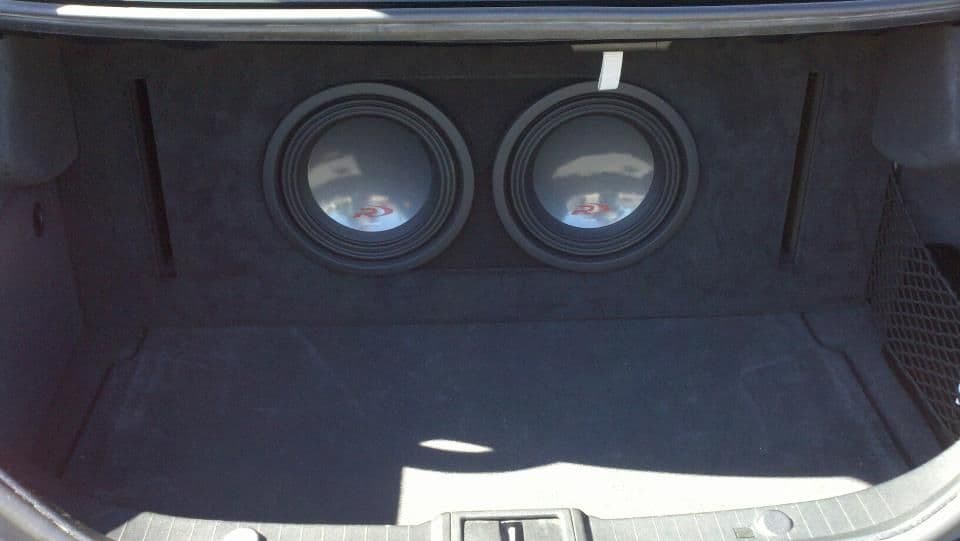
Most people install their subwoofers in an enclosure in the trunk. If you have the Harman-Kardon sound package, then you already have a subwoofer installed in the rear deck. You could potentially replace this subwoofer with a small aftermarket subwoofer, but it won't be as powerful or secure as an enclosure. Other options include fitting them under the seats, in the doors, or on the sides of the trunk. It all depends on the size and shape of the subwoofer.
Step 2 – Prepare the space for the subwoofer
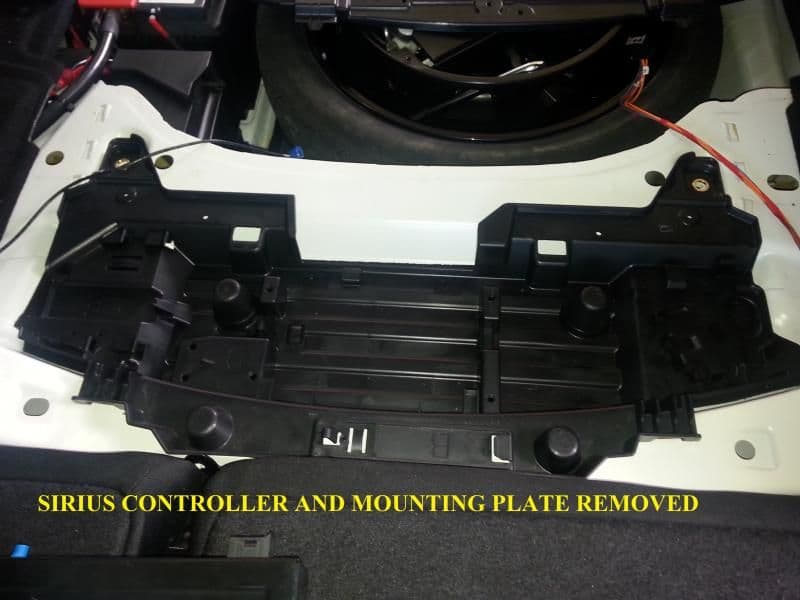
If you're trying to fit an enclosure in your trunk, you will lose most of your cargo space. If you want to save some of that cargo space, it'll take a little creative thinking. If you have satellite radio, the controller is installed in a tray at the bottom of the trunk. You can remove this tray, and relocate the controller to give yourself a couple more precious inches to work with inside the trunk.
Step 3 – Route your wiring
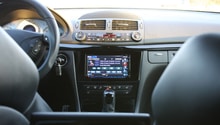
If you've already installed an amplifier, then most of your wiring is already finished and you just need to plug in the subwoofer as well as the ground wire. For a powered subwoofer, you're going to need to crimp your subwoofer's power wire to a nearby 12 volt power source, either at the rear fuse box or SAM module. To connect your subwoofer to the stereo, you can tap into the wires of the factory subwoofer. Otherwise, you're going to have to remove the stereo, and install a harness that you'll have to route to the subwoofer.

Pro Tip
Make sure that your power and ground wires are the appropriate gauge for the subwoofer.
Step 4 – Mount your subwoofer
Set your subwoofer in your car, and secure it by either strapping it down or installing a mounting bracket. Do the same for your line output connector. Plug in the speaker wires to the line output connector, and then plug the RCA cables into the subwoofer. Connect the ground wire to the subwoofer and secure it to the nearest grounding point. Then, plug in the power wire. Turn on your car to test the audio.
Related Discussions
- DIY: C63 External Sub/Amp Installation - MBWorld.org
- DIY: C300 Amplified Subwoofer Install - MBWorld.org
- Sub Install on a W204 - MBWorld.org