Mercedes-Benz C-Class: How to Remove Front Bumper
If you need to remove the front bumper of your C-Class for replacement or repair, follow these simple steps.
This article applies to Mercedes-Benz C-Class 2007-2014.
Unlike many components of your Mercedes-Benz C-Class, removing the bumper cover is actually a relatively painless ordeal. There are a lot of steps, but this task is easy enough to follow along and knock out quickly. Read up and prosper.

Materials Needed
- Ratcheting wrench
- 10 mm and 8 mm sockets
- Key or similar flat object
Step 1 – Remove or turn the wheels
Either remove both wheels or turn the wheels sharply to gain access to the front area of the car, especially behind the bumper.
Pro Tip
Your C-Class is pretty low, so it may be easier to jack the front end and set it on stands to access the underside more easily.
(Related Article: How to Jack Up Your C-Class - MBWorld.org)
Step 2 – Remove front fender liners
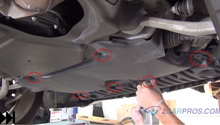
To access the area behind the bumper, remove the clips that hold the fender liners in place. Bend back the liner and look up. You will notice a bolt that you must remove from the top. But first, you need to remove more parts.
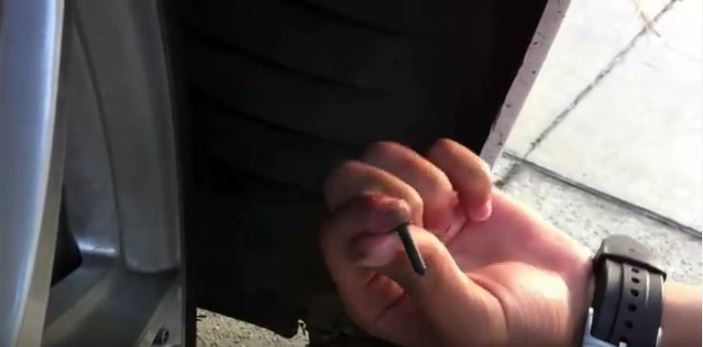
Figure 2. Remove center of pin. 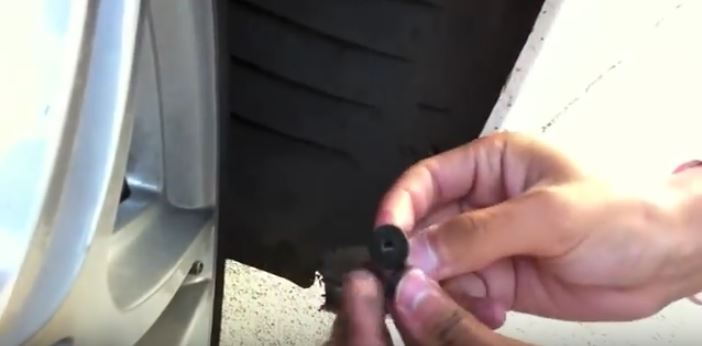
Figure 3. The bottom of the pin comes out easily.
Pro Tip
Remove the center pins from the clips, and the bottom parts come out easily.
Step 3 – Remove guard and grille
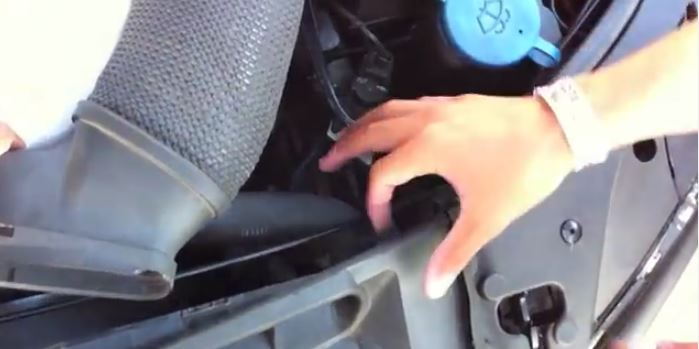
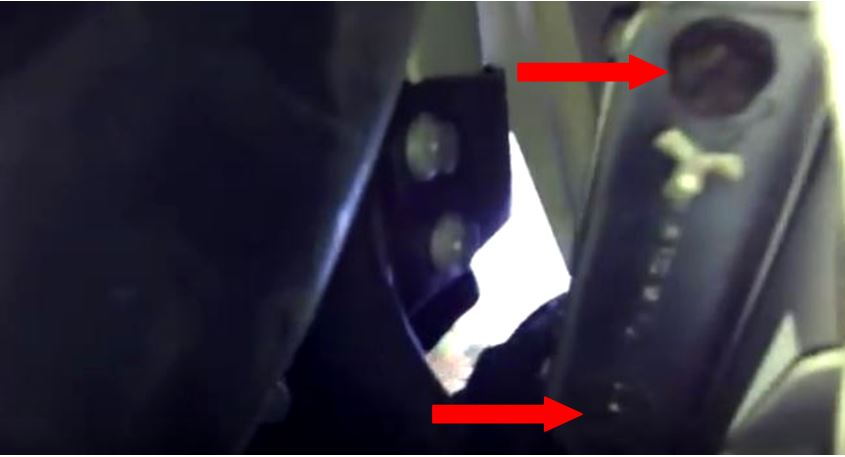
Turn the tab 90 degrees to the left to loosen the front engine/radiator guard.
Insert a key or similar object into the slot on the air intake manifold to release it.
After loosening the manifold, tilt it toward you and then back to release it from the guard. Do the same for the manifold on the other side.
To pull off the end of the guard, squeeze the end together to release it and pull it down. Do the same with the other end of the guard.
Pull the upper splash shield down at the "hole."
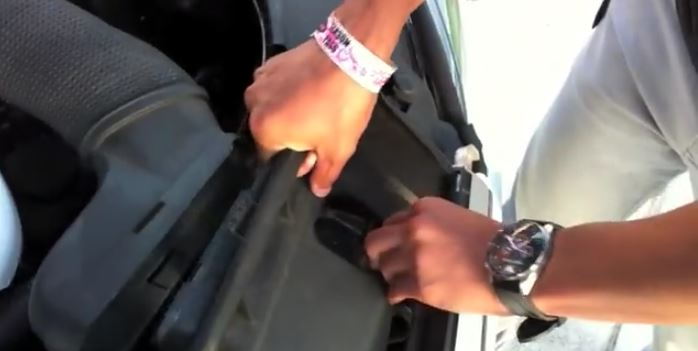
Pull the shield up and away from the vehicle.
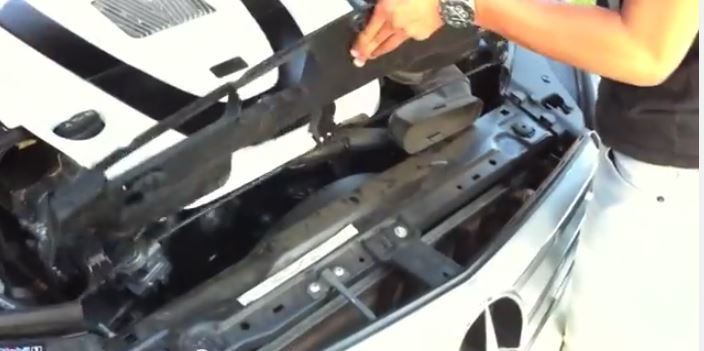
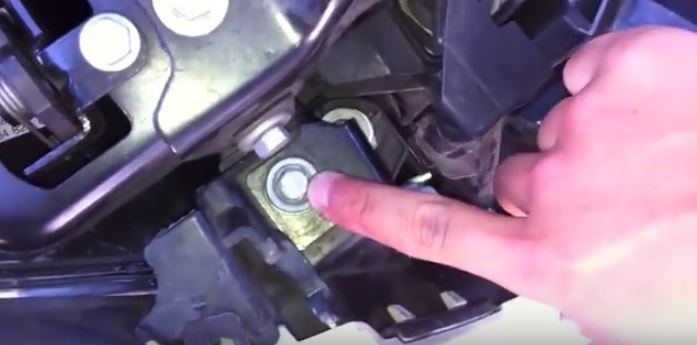
Use a ratchet and socket to remove center bolt that holds the grille on.
After removing the bolt, tilt this bracket toward you and remove it.
Loosen the grille and then lift it up and off the car.

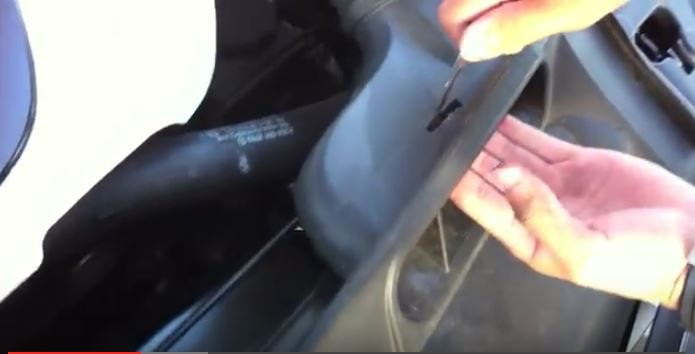
Step 4 – Remove lower bolts
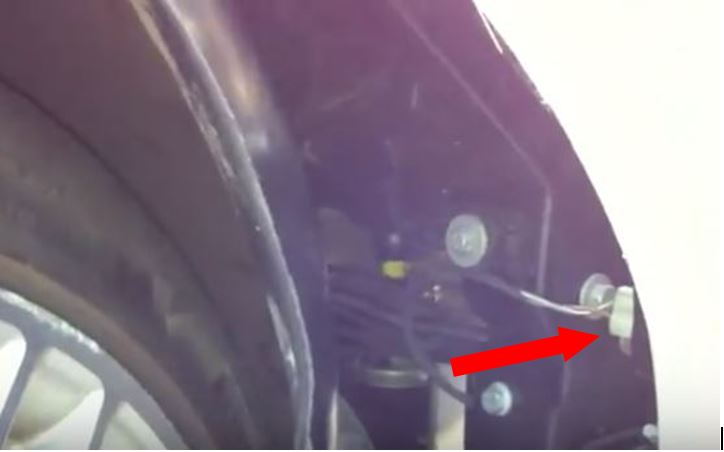
Bend back the inner liner and look up to reveal the two lower bolts you must remove. Use your ratchet and 10 mm socket to remove them.
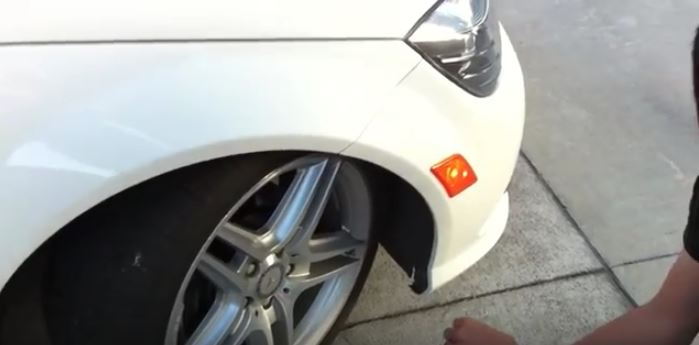
Twist the marker light to detach it from the bumper.
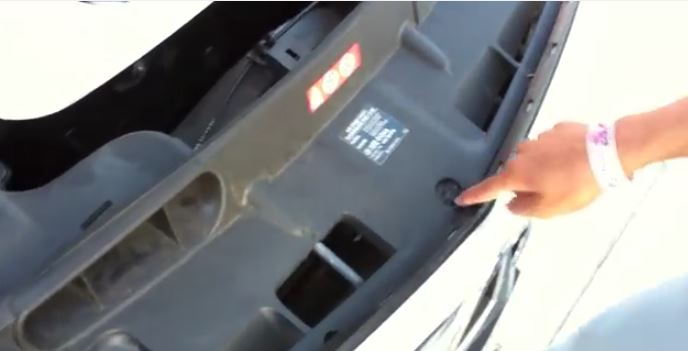
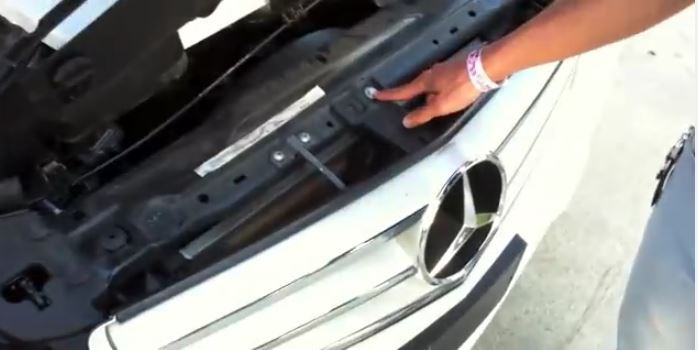
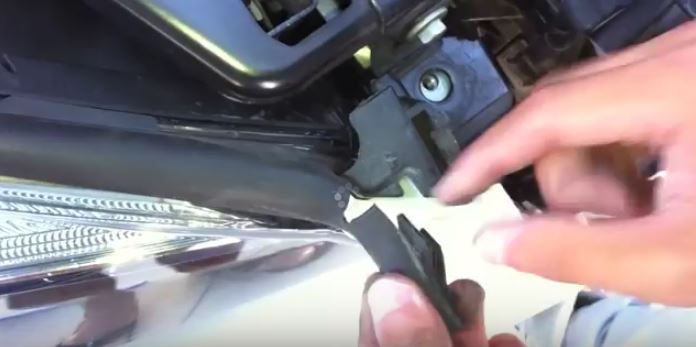
Step 5 – Remove upper bolts
Locate the upper bolt you must remove. It's near the headlight.
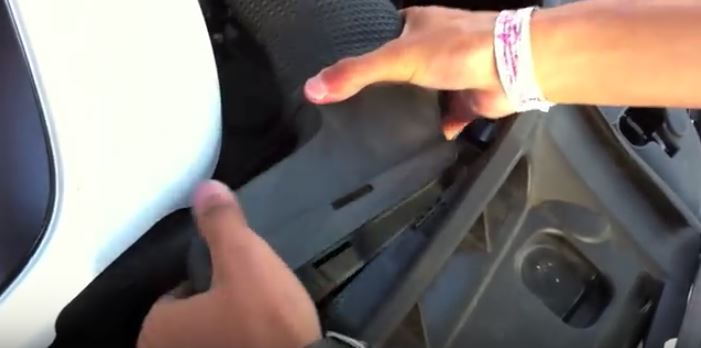
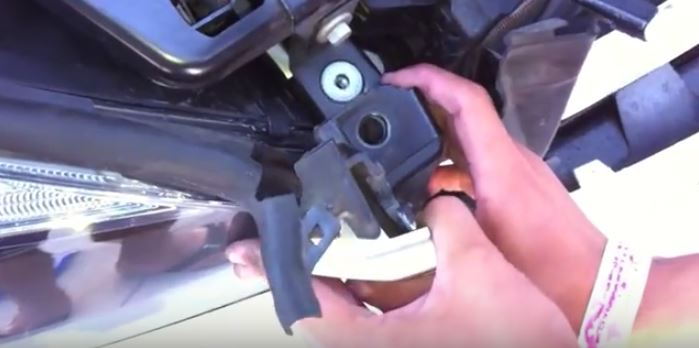
Step 6 – Pull bumper down and away
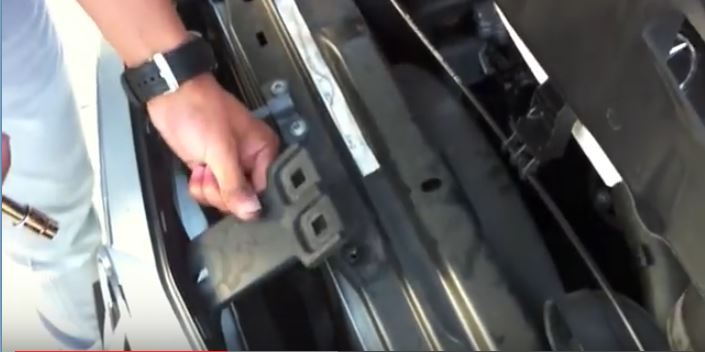
Before removing the bumper, be aware of two pins on either side of the bumper. You need to pull the bumper down then away from the car to avoid damaging these pins.
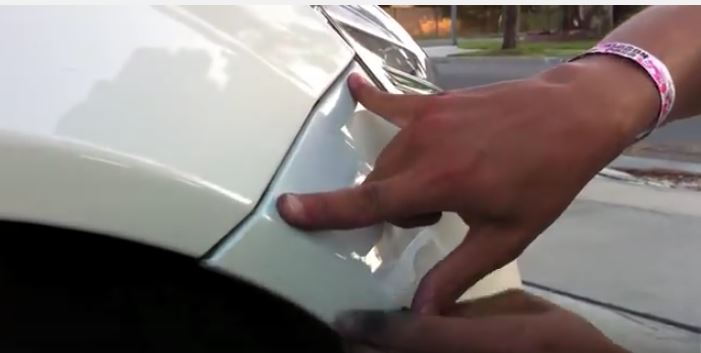
Pull small rubber guard away so you can grab the upper part of the bumper.
Grip this part of the bumper on top.
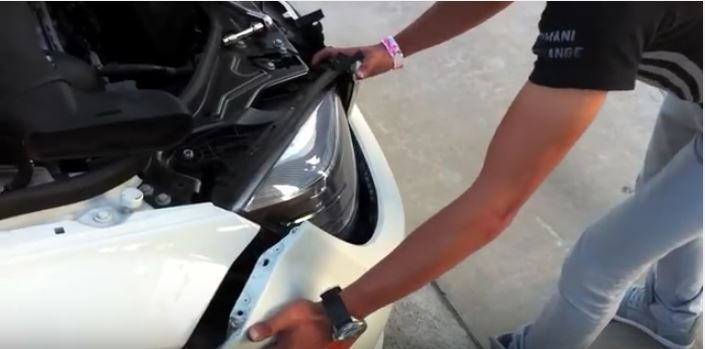
Still gripping the upper part of the bumper, grab bumper on the bottom and pull it down and away from the car – all in one motion.
Featured Video: How to Remove Bumper
Related Discussions
- DIY to Remove Front Bumper - MBWorld.org
- How to Remove Front Bumper - MBWorld.org