Mercedes-Benz C-Class: How to Remove Head Unit
As new a stock Mercedes-Benz w205 head unit is, there's always room for improvement or the need of a replacement. Luckily, Mercedes-Benz has designed the interior of this C-Class generation to be mechanic friendly.
This article applies to the Mercedes-Benz C-Class w205 (2014-Present).
A head unit's main purpose is to keep you entertained, and when one fails at this, it might be time for an upgrade or replacement. After you've made a choice of what you want or need in a new head unit, you must then decide whether or not to burn a whole in your pocket by getting it professionally installed. Fortunately, installing or replacing it yourself is pretty easy. The following instructions demonstrate how to properly remove the head unit in your Mercedes-Benz C-Class w205.

Materials Needed
- Trim removal tool
- Torx screwdriver
Step 1 – Remove the dash speaker cover
The center speaker cover on the dash must be removed to access the mounting screws of the navigation system.
- Use a trim removal tool to pry off the speaker cover.
- With a Torx screwdriver, remove the mounting screws of the navigation system bracket.
- Gently pull out the navigation system, and unplug the wire harness connectors.

Figure 1. Remove the speaker cover. 
Figure 2. Remove the navigation system mounting screws. 
Figure 3. Remove the navigation unit.
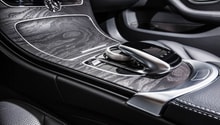
Step 2 – Remove the center console trim
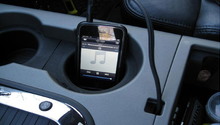
- Open the center console glove box compartment.
- Push down on the square release tab directly behind the touchpad.
- Lift up each end of the curved trim cover to remove it.
- Remove the two Torx screws securing the center console trim.
- Lift up the center console trim, and unplug all attached wire harness connectors.
- Once all harnesses have been connected, set the trim aside.

Figure 4. Push down on the release tab. 
Figure 5. Lift up the trim piece from each end. 
Figure 6. Loosen and remove the Torx screws. 
Figure 7. Remove the center console trim.
Step 3 – Remove the head unit
- Loosen the Torx screws on the upper corners of the head unit bracket to access the release tabs.
- Pull the release tabs on each side of the head unit, and pull it out.
- Unplug all wire connections before completely removing the head unit.

Figure 8. Loosen the torx screws. 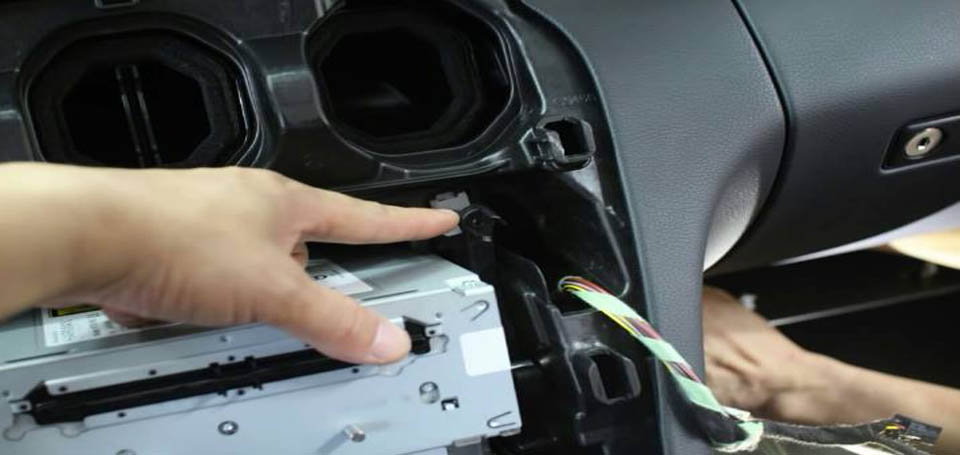
Figure 9. Pull the release tabs to remove the head unit. 
Figure 10. Remove the head unit and wire connectors.
Featured Video: How to Remove Head Unit
Related Discussion
- Removing the Central Console? - MBWorld.org