Mercedes-Benz C-Class: How to Replace Spark Plugs
Poor throttle response, reduced gas mileage, and even misfires are all signs that the spark plugs should be replaced. Fortunately, the engineers over at Mercedes made replacement easy.
This article applies to the Mercedes-Benz C-Class w204 (2007-2014).
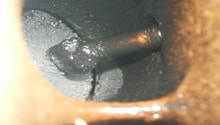
Your spark plug is put through a lot of abuse as the miles go by. It sits right in the middle of the explosion that occurs when the spark ignites the fuel in your engine (where temperatures reach over 1,500 degrees!) Over time, the gap between the electrode and its ground gets larger until eventually it is too large to create a spark. Spark plugs are relatively painless to replace, and it is an item that will keep you car running tiptop.

Materials Needed
- 3/8" ratchet
- 3/8" extensions, 3" and 6"
- 3/8" wobble joint (optional)
- Spark plug socket 5/8"
- T30 Torx bit (preferably socket style)
- Torque wrench (but this job can be completed without one)
- Anti-sieze (optional)
- Duct tape (optional)
Step 1 – Remove the engine cover
This is easy. The engine cover comes off in two pieces.
- Slide the front section away from the rear, and lift it off the rubber mounts below it (larger section).
- Remove the two air intake hoses attached to the rear cover by pulling them off.
- Remove the rear by pulling up at all four corners of the cover. You will feel the cover pop off the rubber mounts below it.

Figure 1. The four grommets holding the front cover in place. 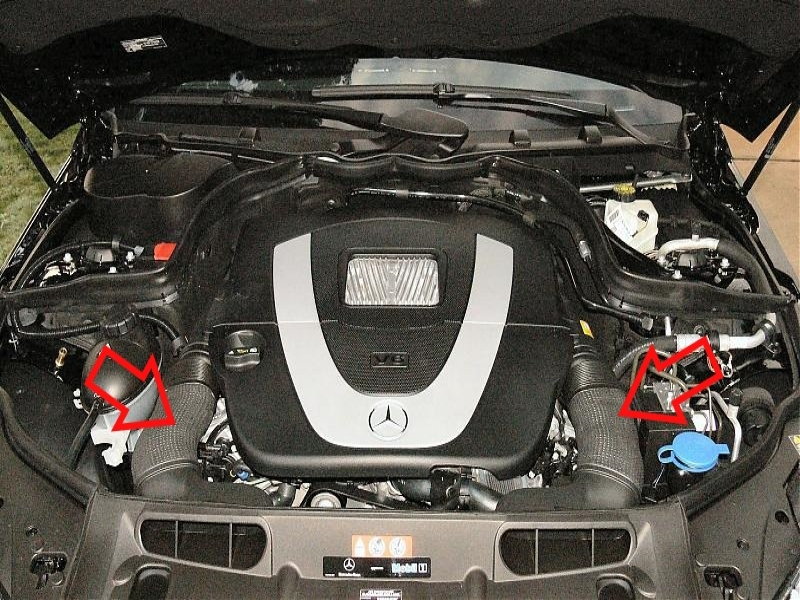
Figure 2. Remove the intake hoses by pulling them away from the engine cover. 
Figure 3. The four grommets holding the rear engine cover in place.
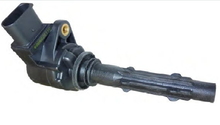
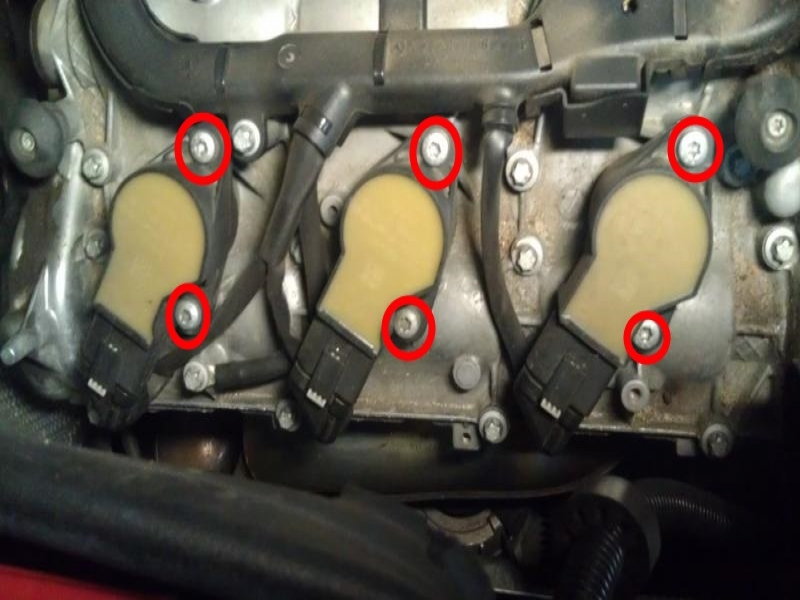
Step 2 – Remove the coil packs
Remove the two T30 Torx bolts holding each coil pack onto the engine. Then, pull up on the coil pack until it pops off. Be careful not to pull too hard or the connector/wiring can be damaged. There is a rubber seal on the coil packs, so you might feel or hear a soft "suction-like" popping sound as they are released.
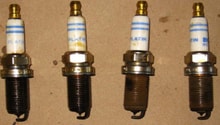
Step 3 – Remove the spark plugs
Using your ratchet connected to the three or six inch extension, remove the spark plugs one by one. Seat the rubber of the spark plug socket on the plug securely. Turn counterclockwise. They may be hard to break free.
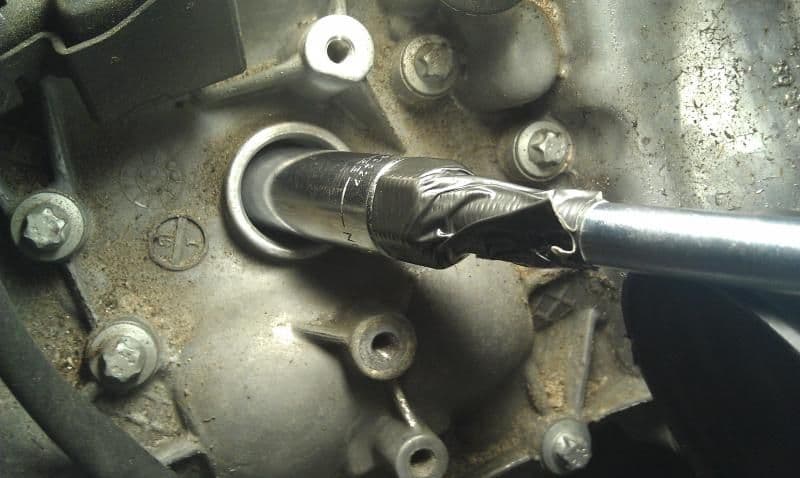
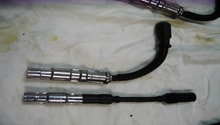
Pro Tip
Note, in the image above, the socket is duct taped to the the ratchet's extension. This is to make sure that it doesn't come free when trying to remove the spark plug from the hole. If you're not using magnetic sockets, it is a good idea to replicate this.
Step 4 – Install in the reverse order of removal
If you bought plugs designed for your make and model, they should come pre-gapped. You can use a small amount of anti-seize on the threads of the plug if you'd like.
Begin tightening the plug by hand first with only the socket and extension. Once it becomes tight, set your torque wrench to 15 ft/lbs and tighten. Do not over tighten the spark plugs! You can snap a plug off in the cylinder, and extracting a broken plug can be a terrifying experience.
If you do not have a torque wrench, tighten the plug a little less than a quarter of a turn or until snug.
With the plugs in place, refasten the coil packs with their Torx fittings, and re-install the engine cover.
Related Discussions
- C300 Spark Plug DIY - MBWorld.org
- Engine Cover Removal DIY - MBWorld.org
- Spark Plug Change - MBWorld.org