Mercedes-Benz E-Class and E-Class AMG: How to Replace Dome Lights
There are many situations where proper interior lighting can be of assistance. But what if the dome lights are just too dim in your Mercedes-Benz E-Class? Learn how to replace them here.
This article applies to the Mercedes-Benz E-Class and E-Class AMG (2002-2009).
Many vehicle manufacturers equip the interiors of their vehicles with several different types of lighting, everything from the dashboard to the buttons to the roof and kick panels. The dome lights (specifically the front and rear) are the ones that emit the most light for visibility when you are reviewing a map or if you are leisurely reading a novel. Sometimes, the standard bulbs are weak or don't emit quite enough light. Luckily, these can be swapped out fairly easily for new ones or you may even opt for some LED style "festoon" bulbs. Whichever you choose, learn how to install them in your Mercedes-Benz E-Class here.

Materials Needed
- Rear main dome 42mm LED light ($12-15)
- (4) 194 Wedge LED bulbs ($7 each)
- Flat tip screwdriver or non-marring pry tool
- Microfiber cloth (optional)
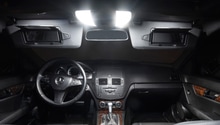
Step 1 – Replace front dome light
To change the light for something brighter, the cover will need to be removed carefully first.
- Cover tip of flat head screwdriver with microfiber cloth.
- Insert along side edge of cover and pry gently until the cover comes loose.
- Pry slightly to expose the bulb.
- Remove bulb.
- Install new LED bulb.
- Re-install cover.
- Test lights.
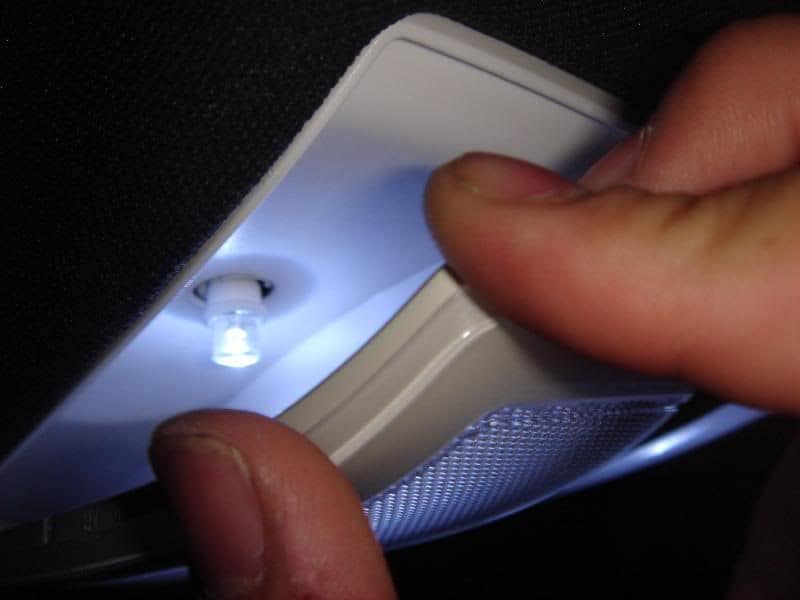
Figure 1. Remove the cover. 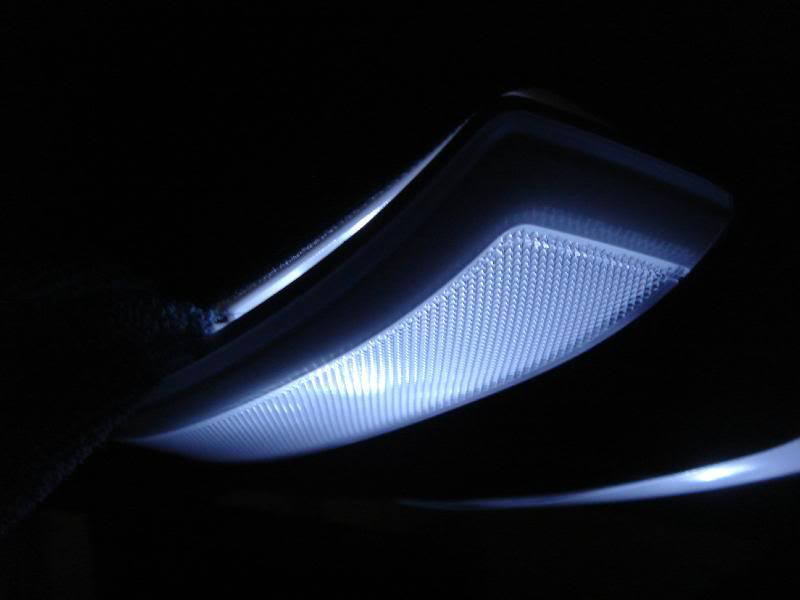
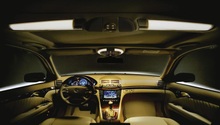
Figure 2. Test the light.
Pro Tip
If using a non-marring pry tool, then the microfiber cloth is not needed.
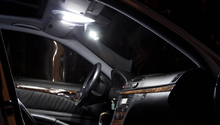
Step 2 – Replace rear dome light
Replacing the bulb on the rear dome light is similar but requires an extra step. There are two parts to the rear dome light. One is the cover, and the other is the housing for the three bulbs. There are two side bulbs and one main bulb in the center. Sometimes, the two lights are also called "reading" lights.
- Covering your flat tip screwdriver with microfiber, pry the cover gently.
- Remove dome light completely.
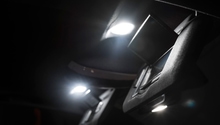
- There are four "tabs" that need to be pried up in order to separate dome light housing from cover (Figure 2).
- Once the parts are separated, the three bulbs are exposed and can be replaced (Figures 3 & 4).
- Install new bulbs.
- Affix housing back into cover and apply gentle pressure to snap into place.
- Re-install dome light.
- Test lights.
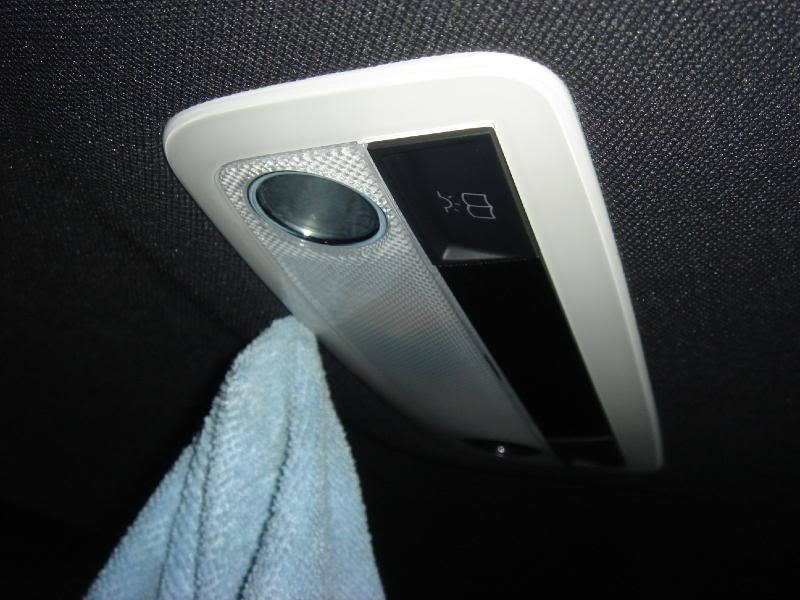
Figure 3. Remove the cover. 
Figure 4. Remove the dome light assembly. 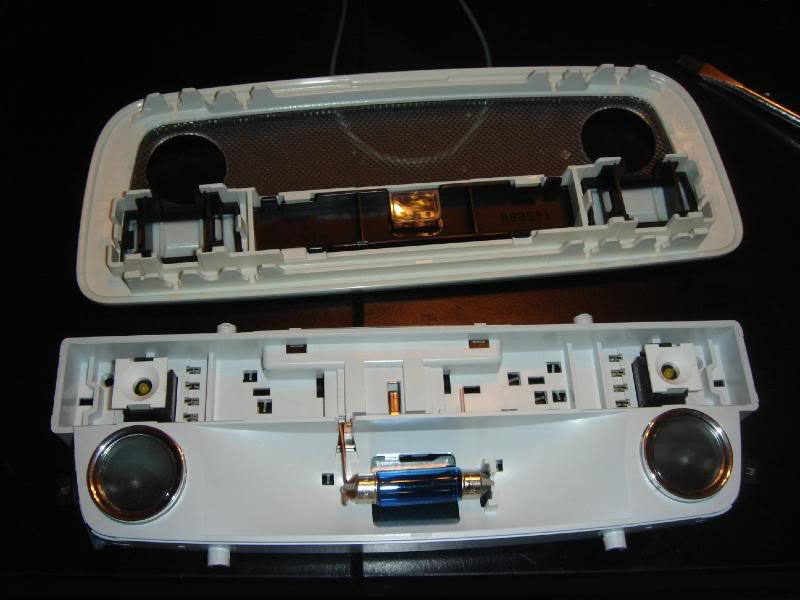
Figure 5. Install new bulbs. 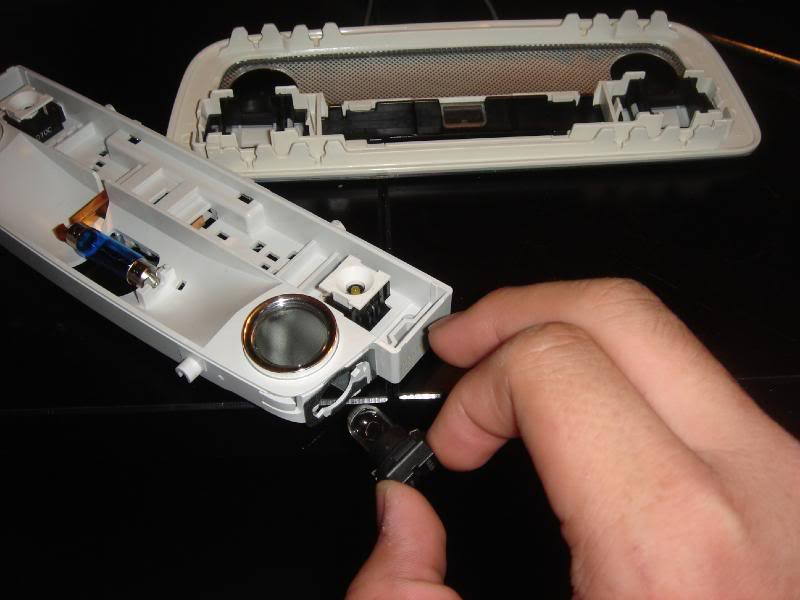
Figure 6. Install assembly back into housing.
Pro Tip
The main middle light is the only one which is different from the rest of the lights; it uses a larger LED.
Related Discussion
- DIY: Interior Light Removal - MBWorld.org