Mercedes-Benz C-Class AMG: How to Change Oil
Save yourself a trip to the dealer, and a few dollars, by changing your own oil using this step-by-step guide.
This article applies to the Mercedes-Benz C63 AMG (2007-2014).
Engine oil is commonly referred to as the lifeblood of the motor. Consequently, regular servicing of the engine oil with the fresh stuff will keep your engine going for a long time. Mercedes-Benz commonly recommends a 10,000-mile service interval for oil, but the forum consensus is to half that and do the deed every 5,000 miles. With that said, if your AMG is due but you don't know what to do, we've got the DIY goodness to get you through this easy process.

Materials Needed
- 8L engine oil
- Oil filter
- Oil catch pan
- Jack and two jack stands
- Gloves (optional)
- 8mm socket
- 13mm socket
- 1/4" ratcheting wrench
- 32mm oil filter wrench
Engine oil is thick, so consider letting the car idle for a minute or two before starting this process.
Step 1 – Jack up your car
Using either ramps or a jack and jack stands, lift your car up high enough that you can work beneath it comfortably. While we're here, pop the hood. You will be working in the engine bay in due time.
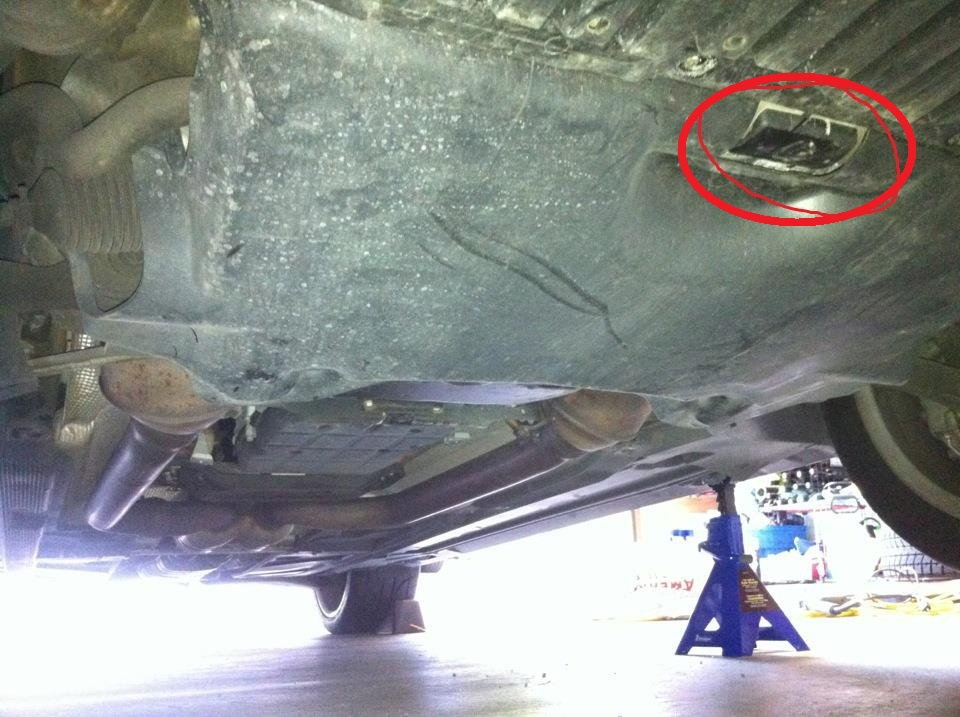
Figure 1. Front crossmember jack point. 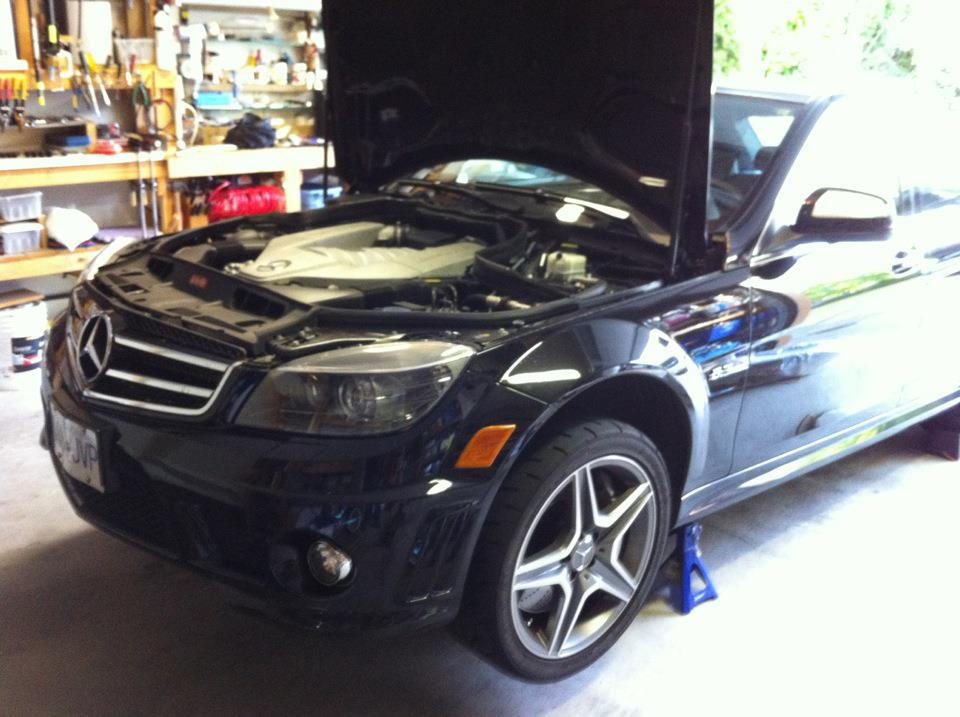
Figure 2. Pop the hood.
(Related Article: How to Jack Up Your Car - MBWorld.org)
Step 2 – Remove the belly pan
In order to reach the oil sump drain plug, the belly pan must be removed. Grab your ratchet and the 8mm socket to remove the fasteners that attach the belly pan to the car.
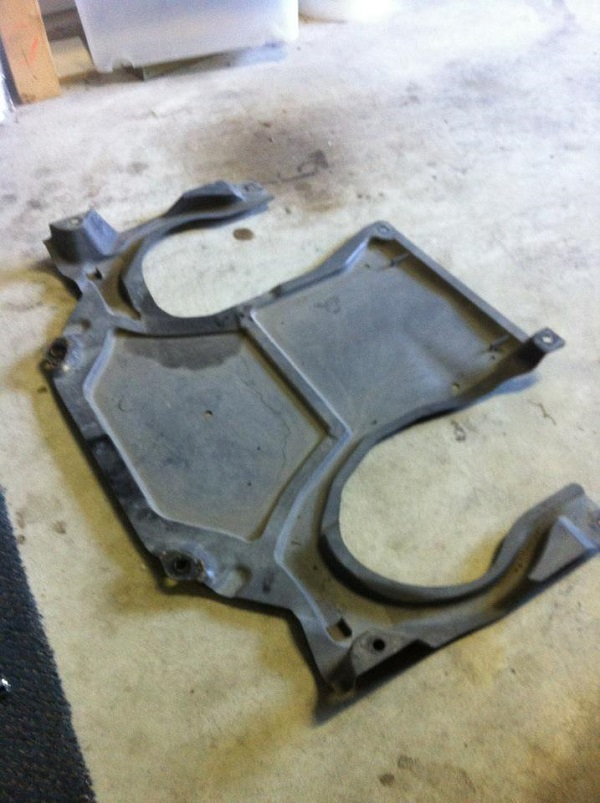
Figure 3. Belly pan removed. 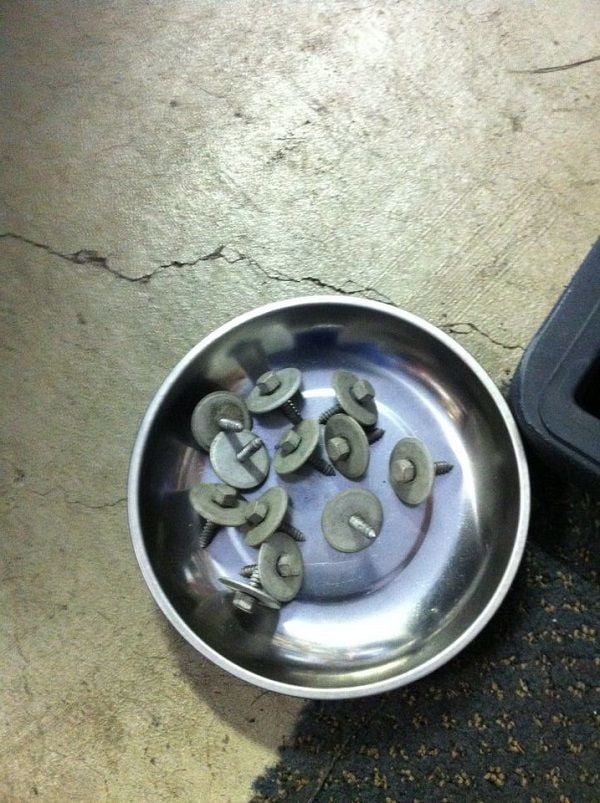
Figure 4. Keep all of your fasteners handy.
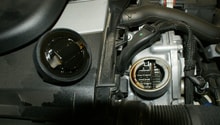
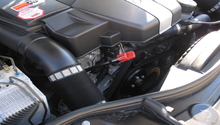
Step 3 – Remove oil filter
Remember when we said to pop the hood? The M156 V8 engine has its oil filter located up front in the engine bay. Take this time now to remove the oil filter. Use the 32mm wrench and remove the top of the filter housing. At this point the filter is accessible, so remove it. You want to loosen or remove the oil filter before draining the oil, as it helps create good vacuum to faster expel the oil from the sump.
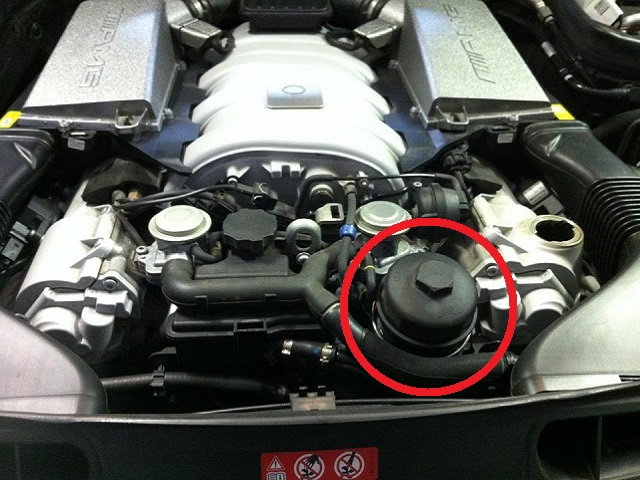
Figure 5. Oil filter highlighted. 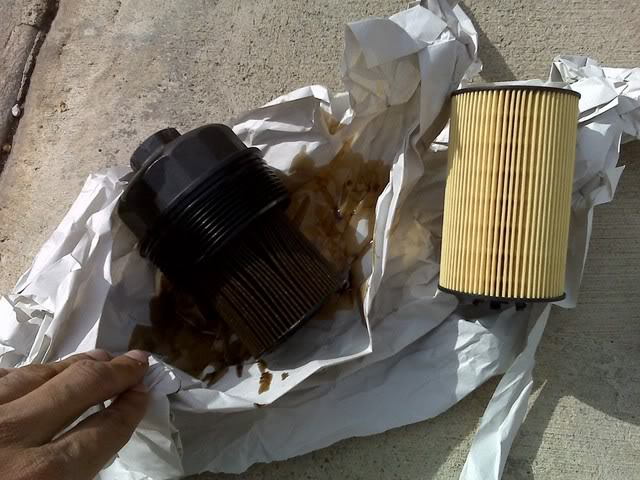
Figure 6. Oil filter removed.
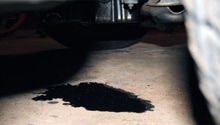
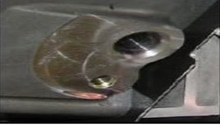
Step 4 – Drain oil
Crawl under your car, use your ratchet and 13mm socket to undo the oil sump drain plug. Let the oil drain into your catch pan for the next 10 to 15 minutes until the oil stops flowing. Once the oil is done draining, refasten the drain plug to 22 ft./lb.
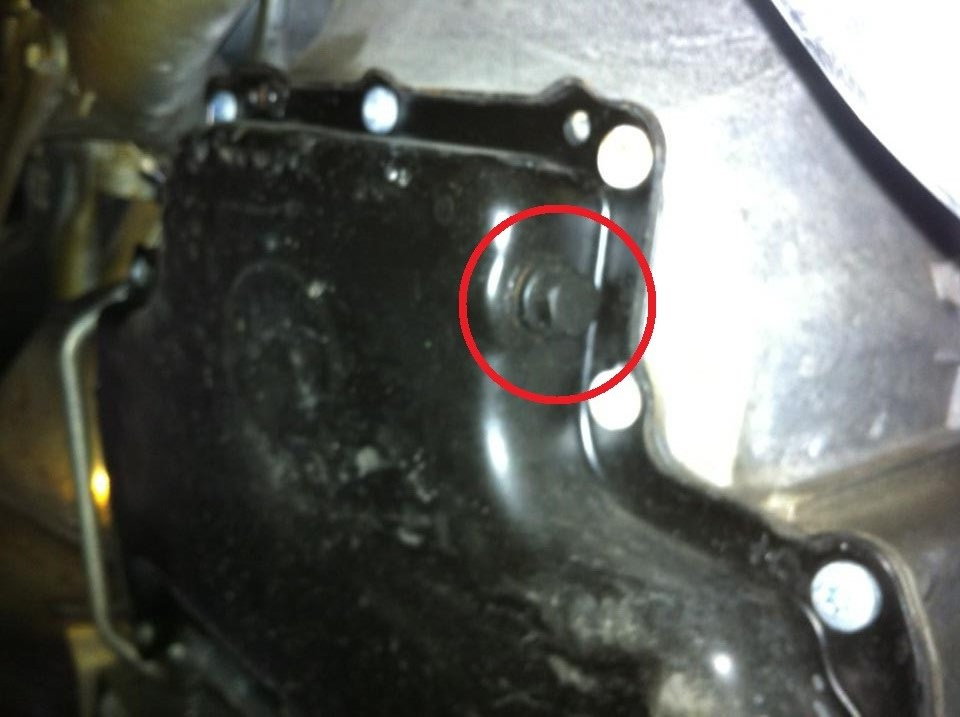
Figure 7. Use your 13mm here. 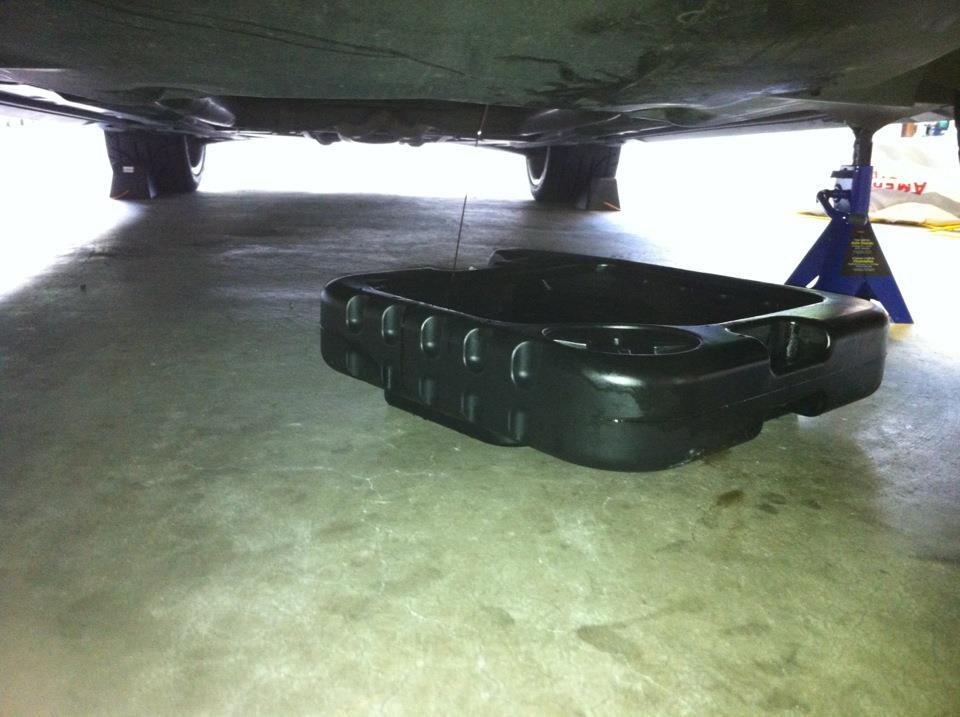
Figure 8. Oil draining.
Step 5 – Replace oil and filter
Open up your new oil filter, and give it a light coating of oil. A dry filter can get crushed during installation, so giving it a coating of oil keeps it intact during reassembly. Torque the oil filter cover to 20 ft./lb.
Now is the time to fill the engine with oil. Eight liters of the stuff, to be specific. Once the motor has taken its fill and the filter replaced, all that remains is to clean up shop.
- Refit the belly pan with all of the 8mm fasteners.
- Remove the jack stands and lower the car down.
- Check the digital dipstick to ensure that the oil level is where it needs to be.
Related Discussions
- How to Do an Oil Change on Your C63 at Home - MBWorld.org
- DIY Oil Change - MBWorld.org
- Oil Filter Change Mess - MBWorld.org