Mercedes-Benz C-Class: How to Change a Tire
Changing a flat tire is road safety 101, but do you really know what steps to take for your Mercedes-Benz C-Class? Continue reading as this article will guide you through the process.
This article applies to the Mercedes Benz C-Class w204/w205 (2007-Present).
Maybe you have roadside assistance, or maybe you don't. Regardless, every driver should know how to change a flat tire, especially those of you who own a Mercedes-Benz C-Class. With a tire changing kit that comes standard with your Mercedes, the process of replacing your tire is both easy and convenient. Read below for the appropriate steps to change a flat tire per your C-Class owner's manual.

Materials Needed
- Tire changing kit (located in trunk)
- Flat head screwdriver
- Spare or replacement tire
- Wheel chock (optional)
Step 1 – Park your car
If possible, park your vehicle on a clean and leveled surface. And if you are on the side of the road, make sure your hazard lights are on. Set the transmission to "Park," and engage the parking brake.

Pro Tips
- If your Mercedes is equipped with KEYLESS GO, your car may require an extra step to lock the transmission. Refer to your owner's manual.
- If your vehicle is on an incline, use a wheel chock to keep the vehicle from rolling. A wheel chock is always recommended.
Step 2 – Loosen the wheel lug nuts
Before you jack the car up, always use your lug nut wrench to partially loosen the wheel lug nuts of the flat tire. Doing so will allow you to easily remove the lug nuts once the car is raised.

Step 3 – Jack up the car
Locate the proper jacking points for your Mercedes. These are located right behind the front wheels, and right in front of the rear wheels. Look for the plastic square cutout, and use a flat head screwdriver to pop off the plastic cover. Then, insert the jack saddle into the support tube, and make sure the base of the jack is securely grounded. Rotate the lever clockwise and raise the vehicle until the tire is a few inches off the ground.

Figure 3. Pop off the jack support tube protective cover. 
Figure 4. Jack the car up.
Step 4 – Replace the tire
Use your lug nut wrench to completely remove the lug nuts, and set them aside. Firmly hold the tire with both hands at the 3 o'clock and 9 o'clock positions. Then, remove it from the car. Safely set the tire down and roll it aside. Mount the new or replacement tire in reverse order to the removal of the old tire, and hand tighten the lug nuts. Rotate the lever of the jack counterclockwise to lower the tire to the ground. Remove the jack, and use your lug nut wrench to fully tighten the lug nuts.
Before starting the car, disengage the parking brake. Make sure you limit your driving speed and handling to adapt to the spare tire.
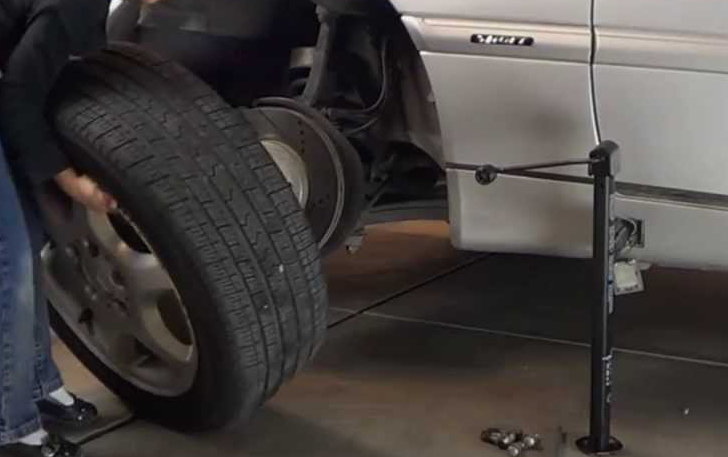
Figure 5. Remove the old tire. 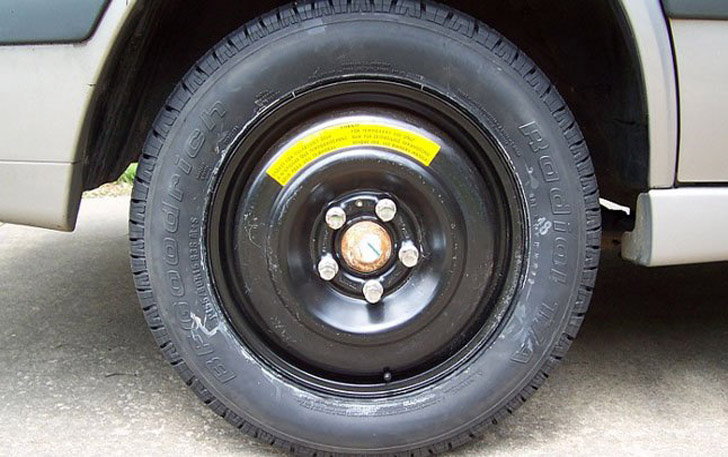
Figure 6. Spare tire installed.
Related Discussion and Site
- C300 Cost to Fix Flat Tire - MBWorld.com
- Mercedes-Benz Owner's Manual - MBUSA.com