Mercedes-Benz C-Class: How to Replace Dome Light
If it is time to replace the dome light in your Mercedes-Benz C-Class, then follow these simple instructions.
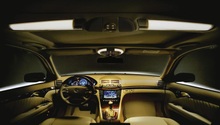
This article applies to the Mercedes-Benz C-Class w204 (2007-2014).
Replacing the dome light in your Mercedes-Benz C-Class is an easy project. Best of all, you can complete this inexpensive and stylish interior modification from your garage without ever needing to involve the help of a professional mechanic, which will save you immensely. Realistically, you'll only need about 30 to 45 minutes to complete this project from start to finish. However, as with any DIY project, you will want to take your time and move easily (and confidently) through the steps. When deciding on which dome light to go with, LEDs are recommended for superior illumination and brightness. Most LED replacement bulbs will run you just several dollars, and many assortments can be purchased online. Let's get started!

Materials Needed
- Flat head screwdriver
- Microfiber cloth
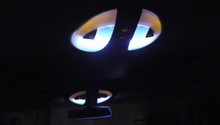
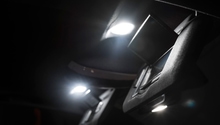
Step 1 – Start with the front dome light
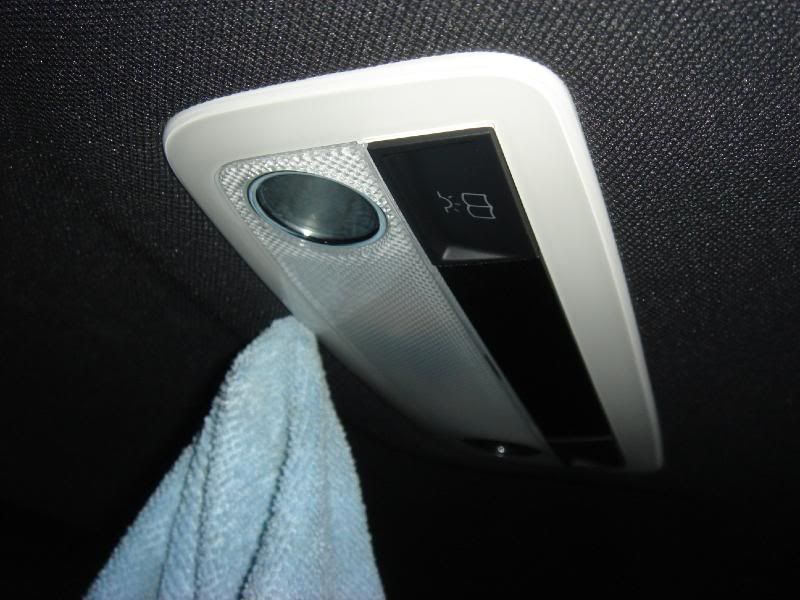
Wrapping your flat head screwdriver in a microfiber cloth, gently position the flat edge of the covered screwdriver in between one side of the dome light panel and your vehicle. Apply gentle force as you pull down on the top side of the cover.
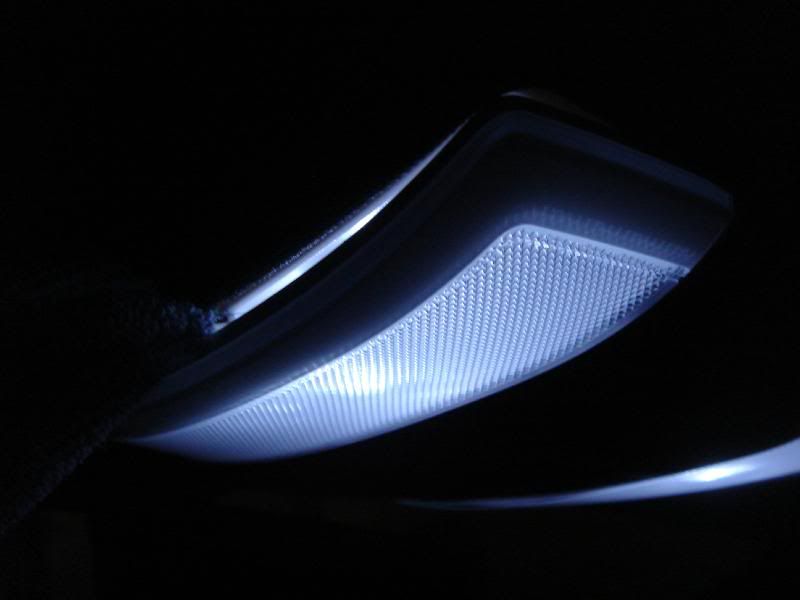
Figure 1. Only apply a little force. 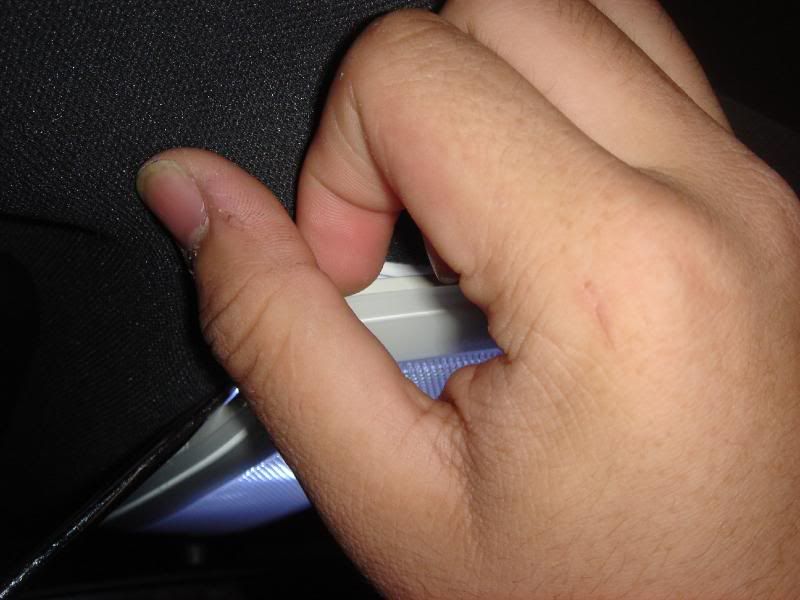
Figure 2. Open the cover. 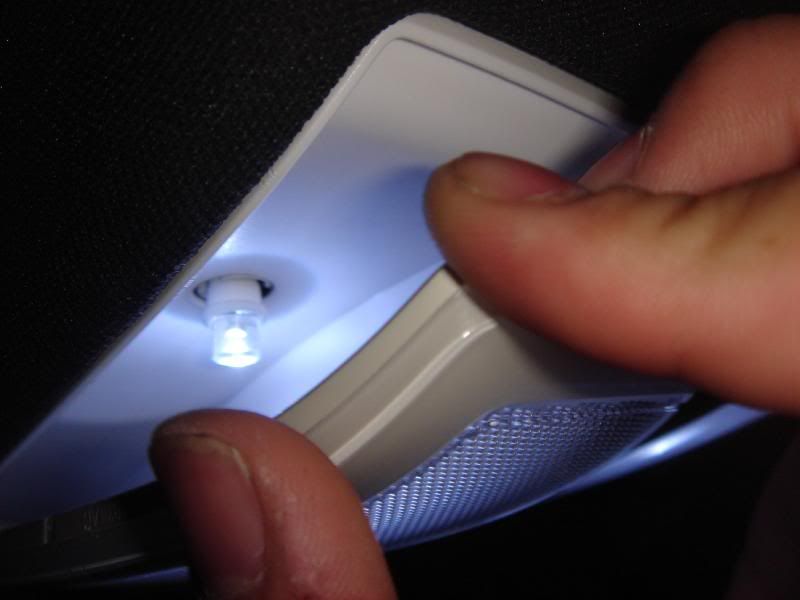
Figure 3. Open the cover to reveal the light bulb.
Step 2 – Move to the rear dome light
Using the same flat head screwdriver, pry off the rear dome light cover in the same manner you did in Step 1.
Pro Tip
The cover will pop out with just little force.
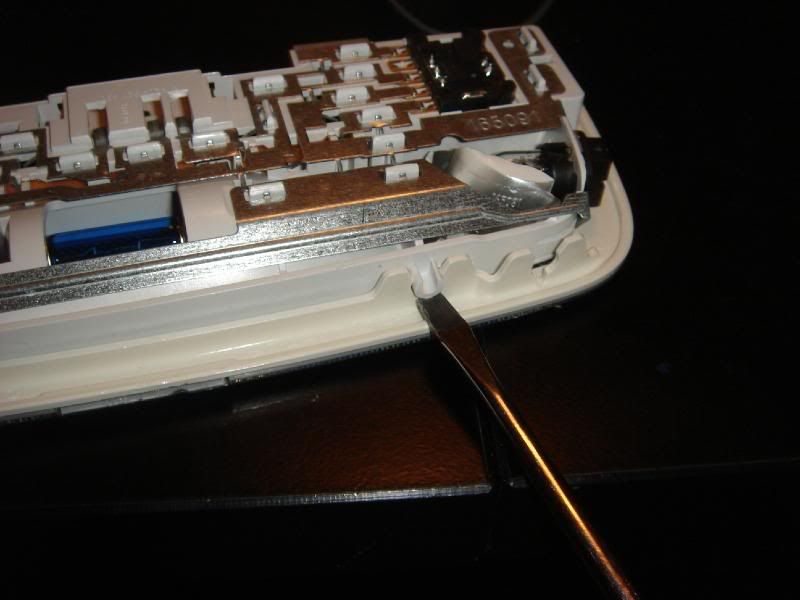
Step 3 – Take apart the dome cover
Pry the dome cover open by inserting the flat head screwdriver along the tabs, and pushing upward. Do the same for all four tabs.
Pro Tip
This step is easy and requires only minimum pressure. You may need to pry each tab loose before the cover completely opens up.
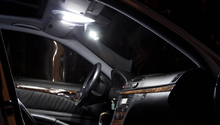
Step 4 – Replace the dome light
Now that you've opened the dome light cover, replace by releasing the old bulb and tightening in a new one. Finish this DIY project by putting the dome cover back together and re-installing it.
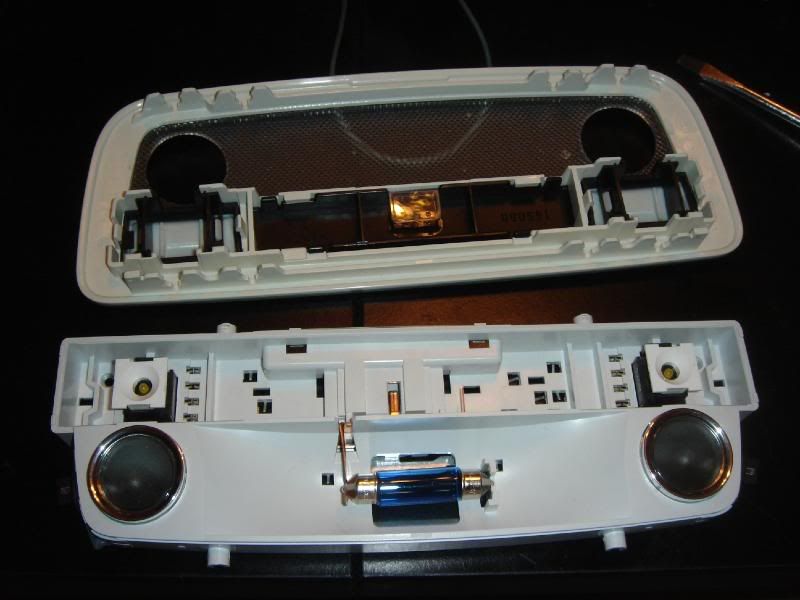
Figure 6. Replace the dome light. 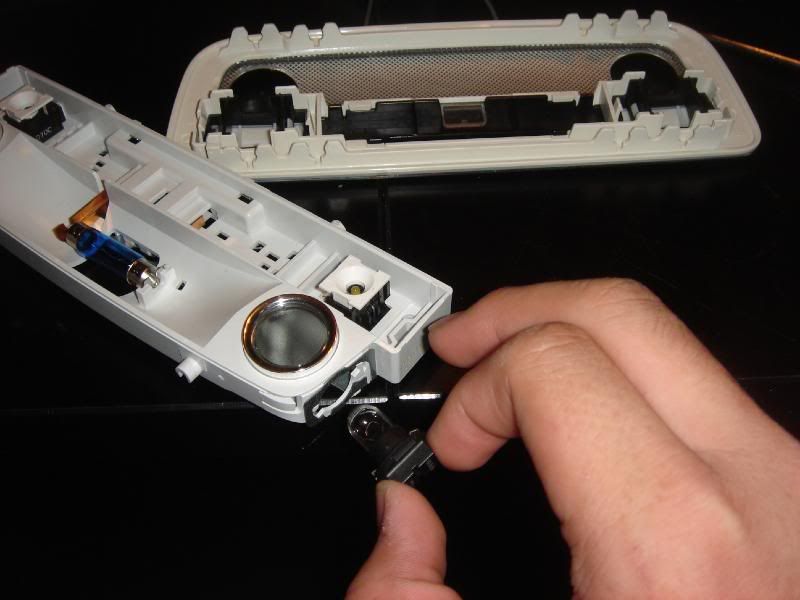
Figure 7. Replacement bulbs can cost just a few dollars.
Related Discussion
- DIY Light Removal - MBWorld.org