Mercedes-Benz E-Class and E-Class AMG: How to Replace Brake Fluid
This how-to covers the procedure to successfully bleed and replace the fluid in your braking system. If the rest of your Mercedes-Benz E-Class and E-Class AMG's braking system is working correctly, new brake fluid will make it stop like new.
This article applies to the Mercedes-Benz E-Class and E-Class AMG (2002-2009).
As you drive your Mercedes-Benz E-Class over the years, constant use of the brakes can cause small amounts of air to enter the braking system through seals and fittings. This decreases braking performance and forces you to exert more effort when stopping the vehicle. This can also cause problems with the anti-lock braking system as well as the Sensotronic Braking Control (drive by wire braking) commonly found on E55 models. Keep reading to learn how to replace the brake fluid in your E-Class.
Note
For owners with the Sensotronic Braking System: It is advisable to use an MB STAR Diagnostic Tool to bleed your brakes. This ensures the system has been bled 100%. As such, instructions with and without the STAR Diagnostic tool will be covered.

Materials Needed
- 8mm, 10mm wrenches
- Motive Brake Bleeder or a similar power bleeder of your choice
- DOT 4 brake fluid
- A syringe close to 60cc
- An 8" length of silicone hose that fits securely onto the end of the syringe
- A bottle to capture brake fluid
- 1/4" hose (8" long)
- Gloves and safety glasses
Warning
Remember that brake fluid is corrosive. It can remove the paint from your vehicle. Wear gloves and safety glasses.
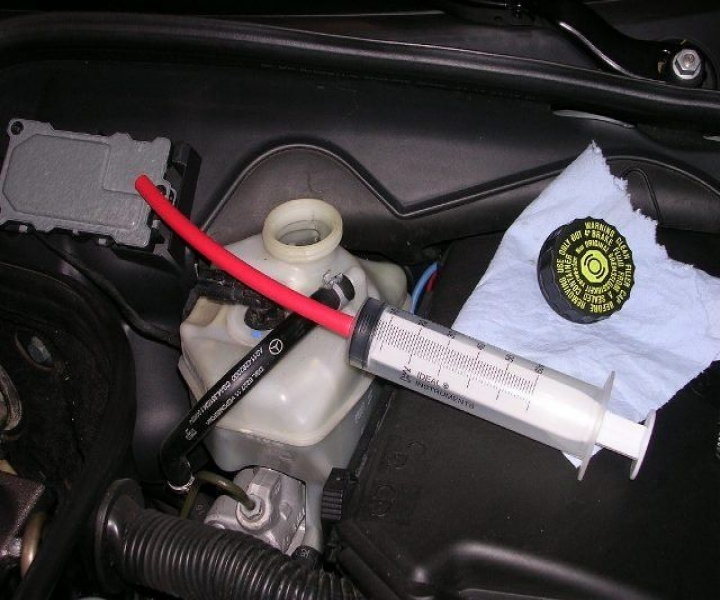
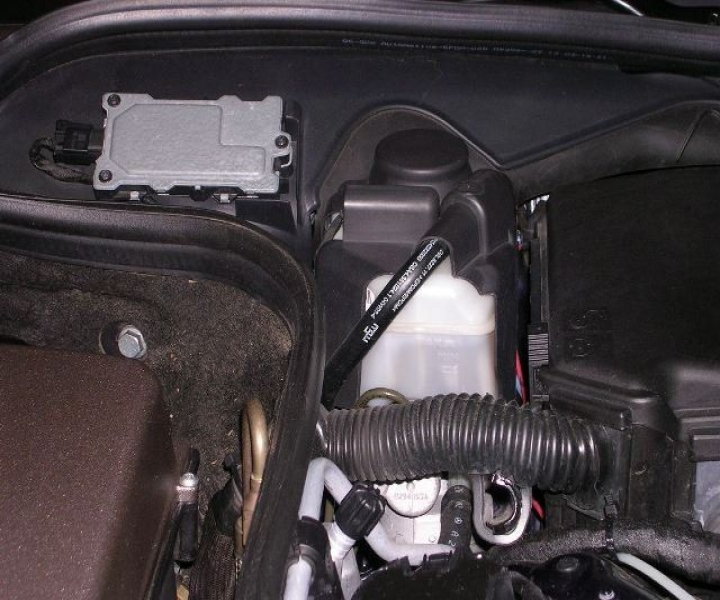
Step 1 – Remove the old fluid from the reservoir
Use the syringe to remove as much fluid as you can. If your model has a plastic cover over the reservoir, remove it by turning the two fasteners near the windshield 90 degrees. The front attachment point will slide out. Add fresh brake fluid to the reservoir.
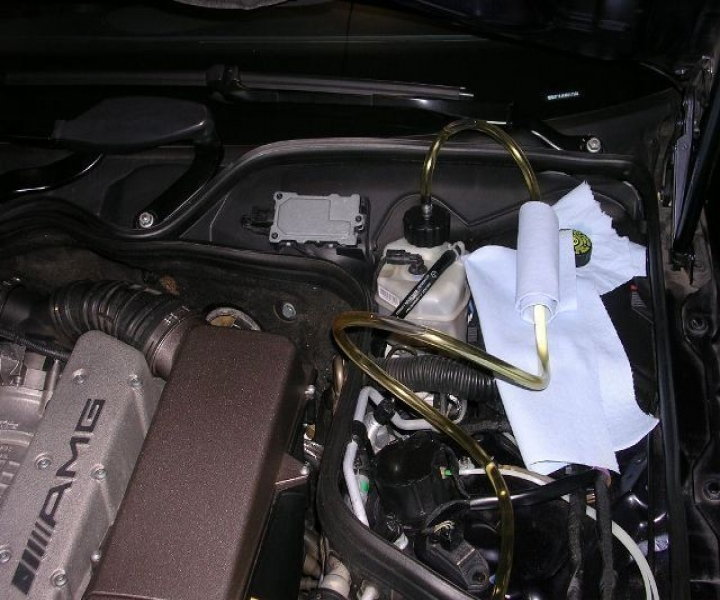
Step 2 – Install the brake bleeder
Fill the bleeder's container about 3/4 full with brake fluid. Secure the cap and hose onto the reservoir.
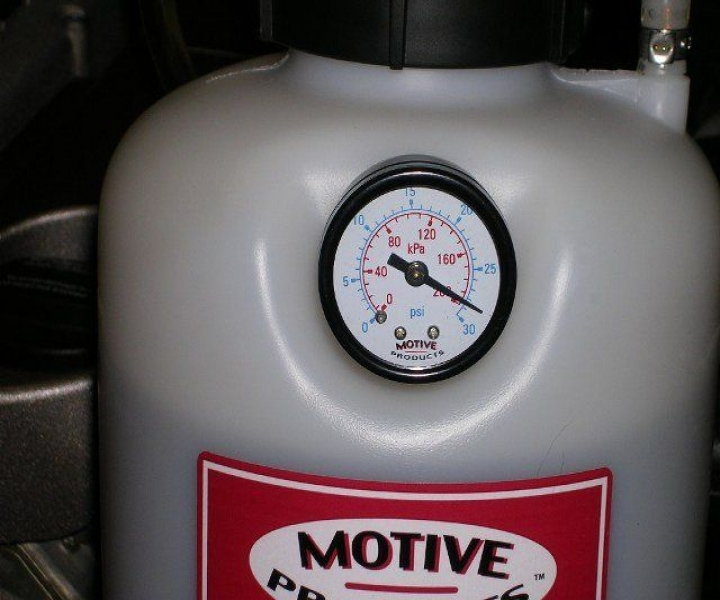
Step 3 – Build the pressure to 2 bar (29 PSI)
It is important to build to this pressure to allow two check valves in the ABS system to open. This will ensure all air has been fully purged from the system.
Step 4 – Begin the bleeding procedure
Remember to first loosen the lug nuts on the wheel you are removing unless you are using an air/electric impact wrench. Use jack stands when working under the vehicle.
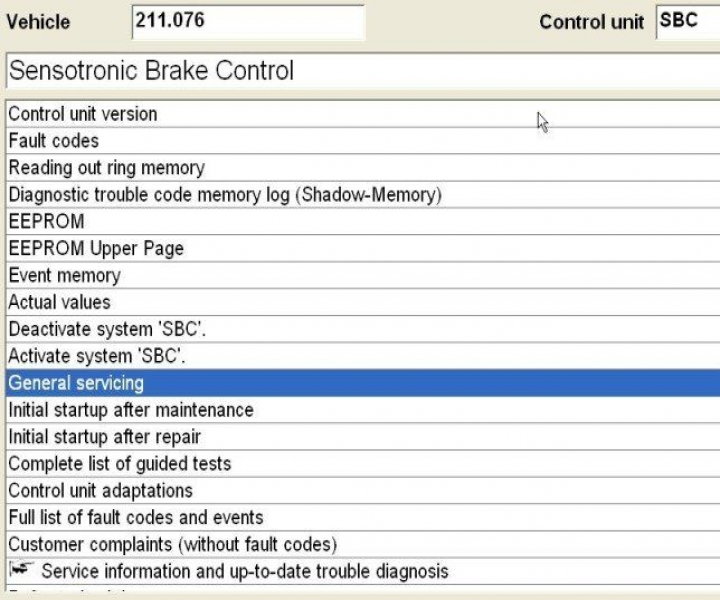
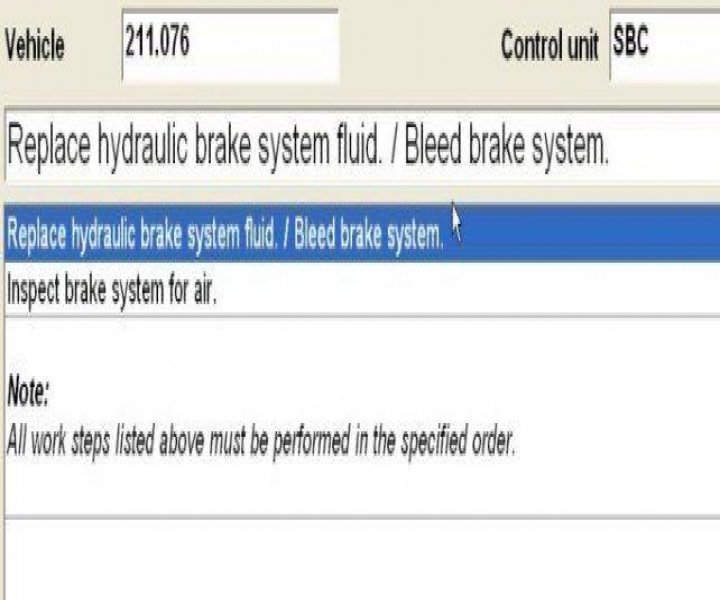
If you are using the STAR Diagnostic Tool, begin by navigating to the SBC control unit screen and selecting general servicing.
Then, select "replace brake fluid."

Select this option again.
The next screen will go over the bleeding sequence.
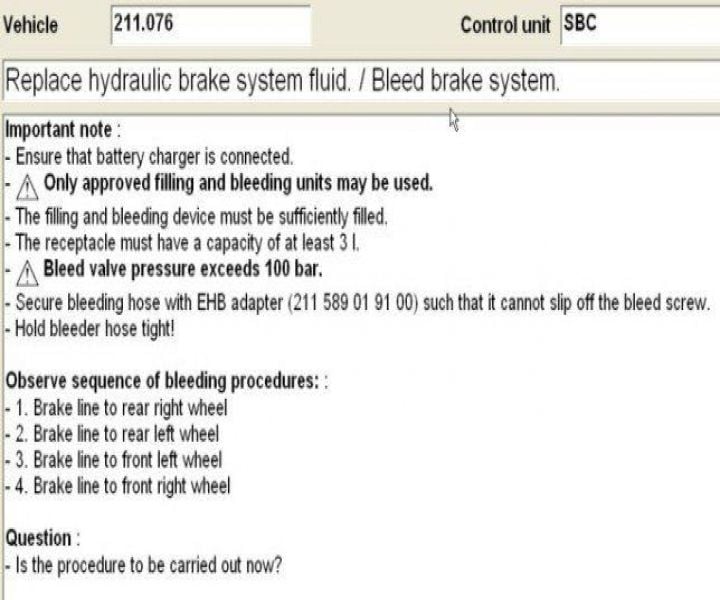
For those that are not using STAR, begin by attaching your 1./4" hose to the bleed nipple, and place in into the bottle. Follow the STAR bleeding sequence in Figure 7. For E63 owners, your bleeding sequence will be reversed for the front wheels. Open the bleed screw a 1/4 to 1/2 a turn. Watch as the fluid begins to enter the bottle and notice how the old fluid is darker in color. Once the fluid appears new, tighten the bleed screw and proceed to the next wheel, repeating the process.
Remember to keep an eye on the brake fluid level in the reservoir as well as the bleeder. Verify the pressure is holding at 2 bar on the gauge.
Pro Tip
ATE makes DOT 4 brake fluid known as "super blue." It is blue in color and makes it easier to tell when the new fluid reaches the brake caliper.
Step 5 – Finish the bleeding procedure
For STAR users, your next step will be to attach your 1/4" hose onto the brake bleed valve, and place it into the bottle. Then hit "f3." Crack the brake bleed valve open as the system builds pressure. You will hear valves open and close followed by a burst of fluid. The flow of the fluid will become steady. Continue by following the directions on the STAR menus.

Figure 8. The fifth screen on the STAR menu. 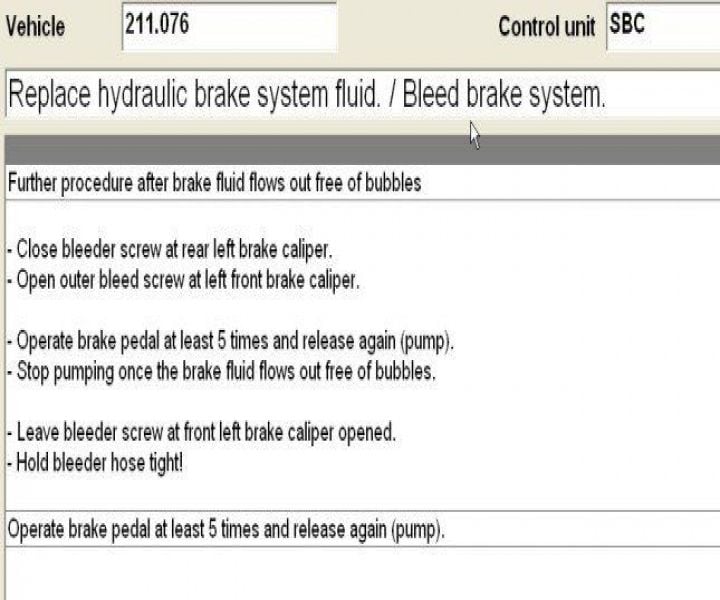
Figure 9. The STAR menu after finishing the left rear caliper.
The front calipers will have two bleed screws, both inside and outside. The outside is bled first.
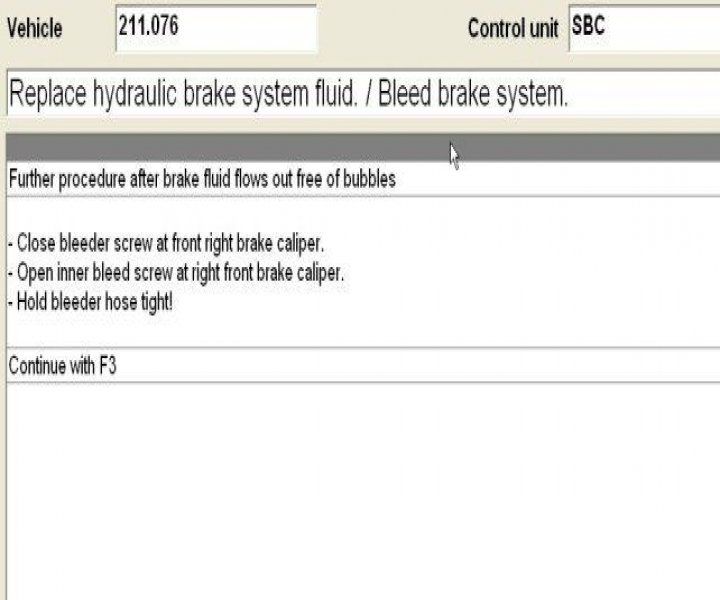
There will be a couple more screens that are self explanatory. After which you can remove the pressure bleeder and level off the brake fluid reservoir at, or slightly below, the max.
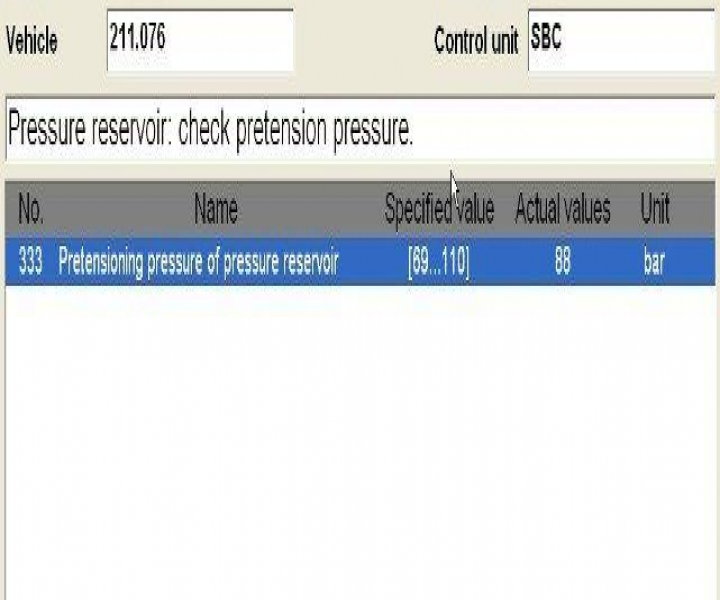
With the STAR Diagnostic tool, you can run a S.B.C. pressure test that verifies your system is holding at the correct PSI level. The factory level is 90 PSI. Your system should be near that specification.
Users not using the STAR tool will follow the same procedures for disconnecting the power bleeder and filling their reservoir to the correct level.
Step 6 – Re-install the plastic reservoir cover
Turn the ignition on and off, then check for codes with STAR.
You have now replaced the brake fluid on your Mercedes E-Class!
Related Discussions and Sites
- DIY Brake Fluid Change - MBWorld.org
- DIY Brake Fluid Flush Bleed - MBWorld.org
- DIY Bleeding Brakes - MBWorld.org
- Where to Buy a STAR Diagnostic Tool - MBstarshop.com
- Where to Buy a Motive Power Bleeder - Motiveproducts.3dcartstores.com