Mercedes-Benz E-Class and E-Class AMG: Why is My Interior Rattling?
The Mercedes-Benz E-Class has many components that can become loose over time. Here's how to determine the source of interior rattles.
This article applies to the Mercedes-Benz E-Class and E-Class AMG (2002-2009).
Many older cars have one very common trait – interior rattles. Over time, panels are prone to cracking, and loosening and could cause some extra noise when the car is mobile and even when idle if the panel or section is very loose. Sometimes, weather has an effect on the panels as well, as they may expand or contract under extreme heat or cold. Some of the common areas are the rear deck, behind steering wheel, seats, mirror, roof area, driver dashboard, etc. Here are some rather easy and inexpensive methods to solving all or most of the creaks.

Materials Needed
- DynaMat or FatMat (optional)
- Velcro roll
- Thin cardboard and paper
- Razors/Exacto knife
- Tape measure
- Adhesive
- Non-marring pry tools
- Flat head screwdrivers
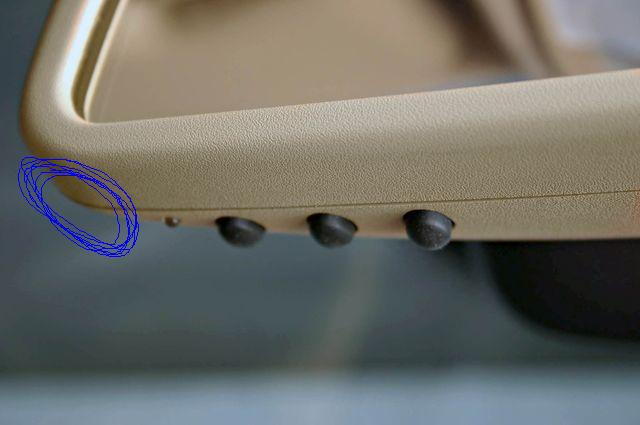
Step 1 – Address mirror rattling
This is potentially caused by the housing of the mirror separating or flexed from constant movement.
- Cut a piece of paper to .5" x .5"
- Insert and secure between 2 parts of the mirror assembly.
Pro Tip
It might be wise to apply Velcro as it already has adhesive, or you may want to apply adhesive to the paper before applying.
Step 2 – Address squeaky seats
This is noticed usually when driving, turning or braking hard. There may also be a rattle from the passenger seat's headrest area. This is due to the metal rods. For the driver's seat, the plastic/vinyl encompassing molds could be flexing and causing creaks.
- Measure gaps between seat and plastic.
- Cut Velcro to size.
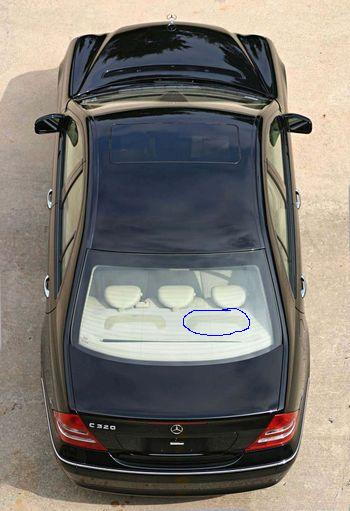
- Apply carefully between seats (blue circled areas in Figure 2).
- Pull passenger headrest out.
- Flex metal rods outward slightly and reinsert back into seat top holes.
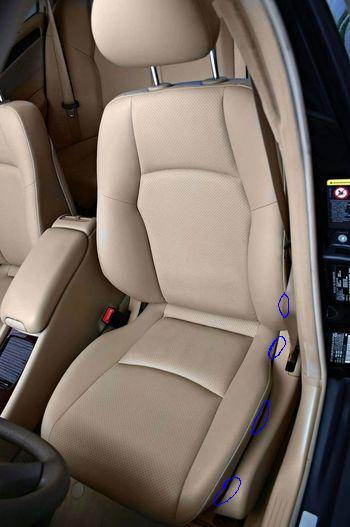
Figure 2. Where to insert Velcro pieces. 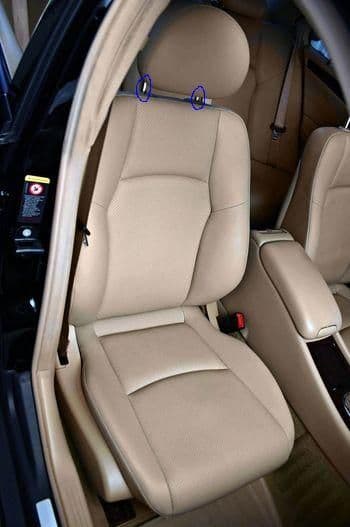
Figure 3. Headrest metal rods.
Pro Tips
- It may be necessary to use the non-marrying pry tool or flat head screw driver to keep the gaps open while you apply the Velcro.
- For the passenger seat, do not flex the bars sideways or you risk breaking the headrest.
Step 3 – Address dashboard area squeaks
There are many areas on the dash prone to cracking and rattles. Near the speedometer and surrounding the steering column, there are gaps that widen over time.
- Cut cardboard or Velcro to size of gap(s).
- Bend the dash vinyl between gaps to give room.
- Insert cardboard piece or vinyl.
- For the center console, use flat head screw driver or non-marrying pry tools to separate gaps for easier inserting.
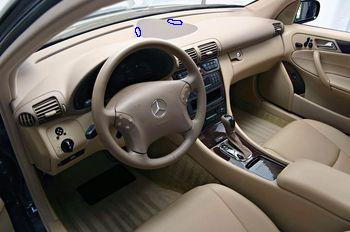
Figure 4. Blue circles indicate where to insert cardboard pieces or vinyl. 
Figure 5. Blue circle indicates where rattle can originate. 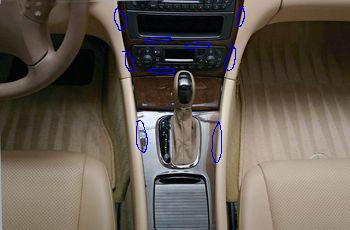
Figure 6. Rattling areas of dash trim.
Pro Tip
It may be necessary to use the non-marrying pry tool or flat head screw driver to keep the gaps open while you apply the Velcro.
Step 4 – Address rattling from rear deck
Many owners have upgraded sound systems that include subwoofers which are typically installed in the trunk. Over time, the vibrations can cause the paneling and compartments to loosen and rattle.
- Open medical kit compartment.
- Measure with measuring tape.
- Cut Velcro to size and apply to bottom of compartment and surrounding areas.
Pro Tip
Before placing the medical kit back into the compartment, you can also cover it with a t-shirt or thin blanket. It may also be necessary to use FatMat or DynaMat to line the trunk area to lessen the rattles and keep the vibrating sounds from the speakers more enclosed.
If rear deck area rattles still persist, move on to Step 5.
Step 5 – Further addressing rear deck rattles
Due to the extreme vibrations caused by subwoofers, more protection may be necessary in the surrounding areas and trunk.
- Measure trunk area behind the subwoofers.
- Cut DynaMat or FatMat to size.
- Apply covering to the entire inner side of the trunk where the sound from the subwoofers hits.
- Lift up the spare tire area and remove spare tire.
- Cut more DynaMat or FatMat to size.
- Apply covering to the entire bottom well of the trunk where the spare tire goes.
- Measure the openings on the underside of the trunk.
- Cut more DynaMat or FatMat to size.
- Apply covering to the openings/recesses on the underside of the trunk.
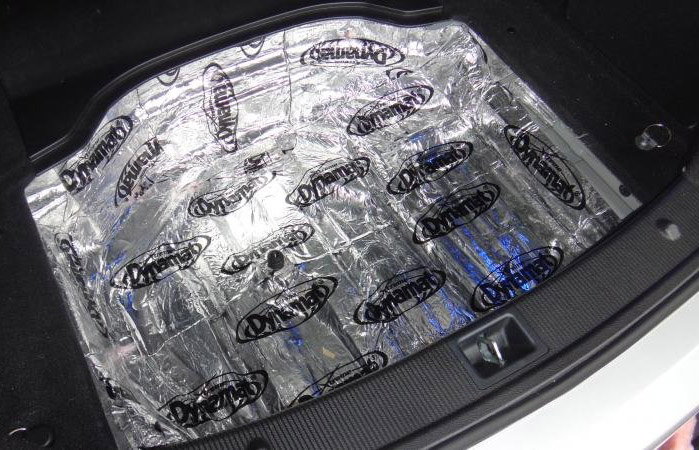
Figure 8. Cover the trunk in DynaMat. 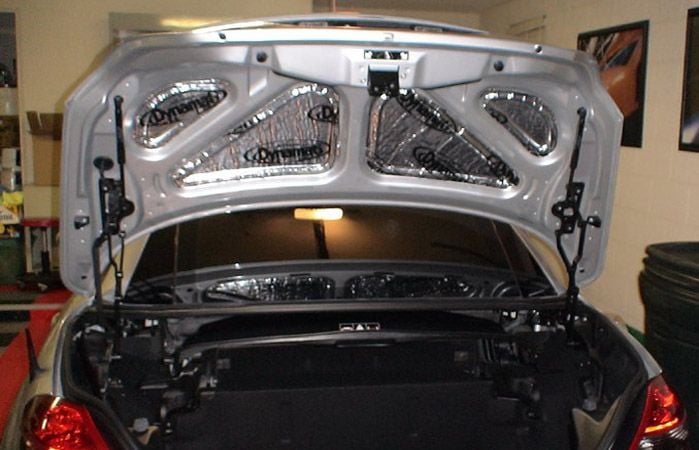
Figure 9. Cover any area that could be rattling.
Related Discussions
- Why is My Interior Rattling? - MBWorld.org
- Rattles DIY Fix - MBWorld.org