Mercedes-Benz: How to Replace Serpentine Belt
Your serpentine belt connects the crankshaft to the A/C compressor, alternator, and power steering pump. If the belt breaks, your vehicle will drain the battery and the engine will eventually die. Continue reading to avoid this by learning how to replace the serpentine belt on your Mercedes-Benz E-Class or C-Class.
This article applies to the Mercedes-Benz E-Class and C-Class (2002-2014).
The serpentine belt uses tension to turn the pulleys on the A/C compressor, power steering pump, and alternator. The serpentine belt tensioner has a built-in spring, keeping the belt at the proper tension while the engine is running. Serpentine belts are exposed to outside elements like temperature fluctuations and dirt, causing them to wear. If there is a fluid leak onto the belt or a lower splash shield is missing, the wear will accelerate.

Materials Needed
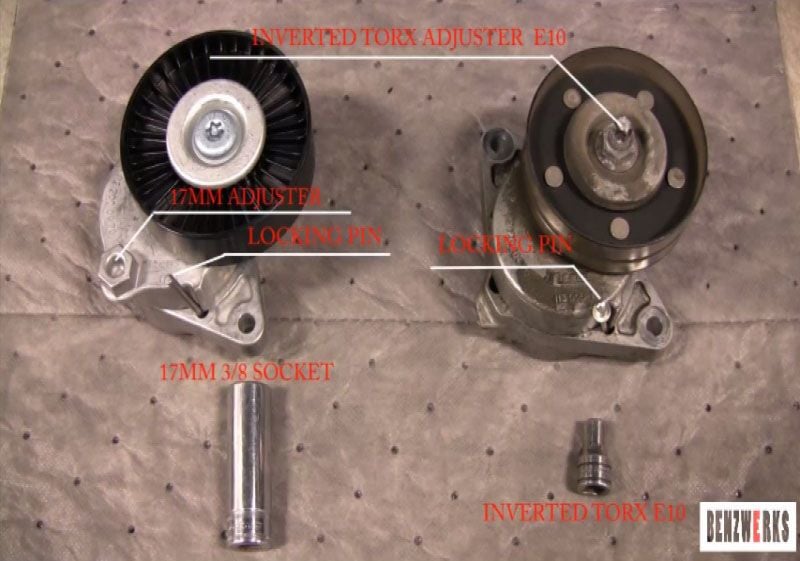
- 17mm socket or wrench (for newer style tensioner)
- E10 external Torx socket (for older style tensioner)
- 1/2" or 3/8" ratchet (preferably with a long handle)
- Small punch, cotter pin, rivet, carpentry nail etc.
- Flat head screwdriver
There are two styles of serpentine belt tensioners. The earlier (112,113 engines) style has an E10 bolt, while the newer (272,273 engines) uses a 17mm nut for adjustment.
Step 1 – Remove the serpentine belt
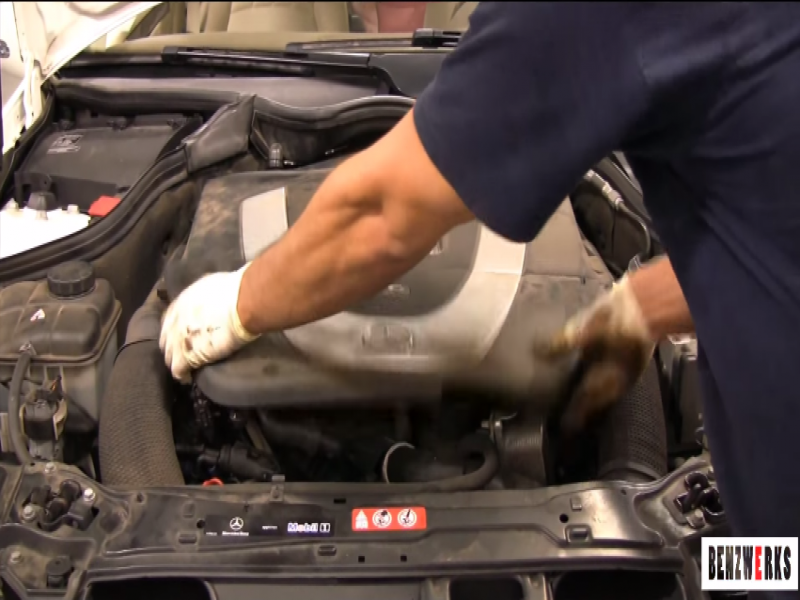
The newer engine (272,273) will require you to remove the front engine cover. Simply pull forward and up to detach it. You will hear the four plastic clips on the bottom side of the cover pop free.
- Remove the dipstick. The red handle can be seen at the top of the engine.
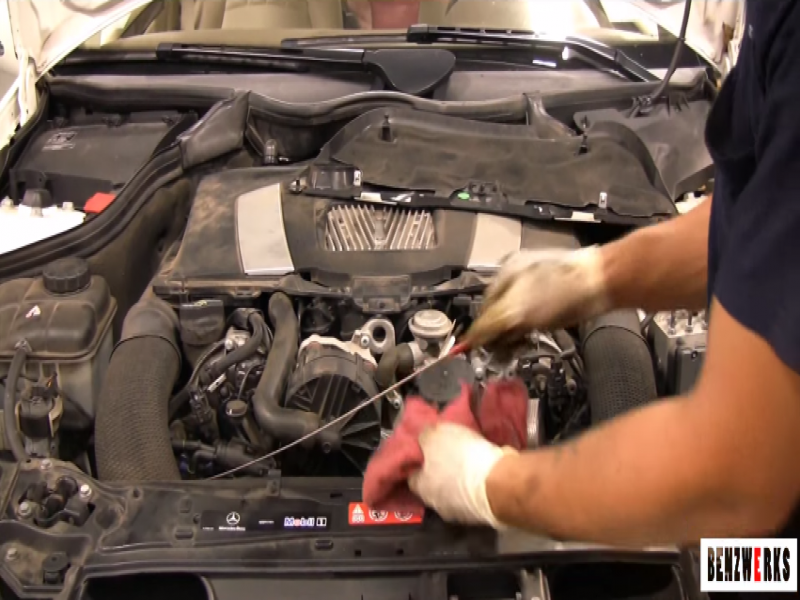
Figure 3. Removing the dipstick. 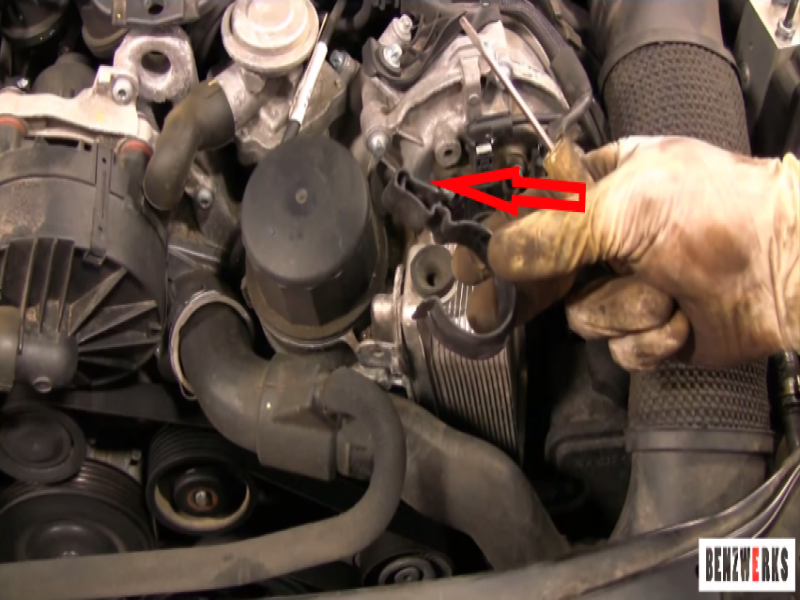
Figure 4. Pry up on the section of the clip indicated by the arrow. This will detach the clip from the engine.
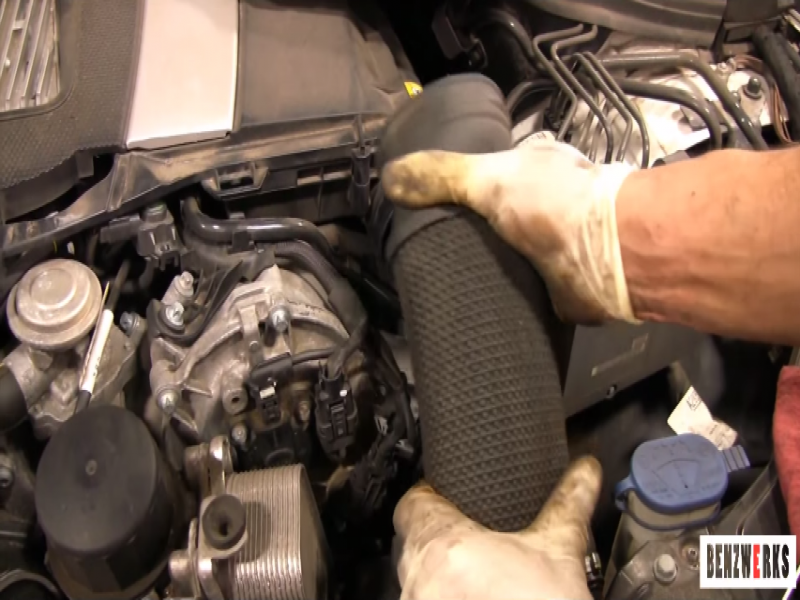
- Remove both the left and right intake hoses. They pop out of place with an upward pull.
- Using either your E10 socket or 17mm, turn the tensioner counterclockwise to remove tension from the belt.
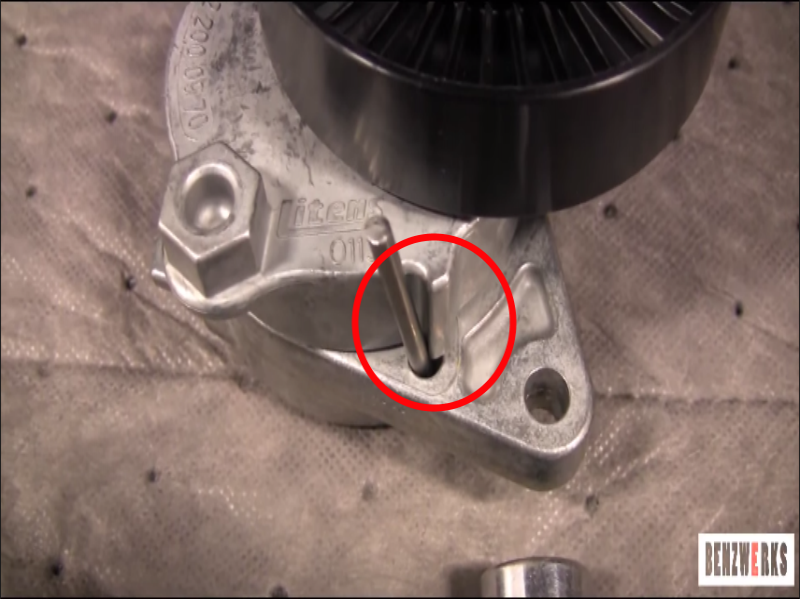
- Insert your punch or rivet into the tensioner. This will lock the tensioner in place, and keep tension off of the belt.
- Un-route the belt from the engine pulleys, and out of the engine.
Step 2 – Install the new serpentine belt
Begin by routing the serpentine belt in the correct path around the pulleys. Make sure the last pulley you will be sliding the belt onto does not have raised edges; otherwise, it will be difficult to slide on.
The belt may need to be pulled with some force to make it slide onto the tensioner pulley. Install any hoses/covers you removed, and you have finished installing you new serpentine belt!
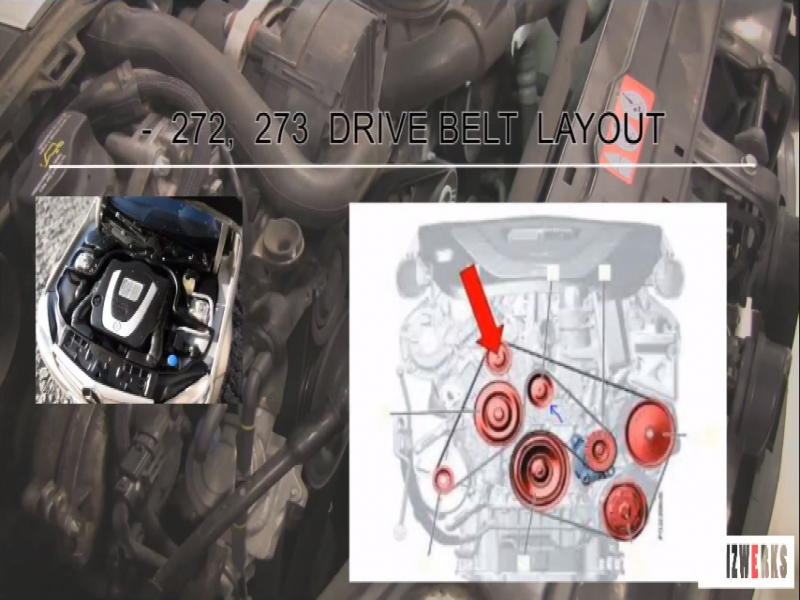
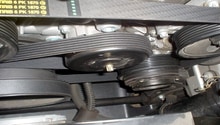
Figure 7. The 272 and 273 engine belt diagram. 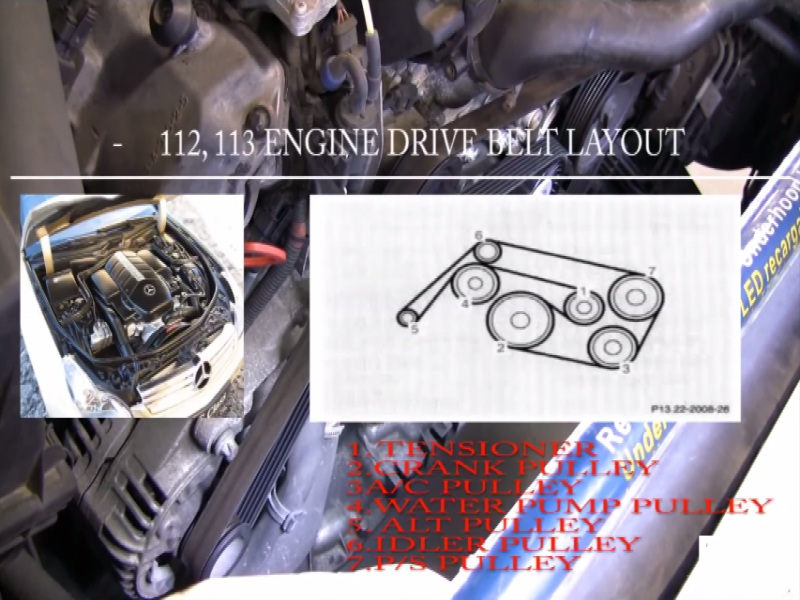
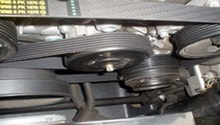
Figure 8. Serpentine belt diagram for the older model engines. 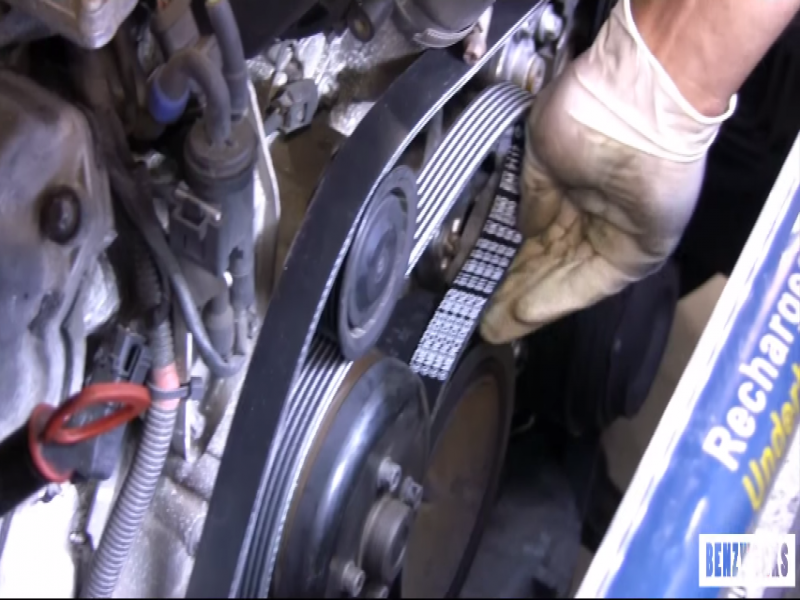
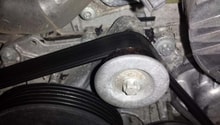
Figure 9. Installing the new serpentine belt. 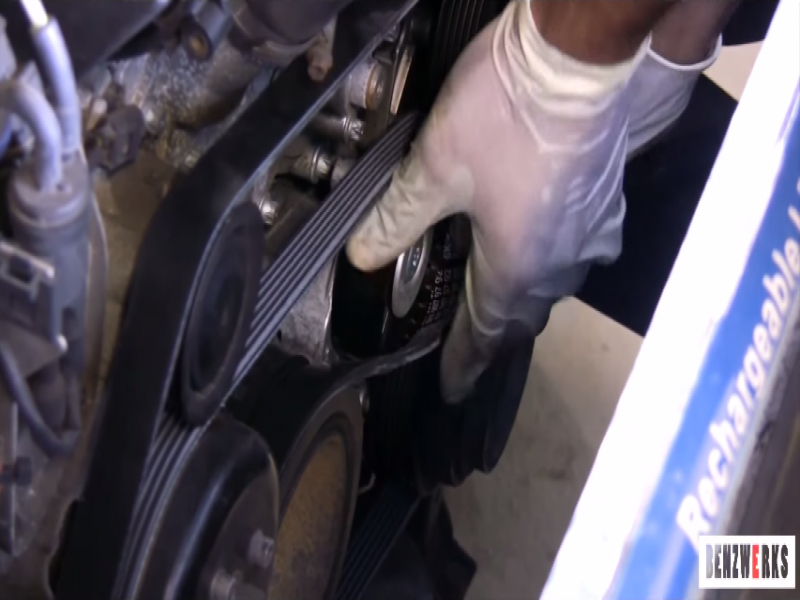
Figure 10. Sliding the belt onto the tensioner pulley. 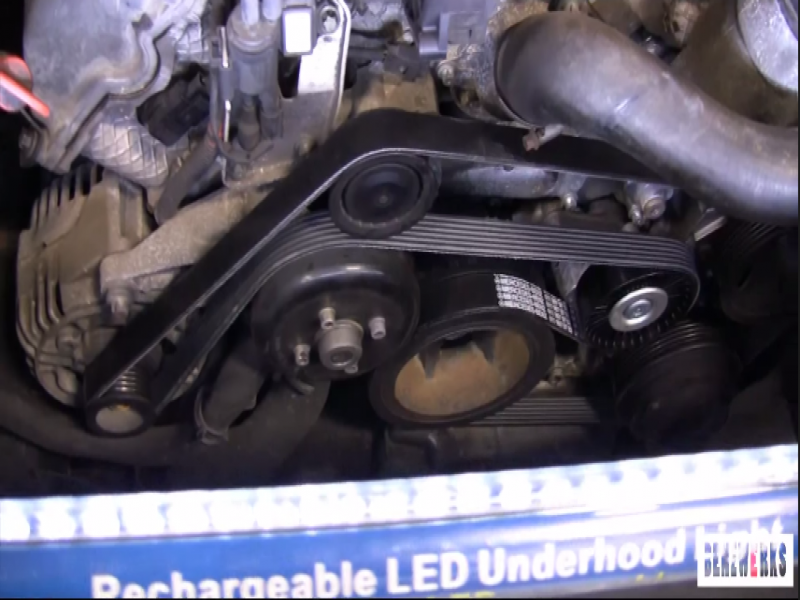
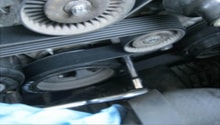
Figure 11. The serpentine belt has been installed.
Featured Video: How to Replace Serpentine Belt on Mercedes-Benz
Related Discussions
- Engine Cover Removal - MBWorld.org
- Serpentine Belt DIY - MBWorld.org