Mercedes-Benz: How to Remove Swirl Marks From Paint
Keep your Mercedes-Benz looking new by removing unsightly swirl marks on your Mercedes-Benz. This article will guide you with safe and effective tips.
This article applies to the Mercedes-Benz C-Class w204/w205, and E-Class w211/w212 (2002-Present).
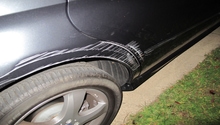
The most effective way to eliminate those dreaded swirl marks on the paint of your Mercedes-Benz is a simple wash and polish. The cost is cheap to do the job yourself, so don't worry about paying a professional. Unless, you want a more in-depth and like-new exterior. Keep reading to learn the methods in removing those swirl marks on your paint as well as prevent them from returning.

Materials Needed
- Water and two buckets
- Wash mitt
- Microfiber cloths
- Applicator pad (optional)
- Car shampoo
- Car polish and wax
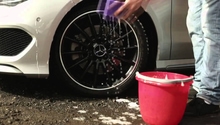
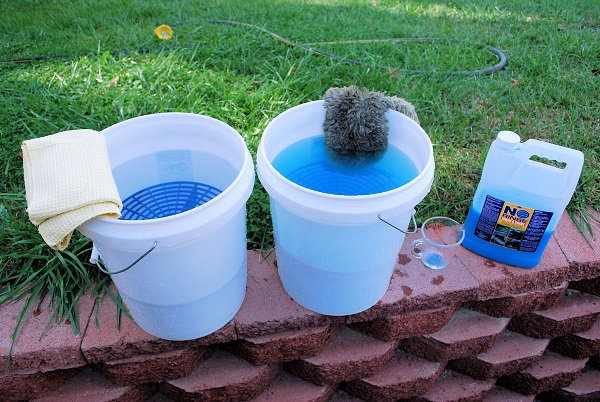
Step 1 – Wash using the two bucket method
The best technique to washing your car is the two bucket method; simply rinse and repeat.
- Fill up one bucket with clean water.
- Pour the car shampoo into another bucket, and fill it with water.
- Wash your car one section at a time.
- Rinse the wash mitt in the bucket with only water before moving on to the next section.
Pro Tip
Use a soft sponge, wool, or sheepskin wash mitt with a reputable, high-quality car shampoo.
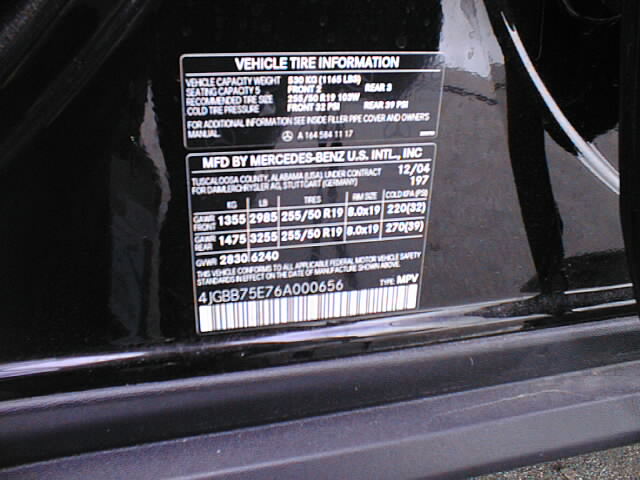
Step 2 – Locate your vehicle's paint code
Located on the driver's side door frame is the three-digit paint code, which indicates whether your vehicle's paint requires a special wash treatment. If the letter "C" is printed before or after the code, your paint is ceramic and does not require buffing. If the paint is not ceramic, it is safe to apply a light polish using a buffer to remove swirl marks.
Pro Tip
It is recommended that you visit professional automotive detailers, especially those who have worked on Mercedes-Benz vehicles. All w212 generations have a ceramic clear-coat, which requires a certain method for washing.
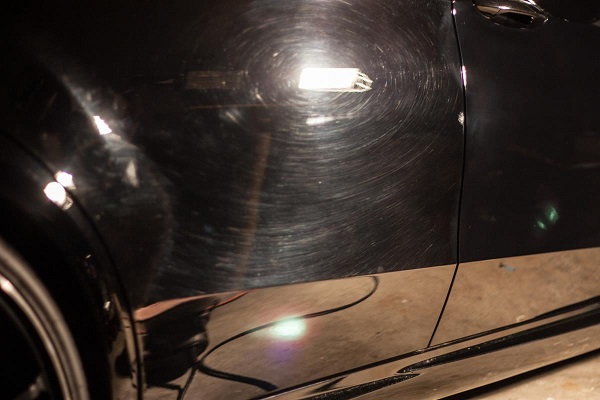
Step 3 – Save buffering for deep scratches
Incorrectly buffering ceramic paint with wax or buffering paint is the primary cause of swirl marks. Before applying wax to your vehicle's paint, make sure it is not ceramic. If not, apply a small amount of wax to each section of the paint, and buff using a microfiber cloth or applicator pad. Make sure to wax the paint in a soft, circular motion, and that there are no swirl marks left behind.
Pro Tip
Polishes and waxes should always be applied by hand using soft, even, circular strokes.
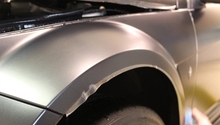
Step 4 – Polish the paint
If not applying wax, you should polish the paint of your vehicle to bring out its shine, and protect it from the elements. Polishing also eliminates swirl marks, and is popular among owners with darker-colored paint. To polish your vehicle, simply apply the polish to a microfiber cloth or applicator pad, and then wipe one section of the body in smooth, circular motions. Allow the polish on each section to sit for at least 15 minutes, and wipe away the excess polish with a clean microfiber cloth.
Pro Tip
Popular brands of polish and wax are Meguiar's Ultimate Polish and Eagle One Nanowax. Professional sealants are also available, which further prevents paint swirl contaminants while giving the paint a smoother finish.
Related Discussions, and Articles
- Tips for Removing Swirl Marks - MBWorld.org
- Best Way to Remove Swirl Marks - MBWorld.org
- How to Make Your Own Car Wax - MBWorld.org
- How to Wash and Wax Your Car - MBWorld.org
- How to Protect Your Paint - MBWorld.org