Mercedes-Benz C-Class AMG: How to Replace Spark Plugs
Replacing the spark plugs is a piece of maintenance that will directly affect your Mercedes-Benz C-Class' performance. So continue reading to learn how to replace them.
This article applies to the Mercedes-Benz C-Class C63 AMG w204 (2007-2014).
An often overlooked maintenance item that is key to a properly running engine is a spark plug. The spark plugs ignite the air/fuel mixture in the combustion chambers via an electrical spark. These small devices, when worn, require more voltage and energy to produce the same amount of spark as a new spark plug. Worn spark plugs can limit performance and reduce fuel economy. In extreme cases, they can also lead to ignition coil failure, which can be detrimental to the engine. For the high-performance M156 engine installed in the C63 AMG, Mercedes recommends a spark plug replacement interval of 60,000 miles, or every five years. This is a straightforward job that can be quickly accomplished and keep your car running in tip-top shape.

Materials Needed
- 3/8" drive ratchet and extension
- Small screwdriver
- T25 and T30 Torx drivers
- Torque wrench
- 14mm spark plug socket
- Dielectric grease
- 1/4 flexible rubber hose
- Feeler gauge or spark plug gap tool
- Anti-seize paste (optional)
Step 1 – Remove front engine cover and airbox assemblies
-
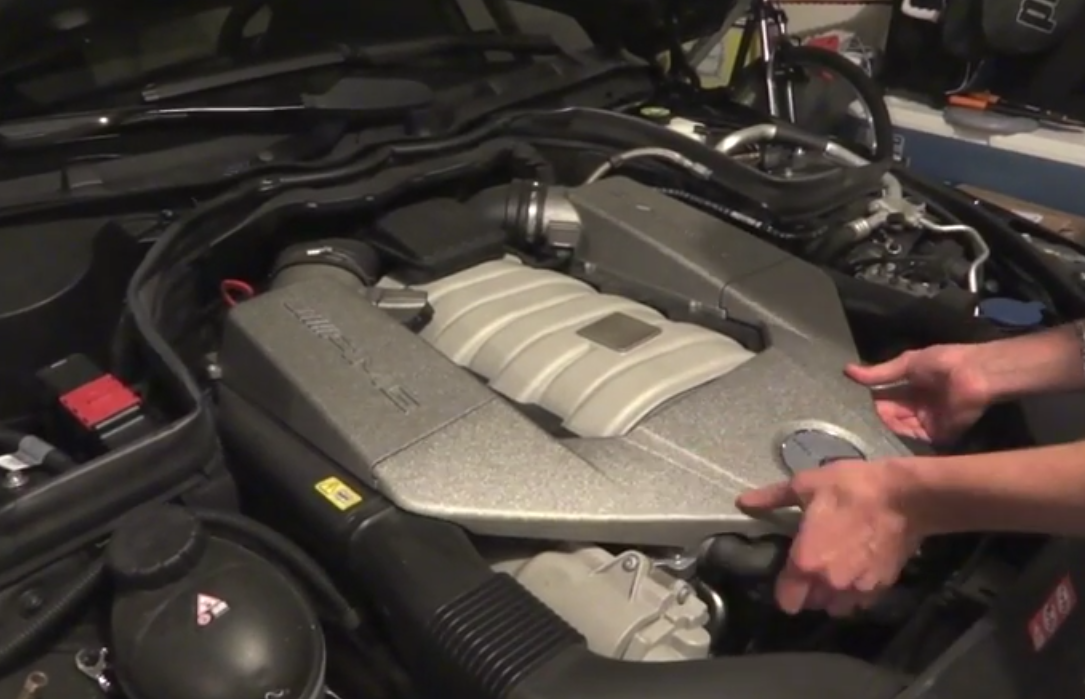
With the hood opened, remove the front engine cover. Simply lift at the front of the cover to dislodge the clips. The cover can be lifted straight up and out of the engine compartment.
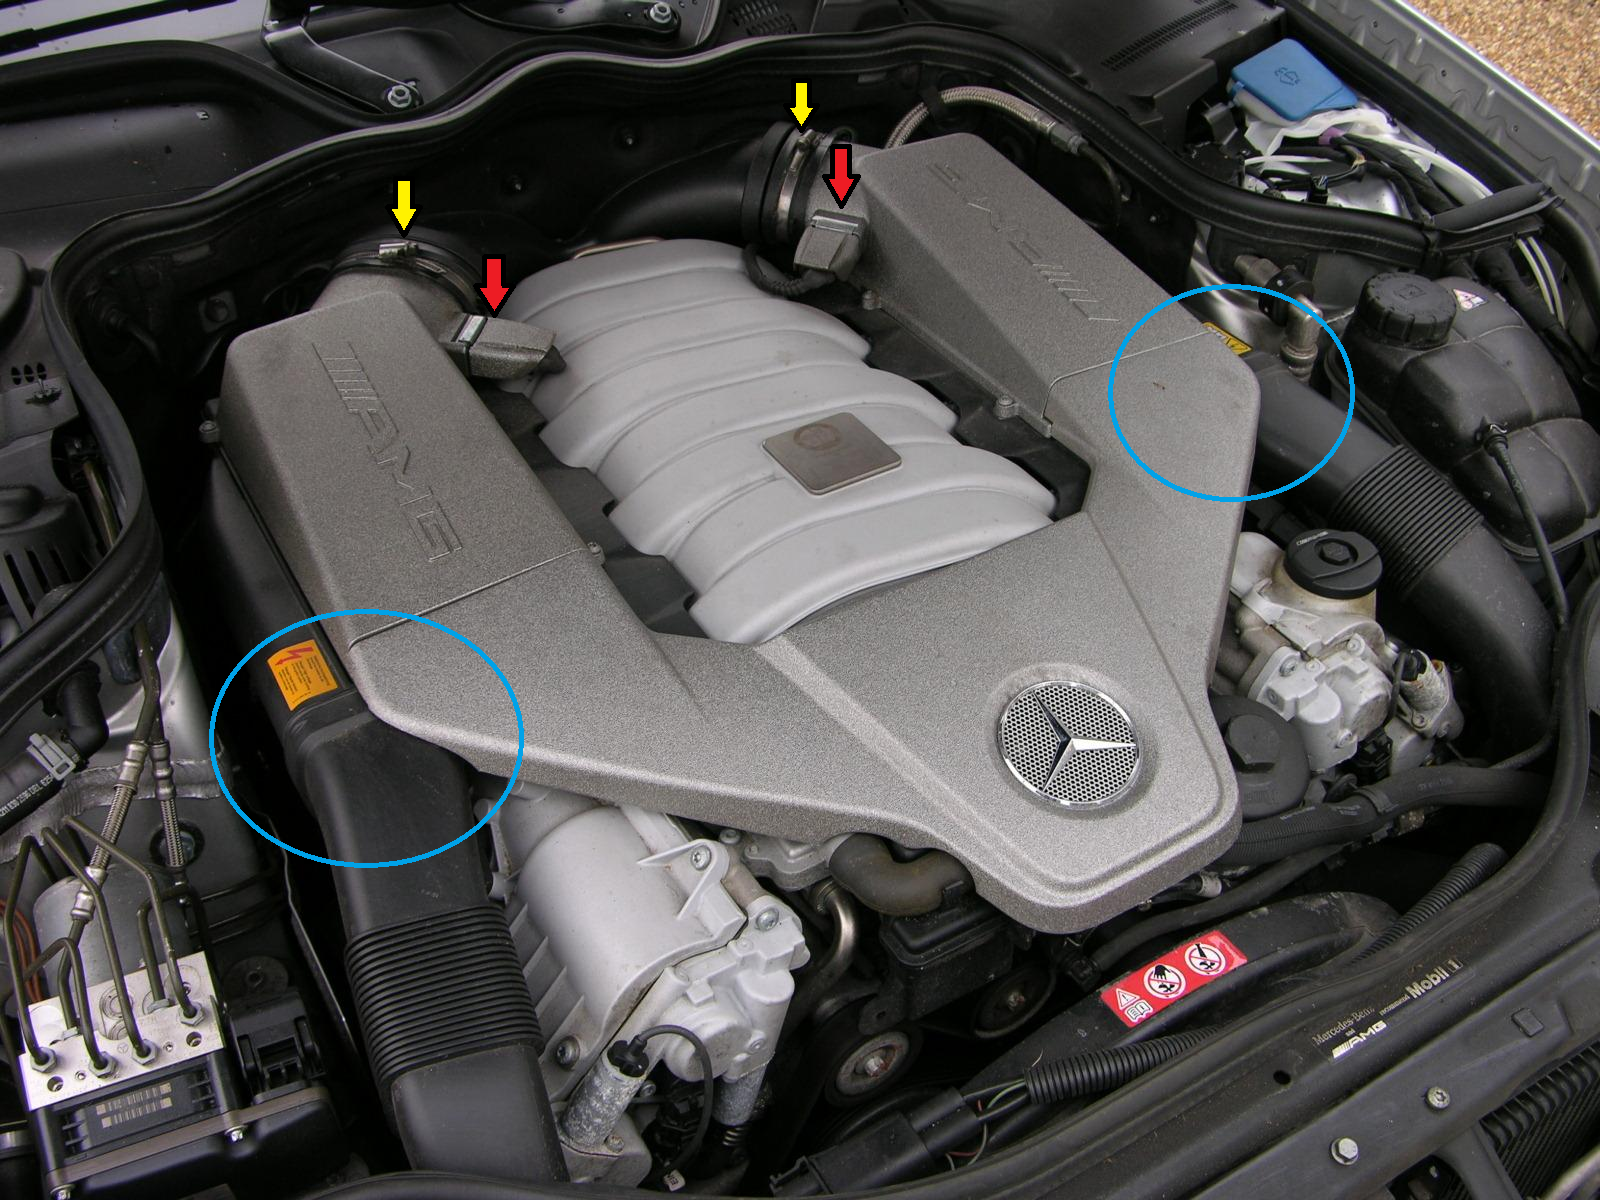
- Disconnect the plastic intake ducts leading to each airbox (circled in blue in Figure 2). They pull straight out and can be moved aside once disconnected.
- Disconnect the mass airflow sensor plugs in the intake tract (red arrows).
-
If removing the airbox assemblies at the Y-pipe, loosen the hose clamps (yellow arrows). Conversely, the Y-pipe can remain connected to the airbox assemblies, but must be removed from the engine intake manifold instead.
-
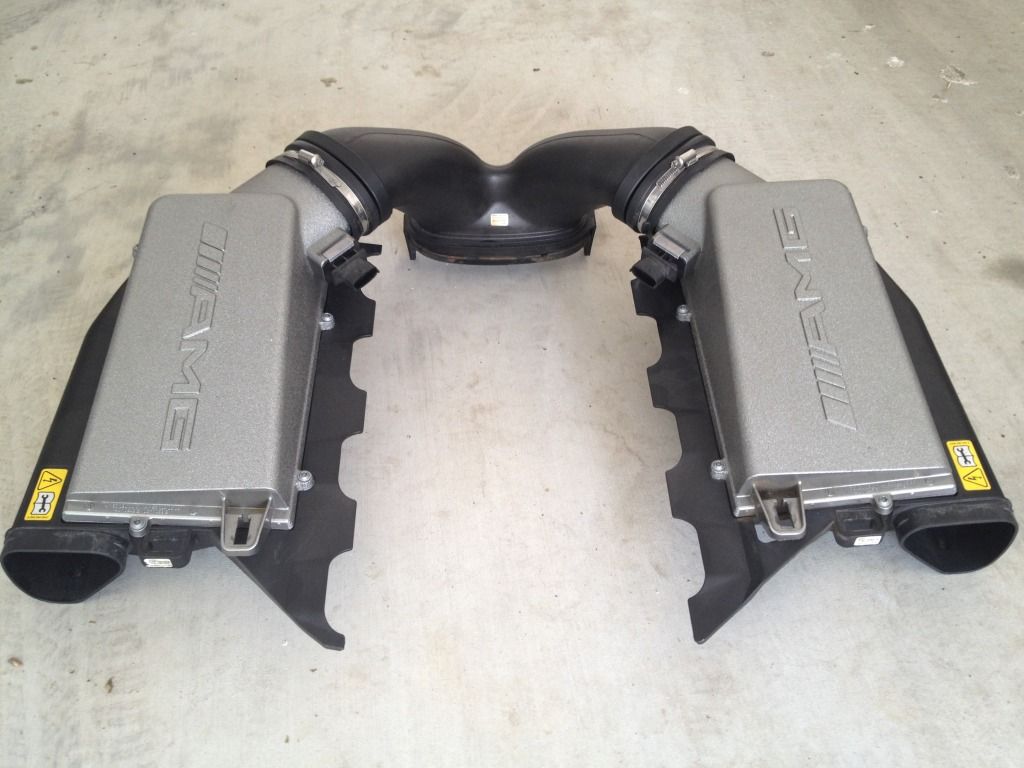
With the plastic intake tubes, mass airflow sensor plugs, and Y-pipe disconnected, the airboxes can be removed from the engine as one complete unit.
-
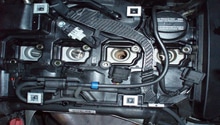
The eight coil packs are now visible on each engine bank.

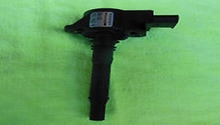
Step 2 – Remove coils and spark plugs
-
Disconnect the electrical plug at each coil by depressing the release tab and pulling away from the coil. This is best accomplished before removing the Torx fasteners to allow for more leverage at the plug. A small screwdriver may come in handy to lift the release tab.
- Remove the two fasteners securing each coil to the engine using a T30 Torx bit.
-
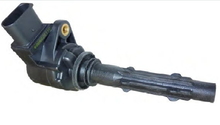
With the fasteners removed, remove the coil from the engine. They may take a bit of wiggling to break free of the spark plugs.
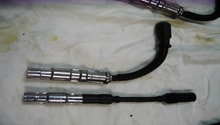
- Loosen the spark plugs using a thin-walled 14mm spark plug socket. Note that a standard 14mm or 9/16" socket can damage the spark plug insulator. If using a standard socket, test it on an old spark plug to ensure no damage will occur when being used to install your new spark plugs.
-
The spark plugs can be a bit tricky to remove as they sit down fairly deep in the head. They can be fished out using the coil boot, or a piece of flexible 1/4" hose can be used to slide over the spark plug insulator and pulled out of the head.


Step 3 – Gap and install new spark plugs
-
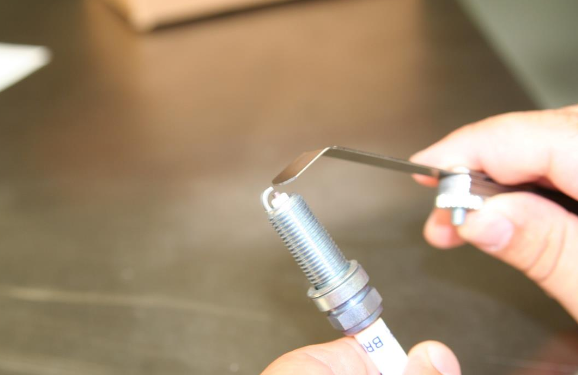
The recommended spark plug gap for the M156 engine is .039-.040" (.990-1.016mm). Most new plugs will come properly gapped, but it is important to check before installing the spark plugs to prevent engine misfires. Use a feeler gauge or spark plug gap tool.
- Apply a small amount of dielectric grease to the tip of the insulator. Also, while not deemed necessary, some individuals opt to apply a very small amount of anti-seize paste to the spark plugs' threads. This is a highly debatable topic as the application of anti-seize will change the torque value when applied to any type of fastener. If using anti-seize, be sure to not over-tighten the spark plugs or you may risk damaging the threads in the cylinder head.
- Install spark plugs and torque between 15 to 18 ft./lbs.

Step 4 – Reassemble
With the new spark plugs installed and properly torqued, all components can now be re-installed.
- Install coils onto spark plugs, making sure they are properly seated.
- Tighten coil T30 Torx fasteners to 15 ft./lbs.
- Connect electrical plugs with companion ignition coils.
- Re-install the airbox assemblies and plastic intake tubing. Connect the mass airflow sensor plugs.
- Install front engine cover.
With everything reassembled, the car can be started to ensure the engine is running properly.
Related Discussions
- DIY M156 Spark Plugs - MBWorld.org
- Spark Plug Special Tool - MBWorld.org
- Spark Plugs - MBWorld.org