Mercedes-Benz C-Class and C-Class AMG: How to Remove Center Console
Need to remove your center console but don't know where to start? This article will show you how to get the job done on your C-Class or C-Class AMG quickly and without frustration.
This article applies to the Mercedes-Benz C-Class and C-Class AMG (2007-2014).
Whether you are trying to refurbish some scratched-up interior pieces, need to replace a broken part, or want to investigate an odd noise, removing the center console is a job that most DIY'ers will eventually take on. Like most cars (especially modern ones), the Mercedes-Benz C-Class and C-Class AMG models have their own unique quirks when it comes to console removal. Keep reading to learn how to remove it without doing any expensive damage in the process.

Materials Needed
- Torx T20 screwdriver
- Plastic spatula or trim removal tool
Step 1 – Remove trim pieces
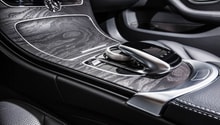
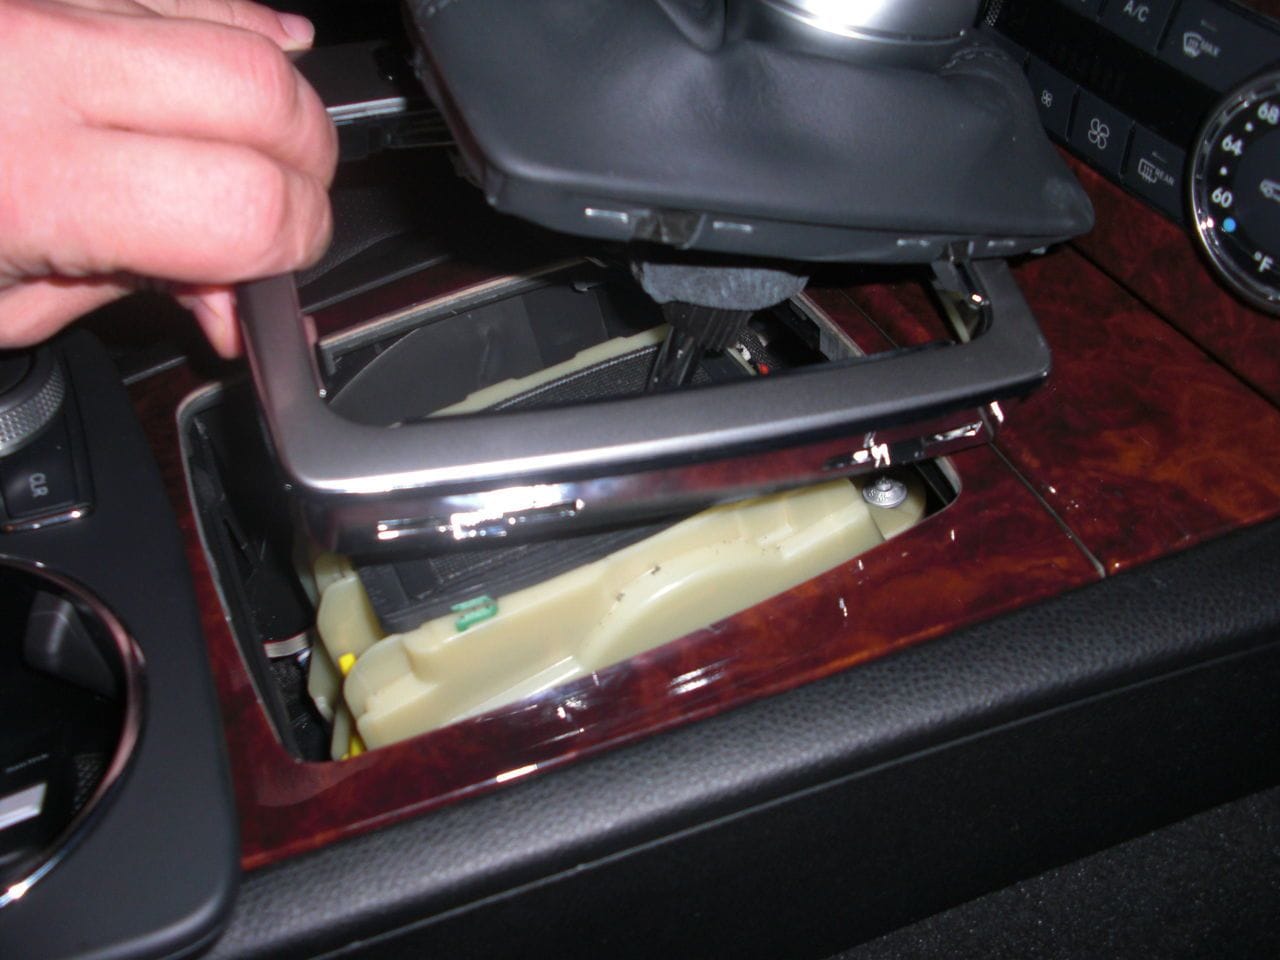
- Pull the coin holder out by hand and remove the screw underneath it. Starting from the front and working to the back, gently pull up to remove the plastic cover that goes around the cup holders and stereo control knob.
- Remove the leather shifter boot by pushing it from right to left near where it meets the silver trim piece. Remove this trim piece using a plastic spatula or plastic trim removal tool.
- Remove the wood trim around the shifter using the tool again, working from the front, and slide it forward.
- Lay all trim pieces aside so they don't scratch any of your interior components.
Step 2 – Remove screws
- First, remove the three screws on the front of the arm rest. One holds a switch down, while the other two hold down the arm rest itself.
- Remove the air vent by pulling it straight up. It takes a little force to get this particular piece out, so don't be alarmed.
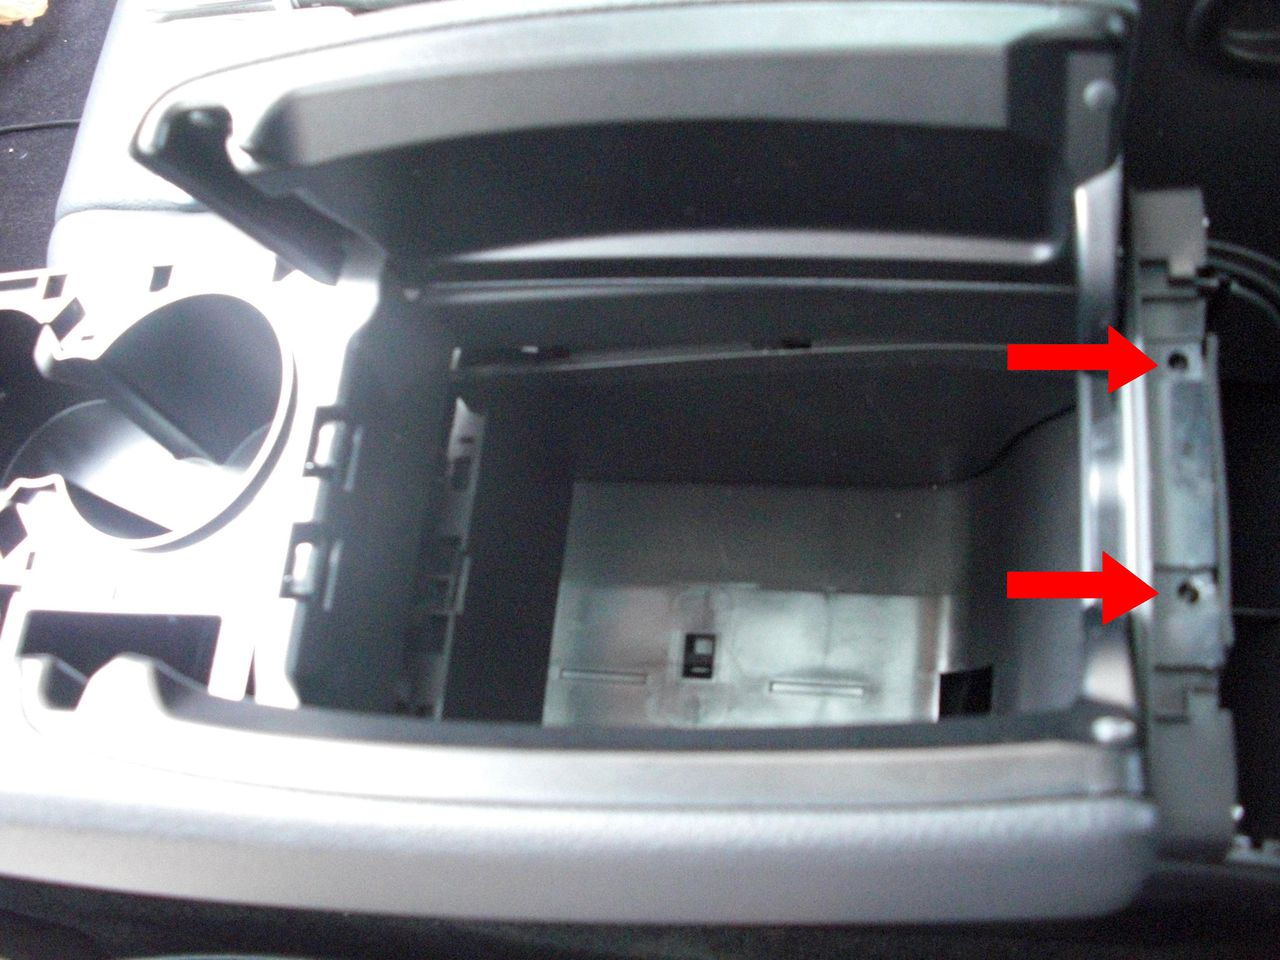
- Once the air vent is removed, you'll see two more screws holding down the armrest. Remove them and the five screws that hold down the center console itself. There are two in the back and three in the front.
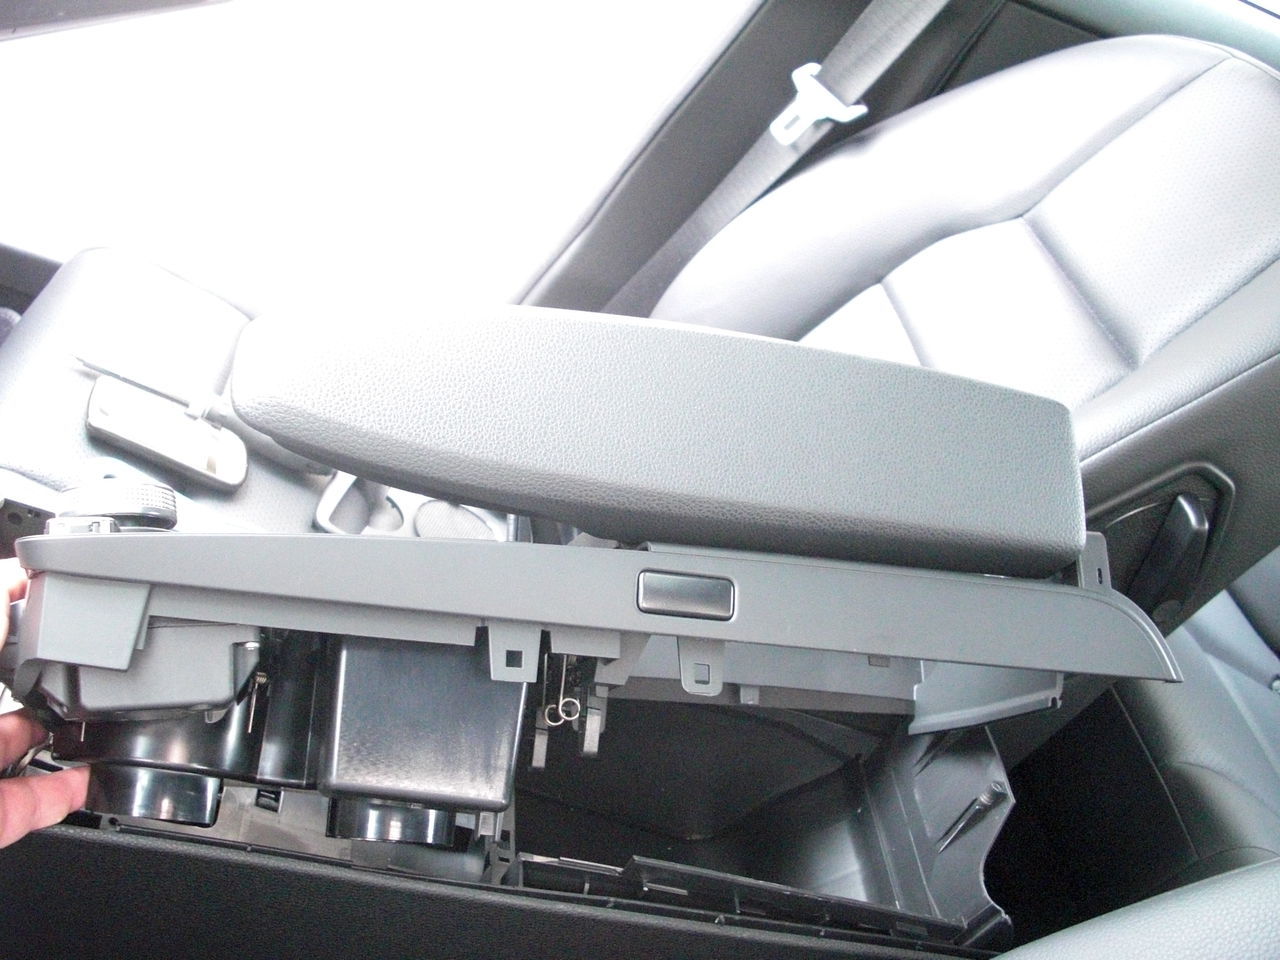
Step 3 – Unplug wiring and remove console
There is a switch that must be unplugged before pulling the console out. It is very important to unplug this and run the wire down so that it can be pulled out with the switch without ripping it out. With the switch and wiring out of the way, push in from each side and pull straight up on the arm rest to remove it. Be sure and feed the wire and switch through so they don't get caught on anything.
Related Discussions
- DIY Center Console Removal - MBWorld.org
- Permanently Route AUX Cable - MBWorld.org
- Rattling Noise Coming From Center Console - MBWorld.org