Removing the interior trim of your W212 E-Class might sound intimidating, but it's actually quite simple. You will need a few basic tools and a bit of free time to complete the process.
By Kate Halse - June 2, 2015
Contributors: mb techman
This article applies to the Mercedes-Benz E-Class (2009-Present).
Fortunately, Mercedes-Benz has constructed the interior trim pieces to be user friendly. In fact, you can successfully remove your E-Class' dash trim without any prior experience. With a few simple tools and some extra time, you can easily swap out the interior trim of your W212 with something more befitting to your taste. In this article, we've provided the steps to properly remove your vehicle's interior trim. Installing the new one is exactly the opposite of removing the old one, and just as simple.
Materials Needed
Trim removal tool
T20 Torx screwdriver
Pick
Step 1 – Remove the driver side trim
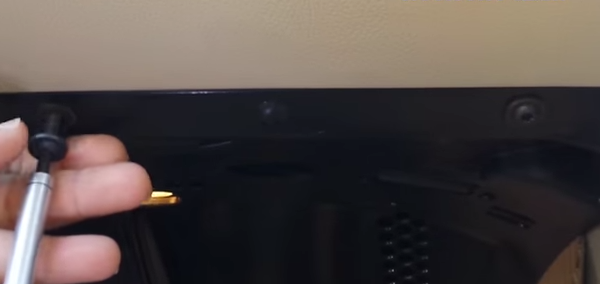
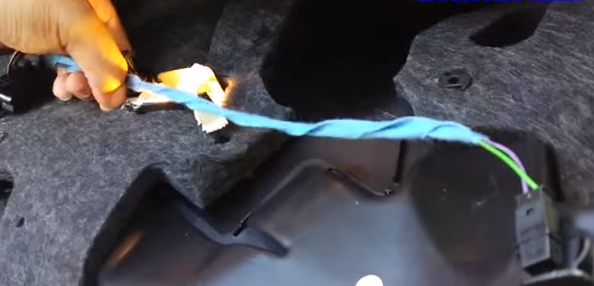
At the top of the driver side lower dash panel are three T20 Torx screws. Remove the screws and pull out the panel slightly. Free the wire harnesses clipped to the inside of the dash panel and unplug the wire connectors. Then completely remove the panel and set it aside. Use a trim removal tool to pry out the A/C vent from the left side of the vent's trim.
Figure 1. Remove Torx screws from the lower dash.
Figure 2. Detach wire harness from the lower dash.
Step 2 – Remove the center and passenger side trim
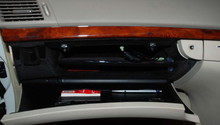
Open the glove box. Use a pick to undo the clips holding the top center light and compartment liner in place. With the clips undone, gently pull out and loosen the bottom side of the trim directly above the glove box. Do not attempt to remove the trim as it is still connected to the A/C vent.
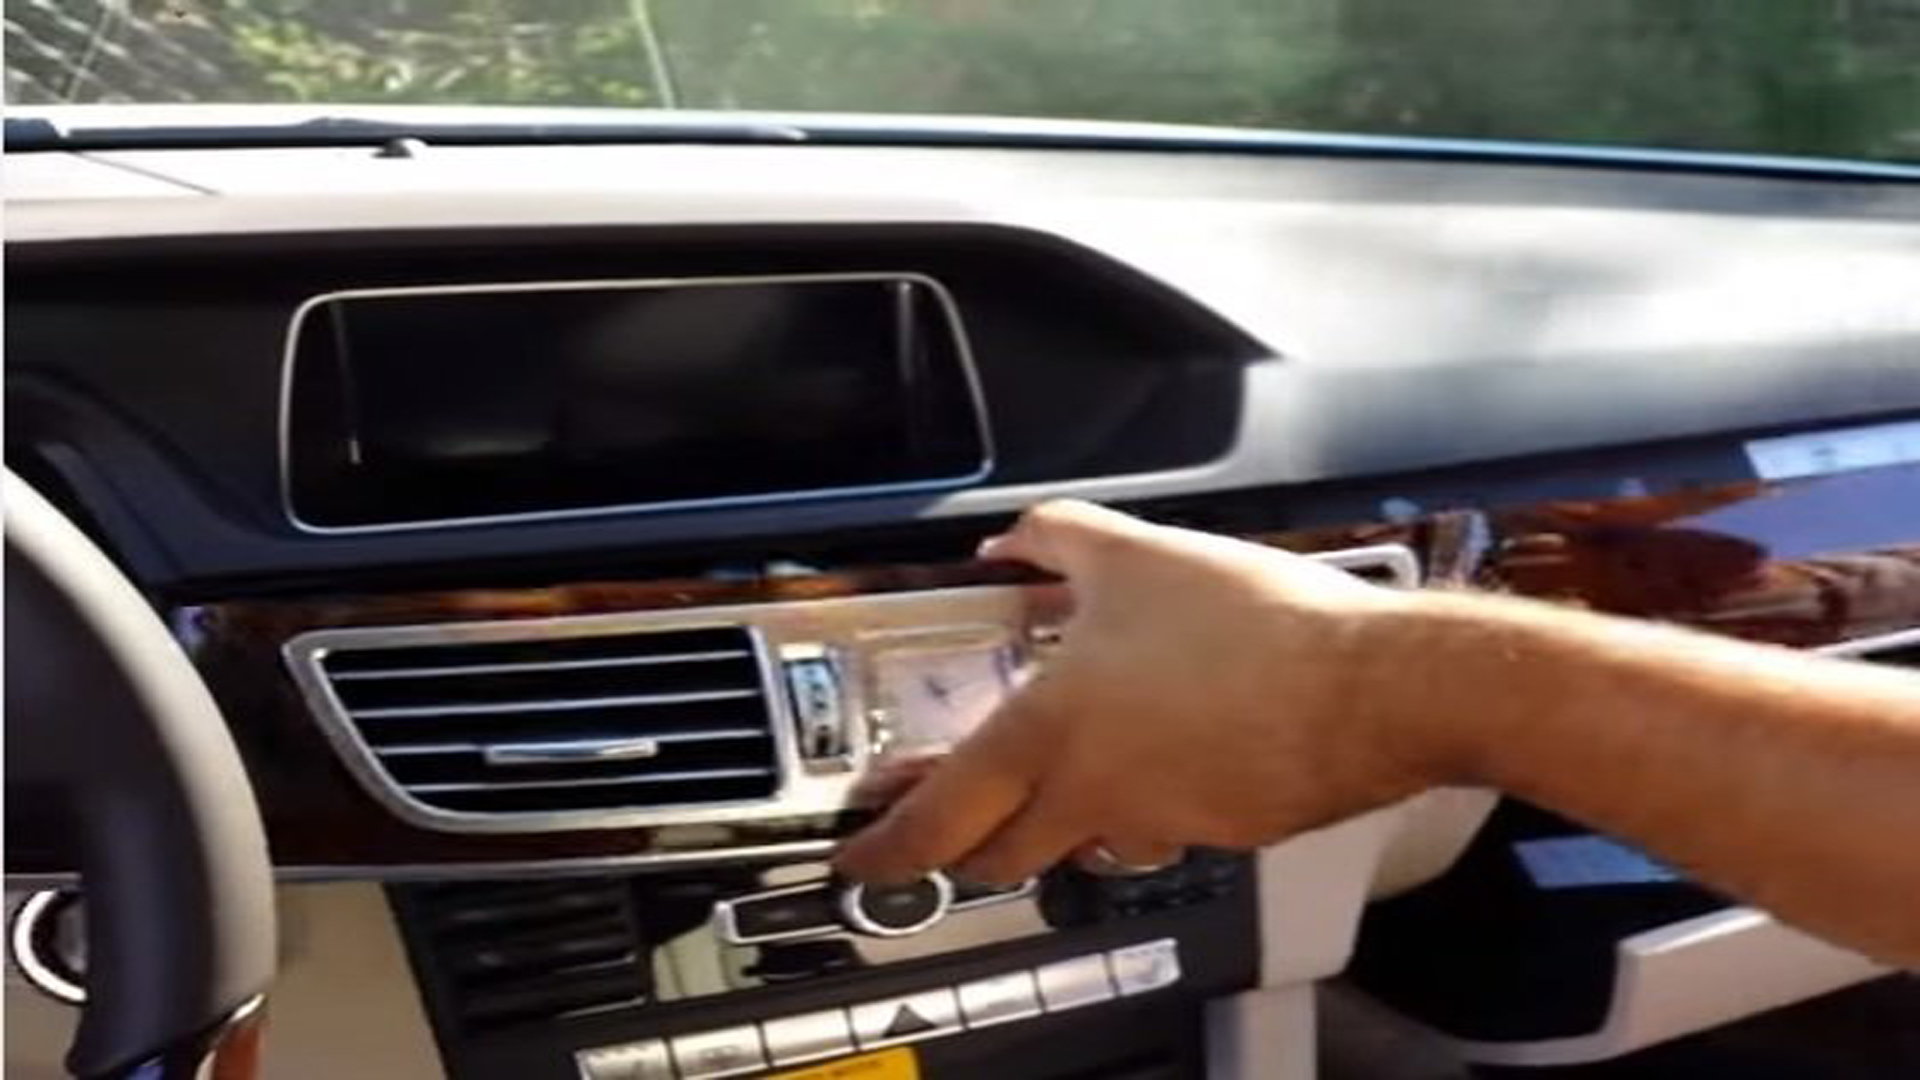
Move to the center console trim and use the trim removal tool to pry it out from the left side of the vent. Pull out but do not completely remove the trim. Unplug the three wire connectors behind the clock.
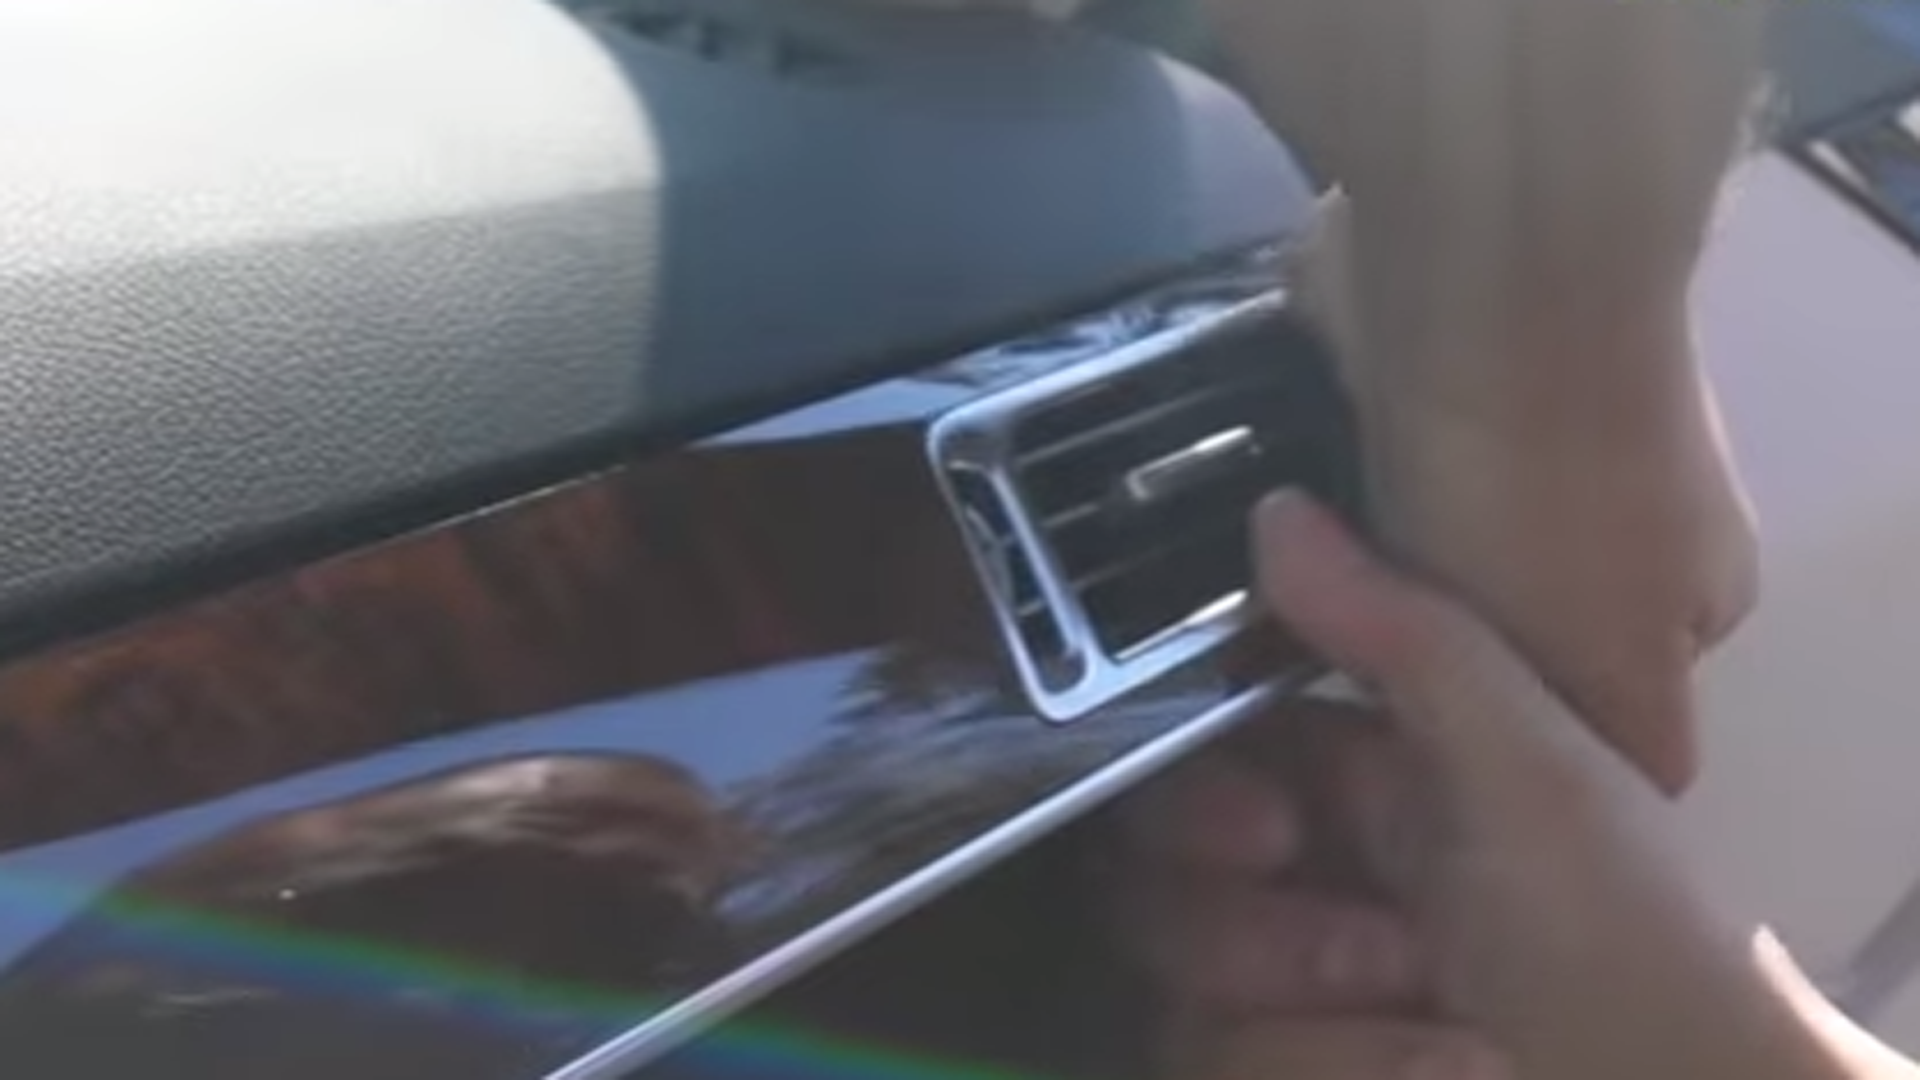
Move back to the passenger side vent and gently undo the clips on the top side of the glove box trim. Remove the entire trim piece and set it aside.
Figure 3. Remove the center console trim piece.
Figure 4. Remove the passenger side trim piece.
Step 3 – Remove the instrument cluster trim
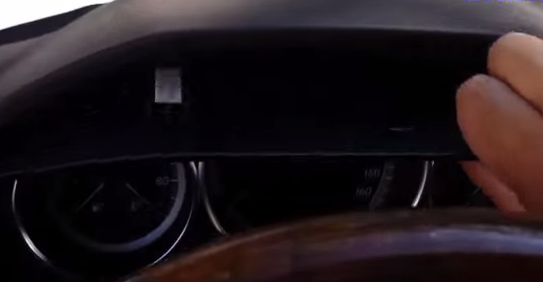
Use the trim removal tool to undo three clips on the top side of the instrument cluster's surrounding panel. There are two more clips on each bottom corner of the panel. Pull the top of the panel forward until you hear the bottom clips snap out and remove the panel.
Figure 5. Un-clip the instrument cluster panel.
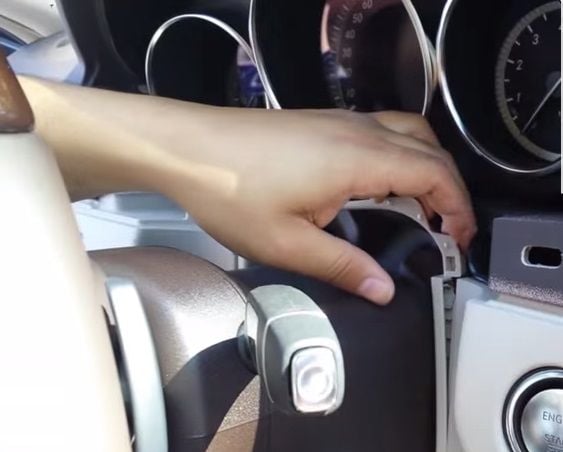
Step 4 – Remove the steering column trim
With the instrument cluster's panel removed, simply use your hands to pull out the surrounding steering column plastic trim. Start removing the trim from above the column and work your way down using the trim removal tool to detach the side clips.
How to Install Compustar Remote Start
Tired of entering into a cold car during the winter? Stop putting up with it! Find out how to install a remote starter in your Mercedes-Benz w204.
This article applies to the ...
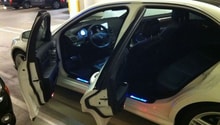
How to Install Illuminated Door Sills
Read on to learn how to add this great component yourself.
This article applies to the Mercedes-Benz C-Class (2007-2014).
While the design of the Mercedes-Benz C-Class ...
How to Remove Door Panel and Replace Speakers
Are you looking to replace or upgrade the speakers in your Mercedes-Benz E-Class? Click on this article link to learn how.
This article applies to the Mercedes E-Class ...
How to Install a V-1 Radar Detector
Stay on the defensive with the Valentine-1 (V-1) radar detector, the early warning system for radar traps.
This article applies to the Mercedes-Benz E-Class (2009-Present).
The ...
How to Install Rear View Camera
OneWayAutoSports
Do you want to install a rear view camera on your Mercedes-Benz w212? Read this article to learn how.
This article applies to the Mercedes Benz E-Class w212 ...
How to Replace Glove Compartment
Replacing the glove compartment in your new w212 E-Class is easy than you think. Read on to learn how.
This article applies to the Mercedes-Benz E-Class w212 (2009-Present).
If the ...