Mercedes-Benz C-Class: How to Install Illuminated Star
The illuminated star is an accessory that adds substance and style to your Mercedes-Benz C-Class. This article will provide the steps to install this glowing emblem yourself.
This article applies to the Mercedes-Benz C-Class (2014-Present).
The illuminated star emblem is not a standard feature for the Mercedes-Benz C-Class. So if you opted out of this option when building your w205, you will always have a choice to install an OEM illuminated star whenever you please. This emblem lights up whenever the car is started. It offers an impressive, yet subtle front end look to the vehicle. It's certainly noticeable, but is in no way distracting to other drivers, which makes for a classy addition. Typically, it is installed at the dealership, but they charge a hefty fee for a job that just as easily can be done on your own. Follow the instructions below to learn how to install the illuminated star yourself.

Materials Needed
- OEM LED illuminated star with electrical wiring harness
- Rubber grommet
- Electrical tape
- 5 Amp fuse
- Torx screwdriver
- Flat head screwdriver
- Drill with 3/4" bit
- Tape measure
- Marker
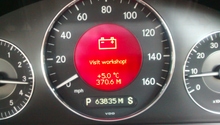
As a safety precaution, make sure to disconnect the battery before you start this installation.
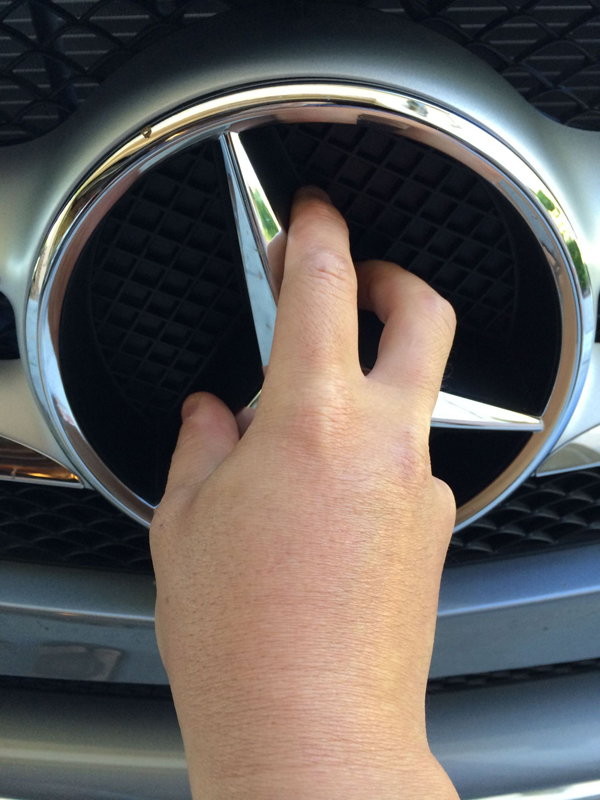
Step 1 – Remove the original star
To remove the star emblem, simply rotate it clockwise and pull it straight out from the grille.
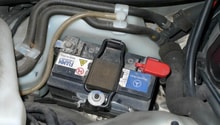
Step 2 – Remove the fuse/relay module
Open the hood, and locate the fuse box. Use a Torx screwdriver to remove the two screws from the fuse box cover, and remove it altogether. There are three tabs securing the fuse/relay module to the fuse box. With a flat head screwdriver, carefully pry out the module from either side.
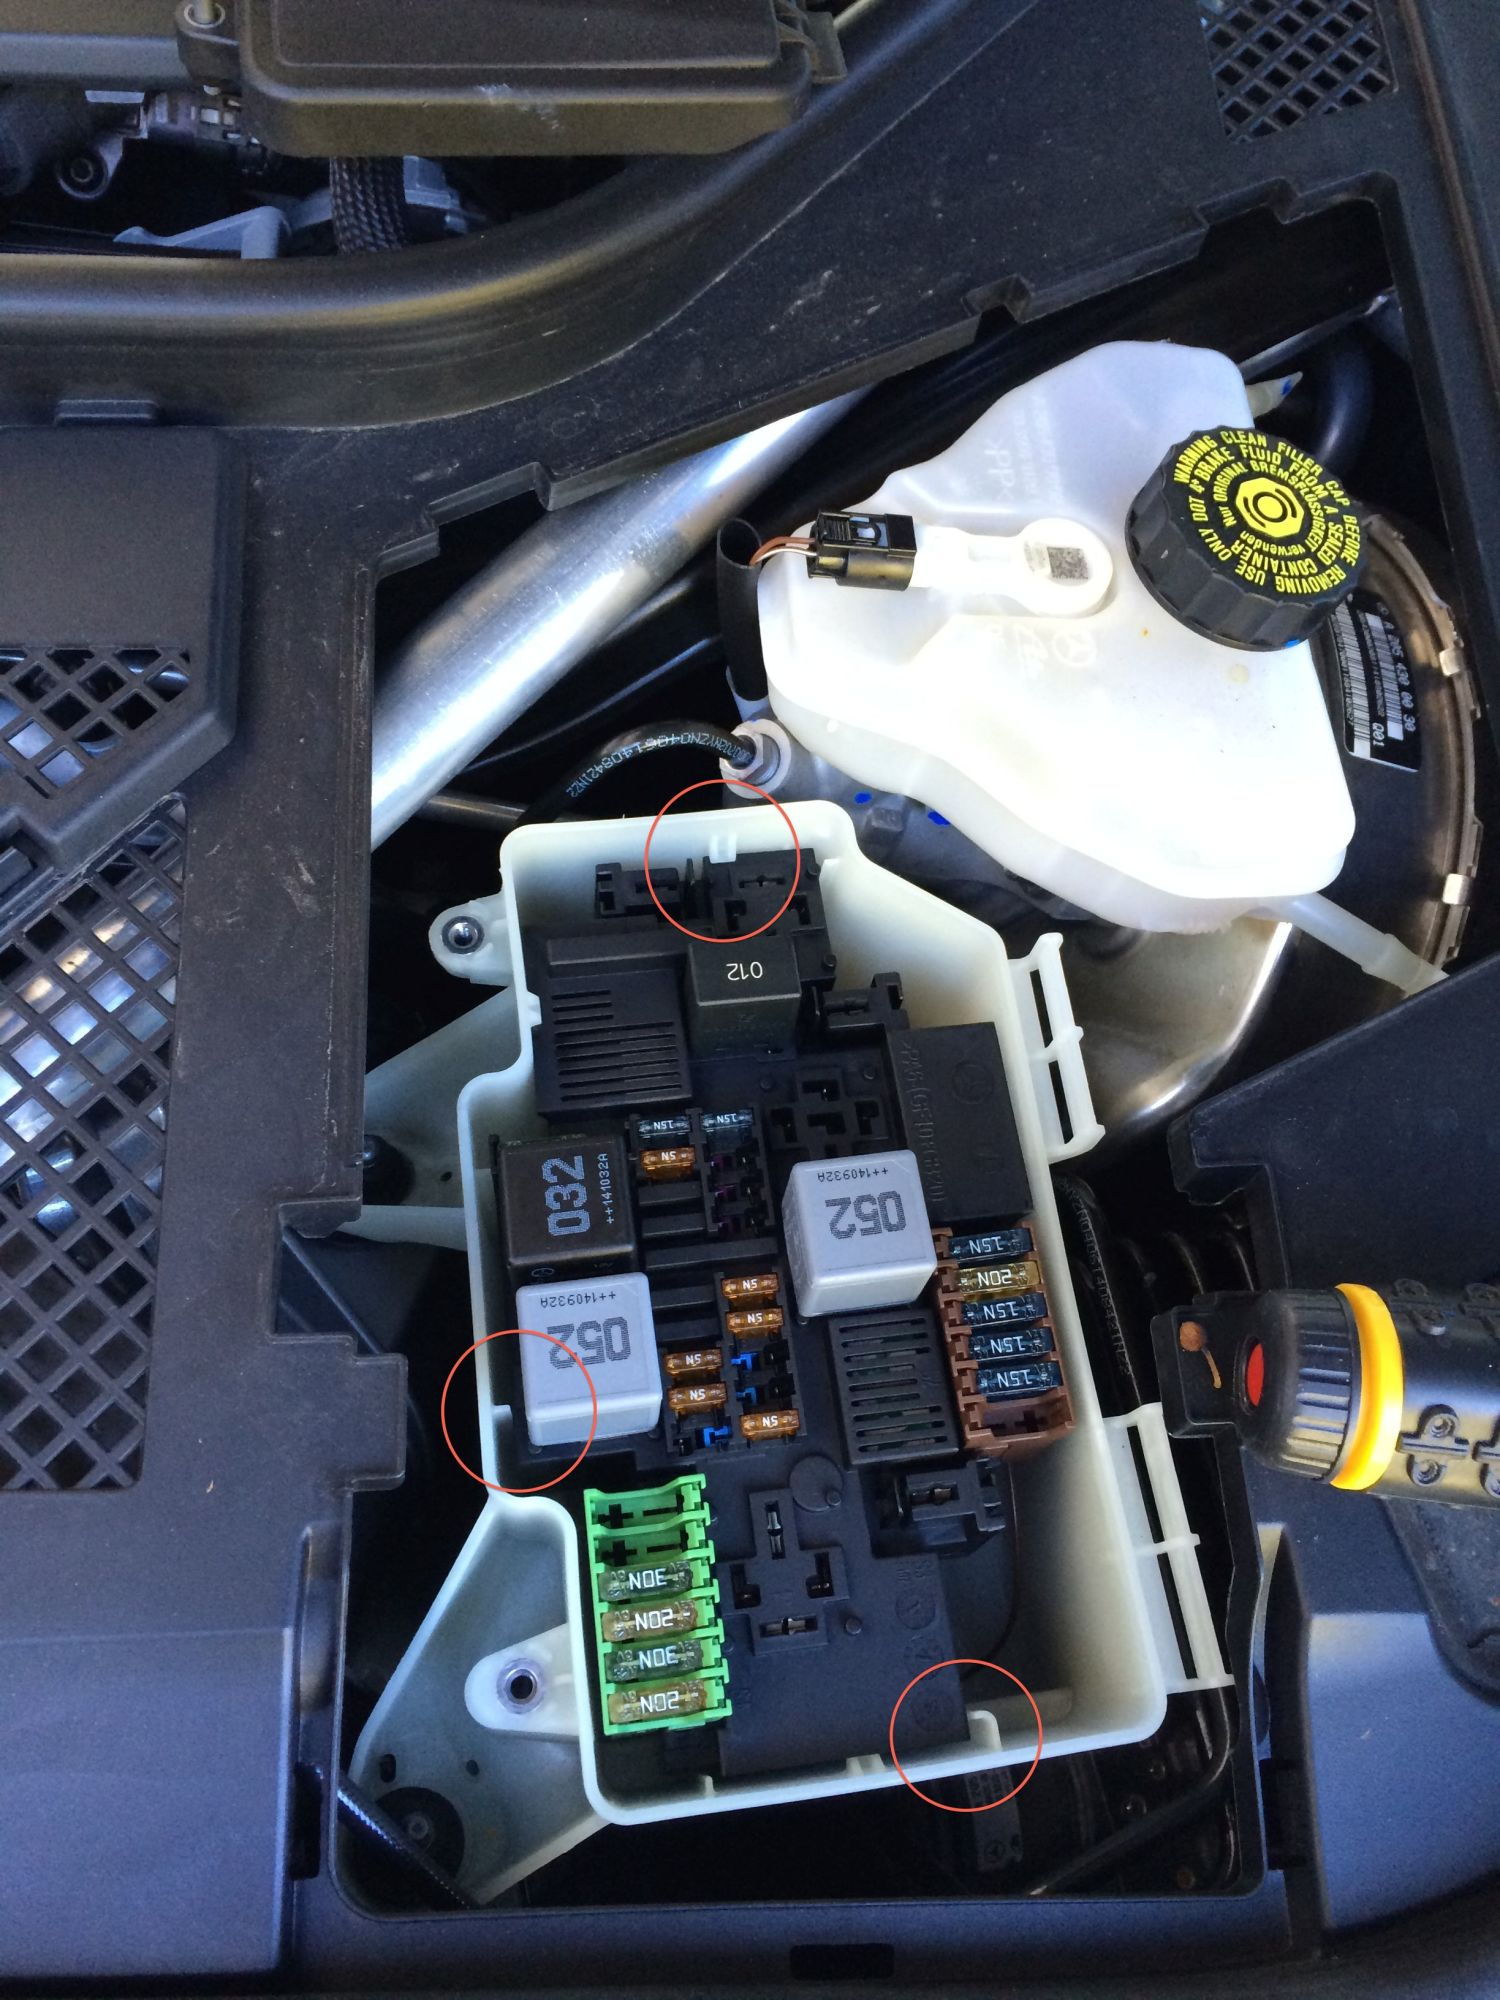
Figure 2. Free fuse/relay module from the tabs (circle in red). 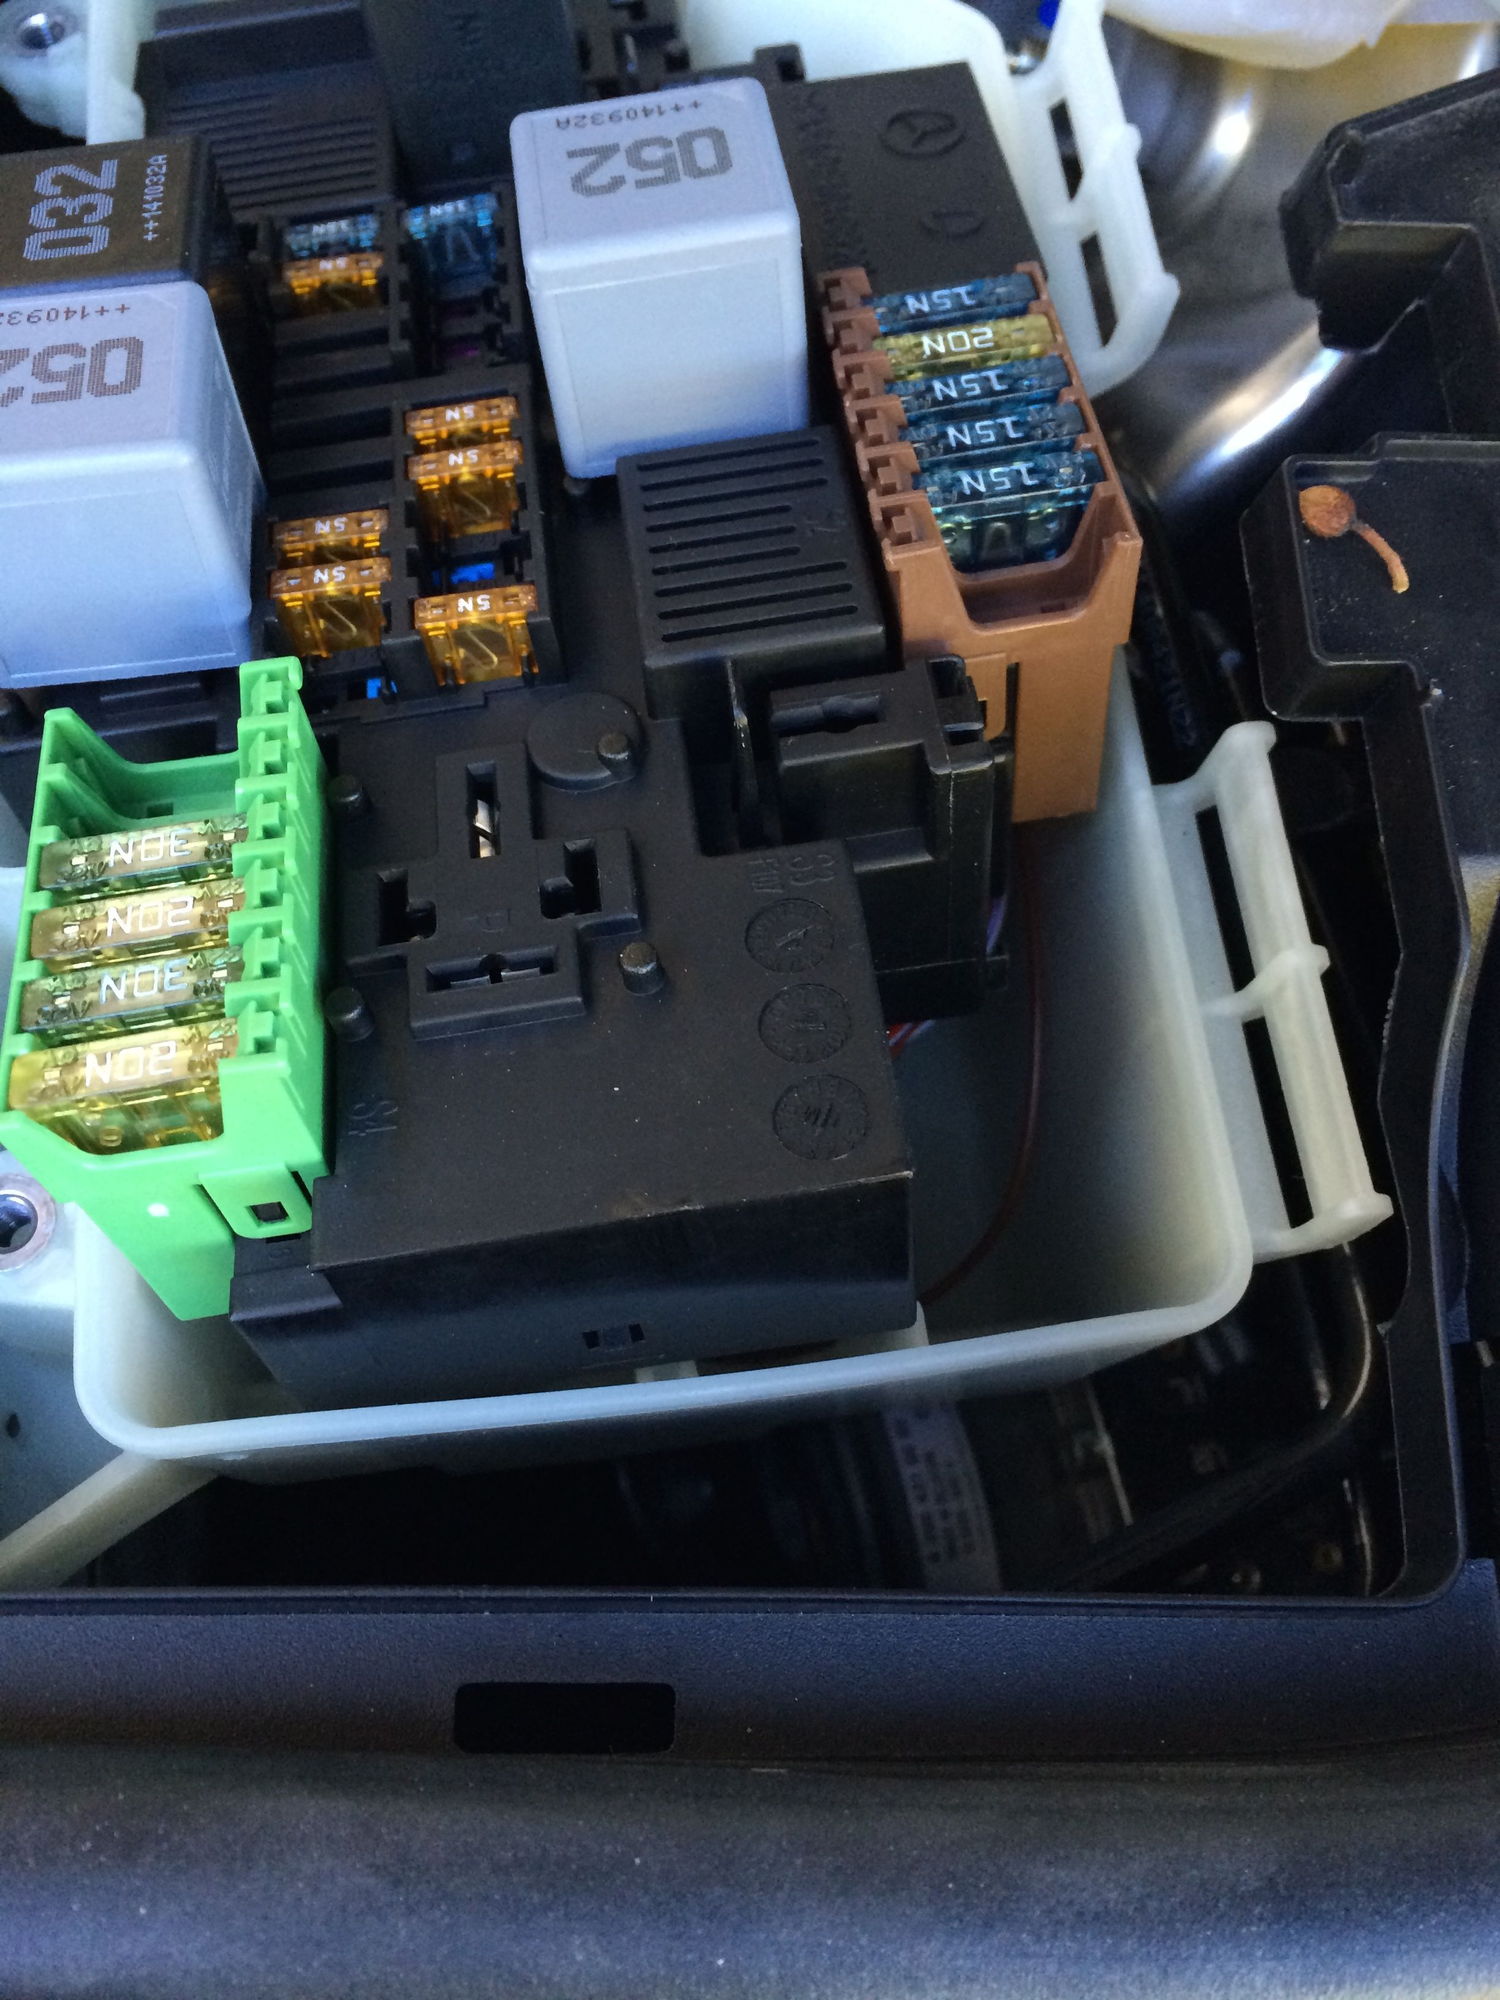
Figure 3. Fuse/relay module removed.
Step 3 – Drill a hole into the fuse box
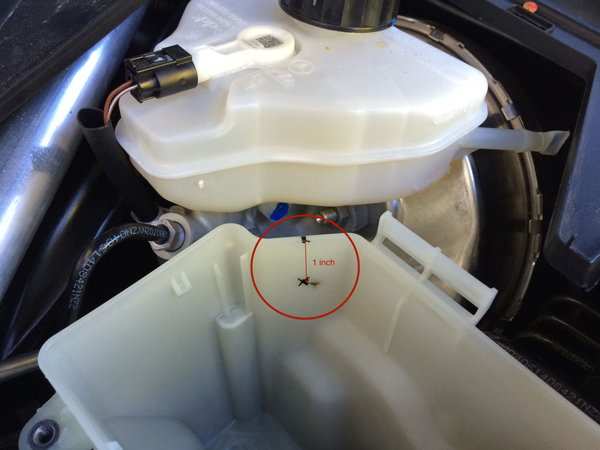
On the corner nearest to the the brake fluid reservoir, draw an "x" one inch below the top of the fuse box. Then, drill a 3/4" hole where you placed the mark.
Step 4 – Connect wire harness to the fuse/relay module
Insert a large rubber grommet into the 3/4" hole from inside of the fuse box. Then, slip the new wire harness through the hole and grommet. Connect the wire to the back of the relay module by inserting it into pin-8 of the S8 connector. Place the fuse/relay module back into the fuse box, and insert a 5 Amp fuse into position F123B.
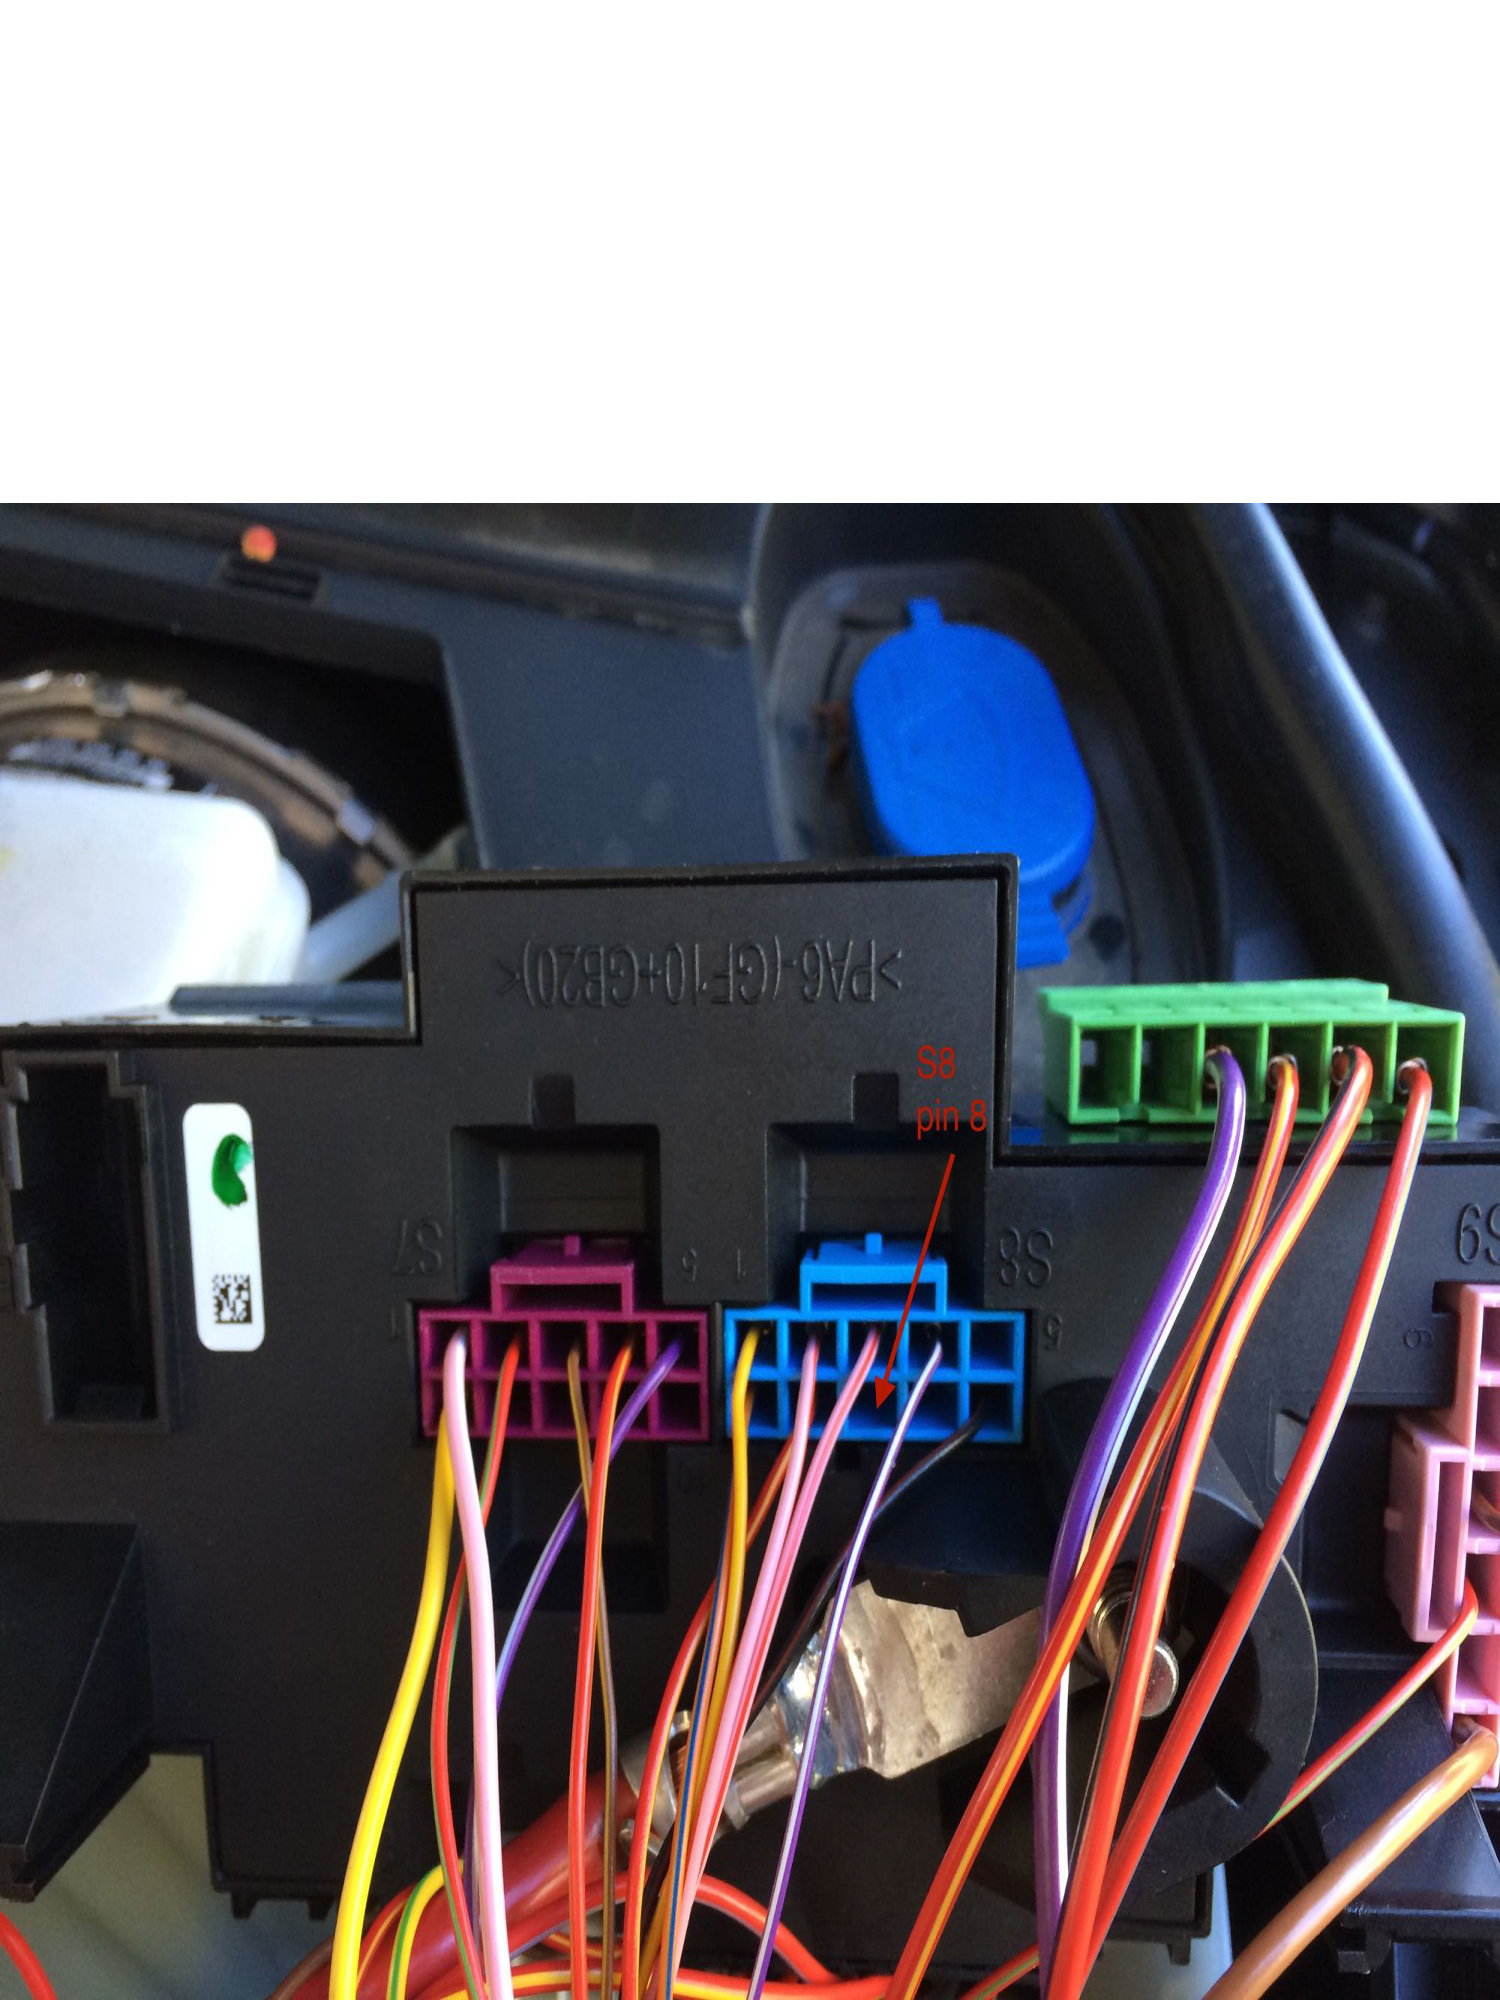
Figure 5. Insert wire into pin-8 of the S8 connector. 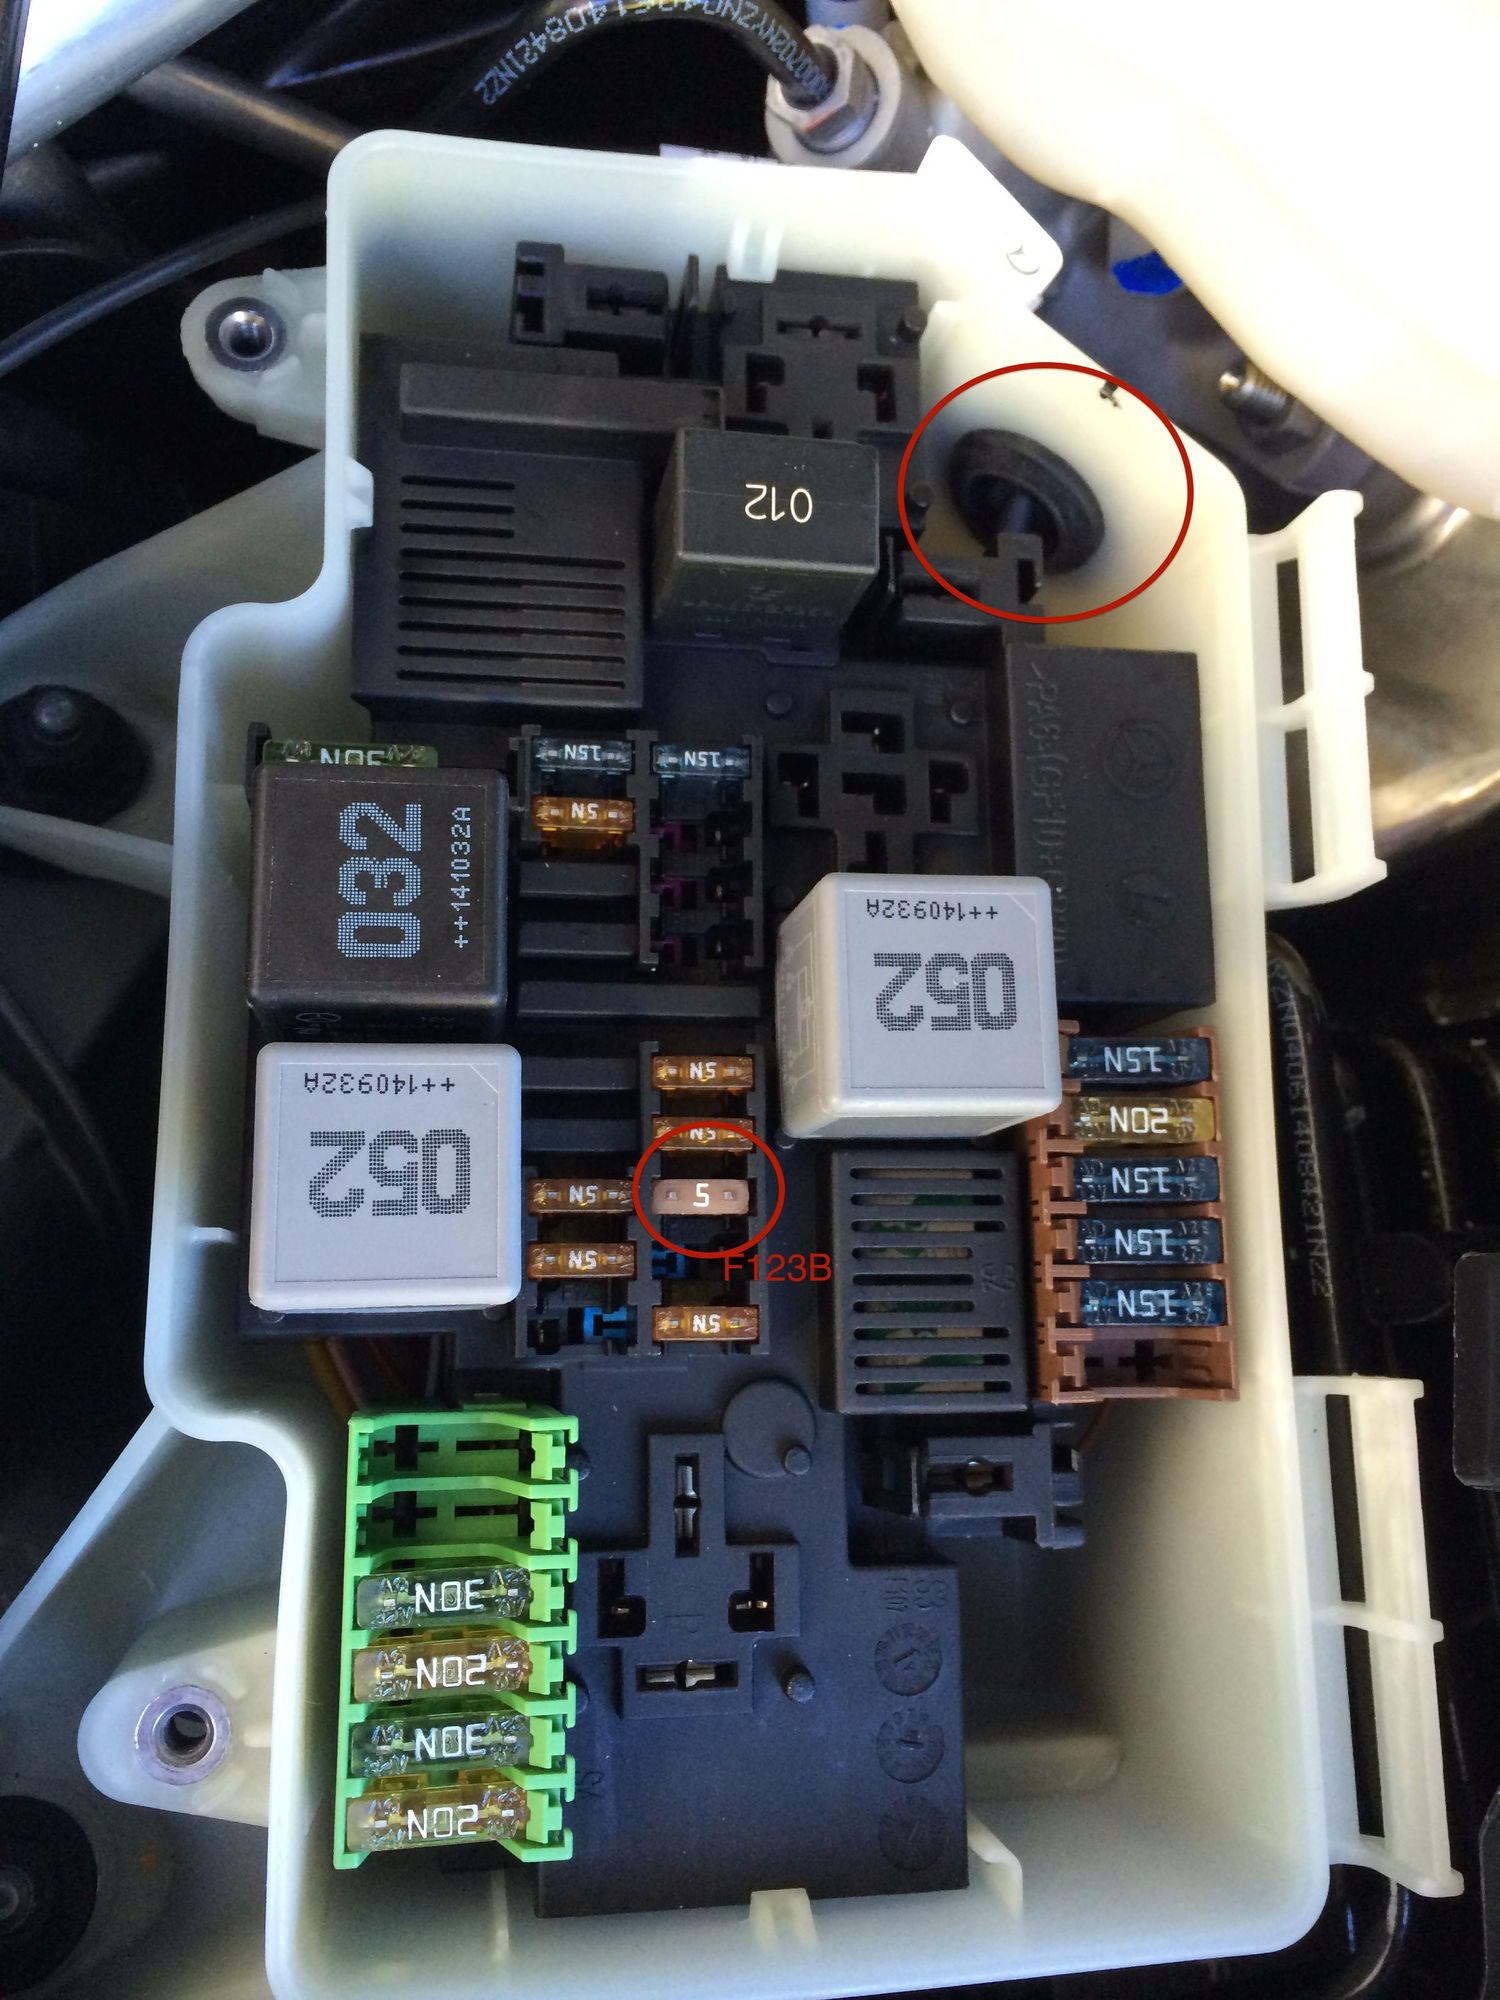
Figure 6. 5 Amp fuse inserted into position F123B.
Step 5 – Connect the illuminated star wire harness
Remove the plastic panel over the radiator by popping out a series of plastic rivets. Route the ground wire of the electrical harness to the ground terminal located on the front right corner of the engine bay. Then, connect it to the terminal. Route the connecting wire over the radiator, and connect it to the illuminated star. Install the star to the grill. Reconnect the battery, and start the car to test the new star emblem. When completed with the installation, re-install the removed front end components.
- Fuse box cover: It should snap back into place.
- Radiator cover: It has six plastic rivets.
- Fuse box cover: It has two Torx screws.
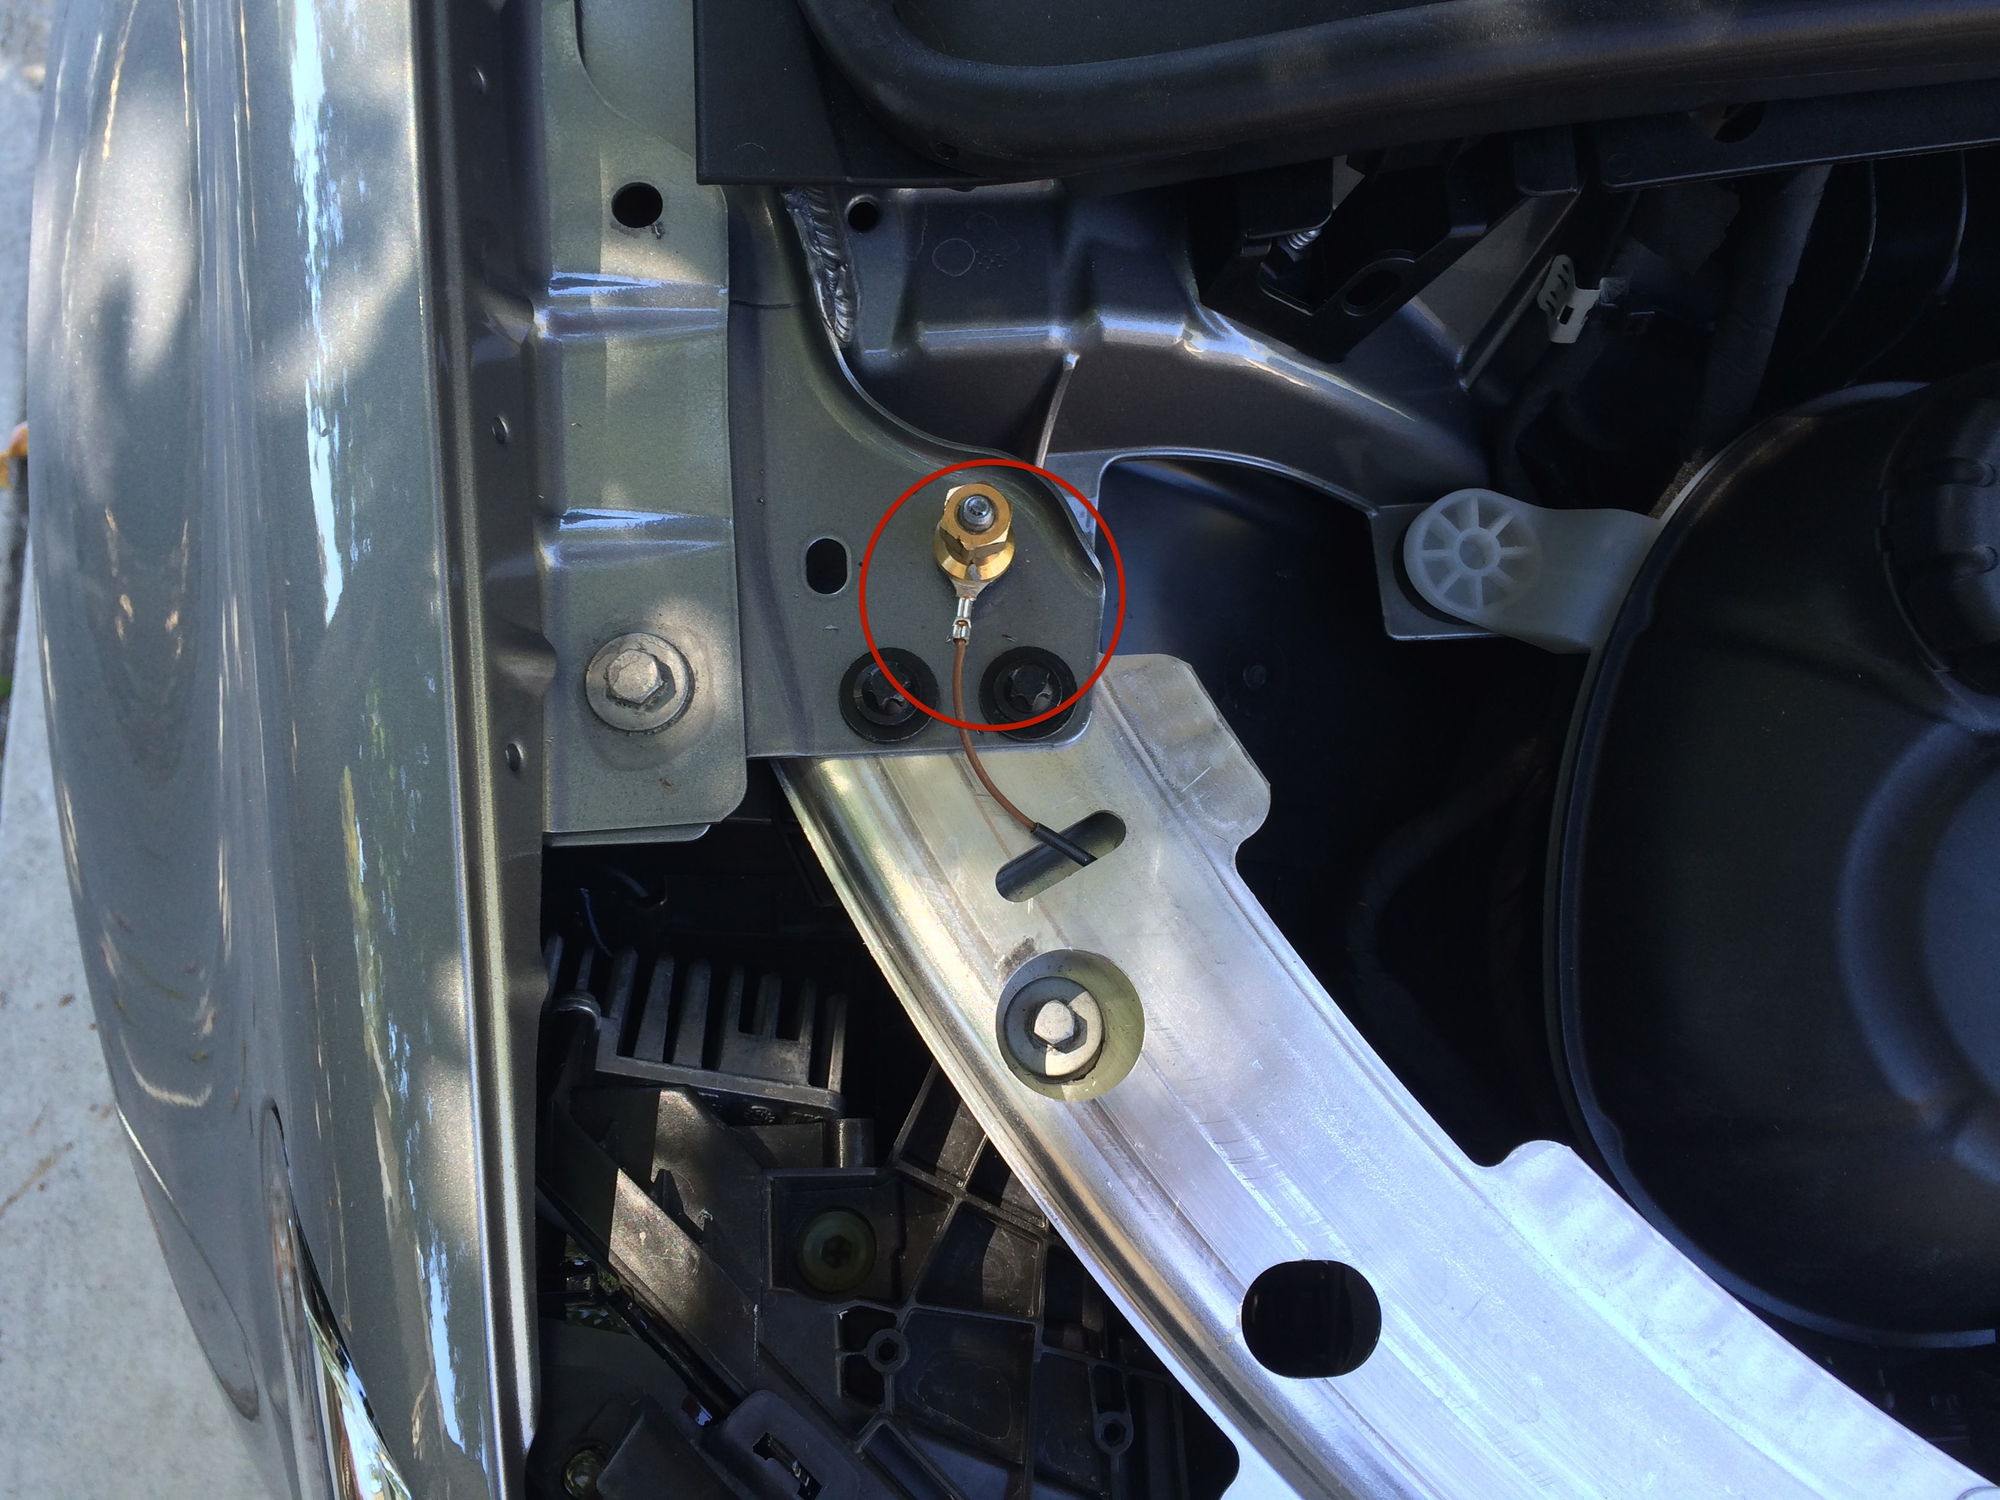
Figure 7. Ground wire to frame of the engine bay. 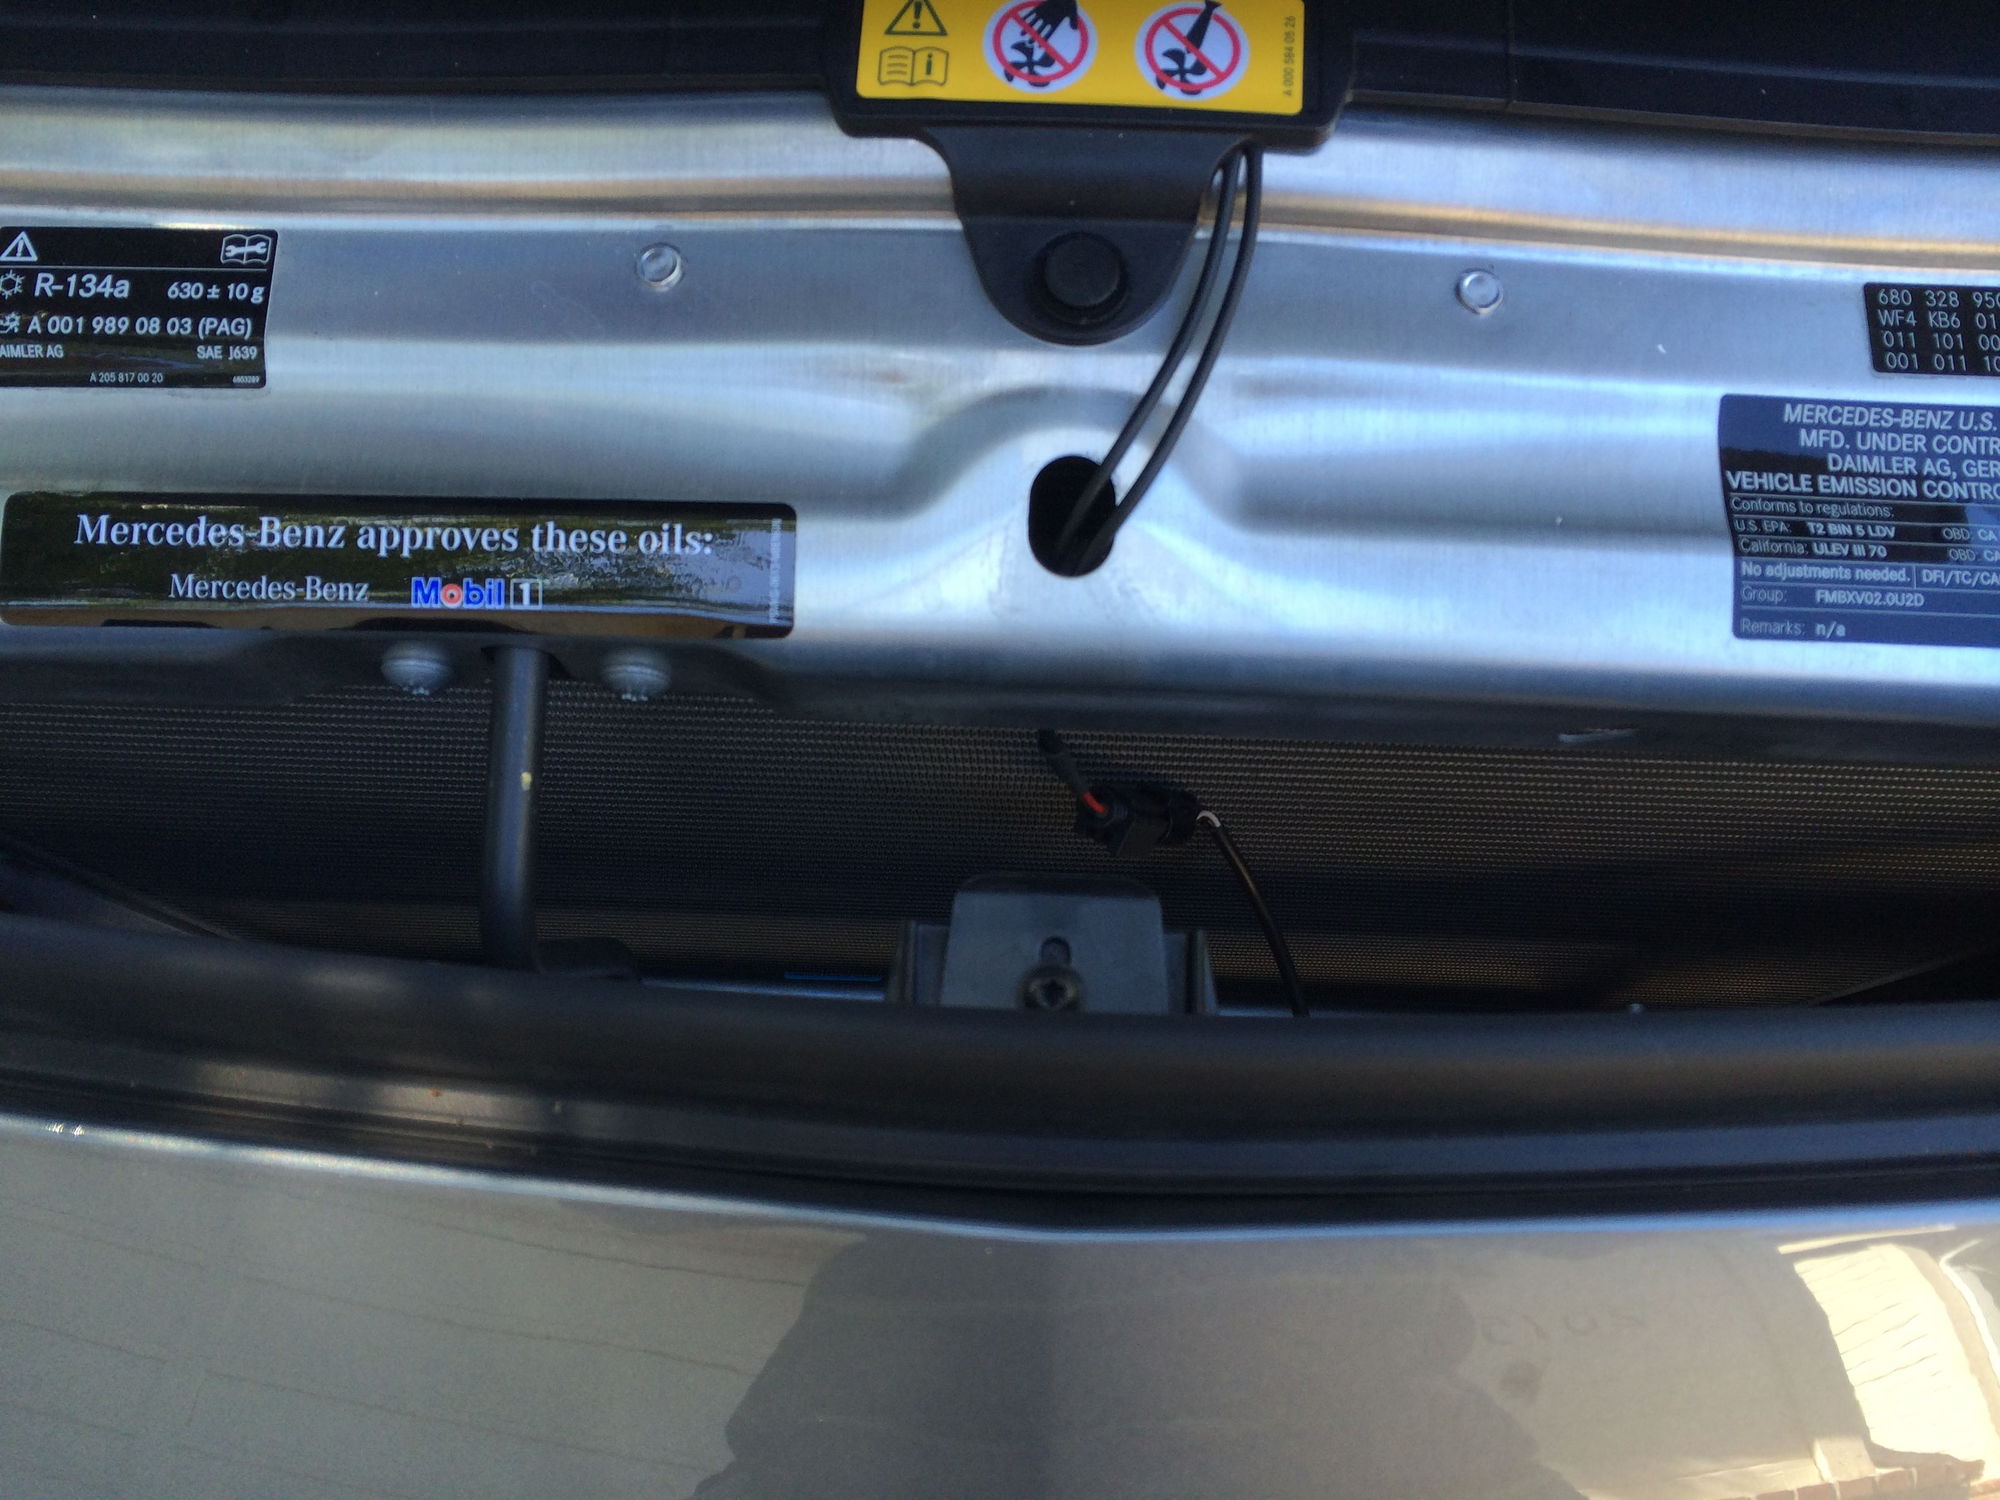
Figure 8. Route wires to the grille.
Related Discussions
- W205 Illuminated Star DIY - MBWorld.org
- Illuminated Star Thoughts? - MBWorld.org