Mercedes-Benz C-Class: How to Install Dash Cam
Want to increase the security of your Mercedes-Benz C-Class? Installing a dash cam won't only deter criminals, it will also protect you legally. This article will guide you step-by-step on how to install a dash cam to your w205.
This article applies to the Mercedes-Benz C-Class w204 (2007-Present), and w205 (2014-Present).
Yes, adding a dash cam to your Mercedes-Benz C-Class will provide you with a greater peace of mind when parked—and on the road. But why? In the event of an attempted theft or a car collision, what better way is there to keep you and your C-Class safe than visual proof of what actually happened. Compared to not having one, a dash cam is more likely to prevent anyone from breaking into your car, and it will also save you from frivolous lawsuits. It's a small price to pay for an accessory that may save you thousands in the long run. This article will demonstrate the process of installing a dash cam in your w205. It's a snap even for beginners, and you won't need to disassemble much of anything. Continue reading below for the detailed steps.

Materials Needed
- BlackVue dash cam (with Power Magic Pro)
- Fuse taps
- Wire crimpers
- Trim removal tool
Step 1 – Mount the dash cam
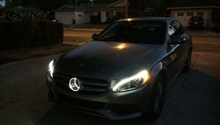
Position the dash cam on the front windshield, so it can easily capture everything in front of the vehicle. Make sure it does not obstruct the driver's side view. Some owners also mount the dash cam on top of the dashboard.

Step 2 – Route the wires
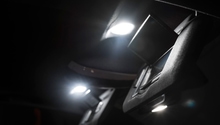
Attached to the dash cam is a wire harness connected to a plug, which is to be inserted into a 12v socket located near the trunk fuse box. With a trim removal tool, carefully pry the edge of the headliner just enough to tug the wire harness underneath. Run the wires along the left side of the headliner to follow the grooves between the headliner and the pillars.
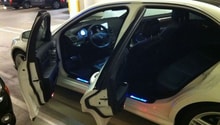
Once you have reached the rear seats, route the wire harness around the rear interior quarter panel along the windshield. Fold the rear seats down. Then, run the wire through the crack between the rear seats and the trunk liner. Refer to the dotted lines in Figures 1 (above), 2, and 3 for the correct placement of the wire harness.
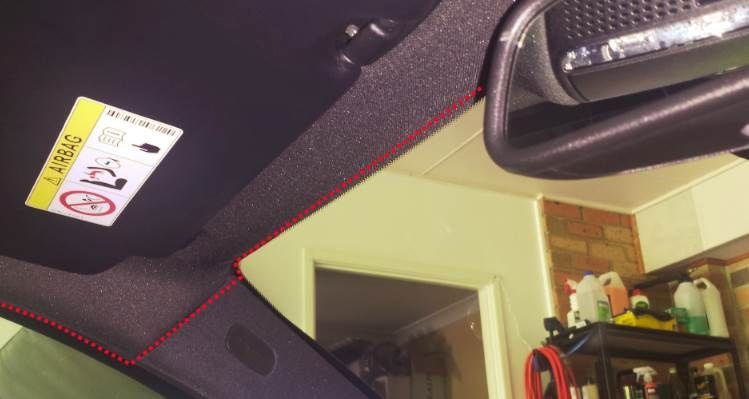
Figure 2. Route wires along the headliner. 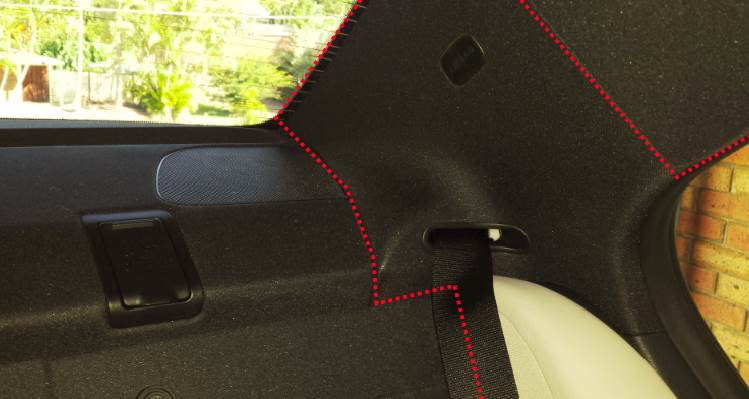
Figure 3. Continue running wires along rear quarter panel. 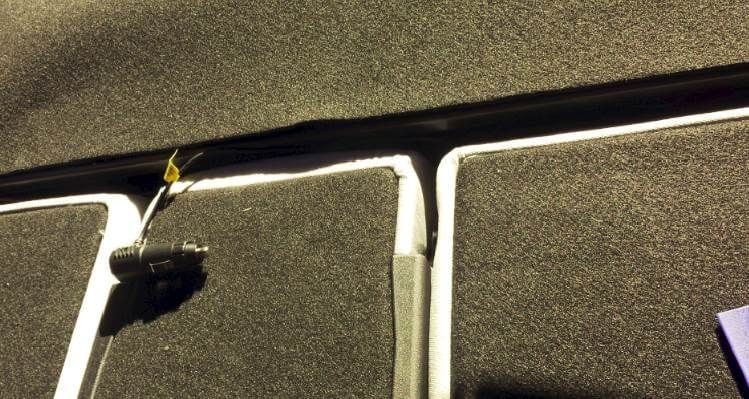
Figure 4. Slip the 12v plug behind the rear seats.
Step 3 – Wire the dash cam
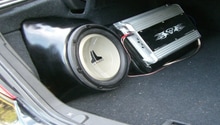
Remove the trunk liner to gain access to the fuse box. First, insert the 12v plug into an available socket. Then, connect a fuse tap to the end of each colored wire of the wire harness. Route the wires to the fuse box, and insert the fuse tap of each wire into these locations:
- Yellow wire into an unused 12v fuse slot.
- Red wire into an unused accessory switch fuse slot (position 445).
- Ground the back wire to any metal bolt near the fuse box.
Refer to Figure 5 for the correct fuse locations.
Lastly, conceal the wires and mount the Power Magic Pro module. This device prevents the battery to discharge when your car is in park by cutting off the power supply. Set the module timer to a certain time after your car is turned off. Start the car, and test the dash cam.
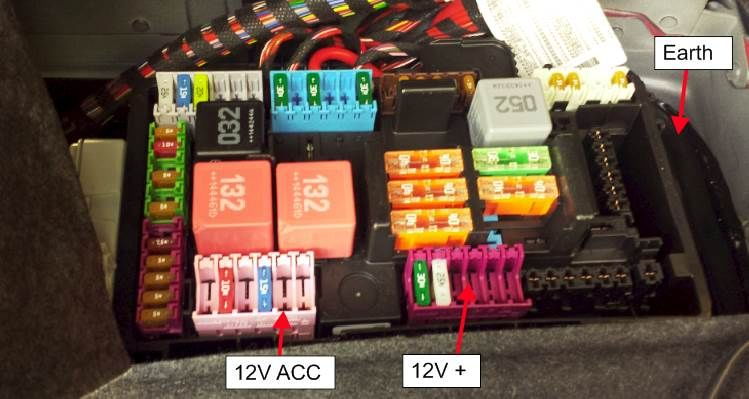
Figure 5. Fuse tap and ground wire locations. 
Figure 6. Mounted Power Magic Pro with timer set.
Related Discussions
- BlackVue Instalation Guide - MBWorld.org
- Dash Cam Brand Discussion - MBWorld.org