This article applies to the Mercedes-Benz W204 (years 2007-2014).
Not long ago, back up cameras were a hot commodity that were very pricey to have from factory. A back up camera activates when you engage into reverse gear, and a small camera will feed a live image to a monitor mounted in the cabin. Due to so many options for aftermarket cameras and DIY projects online, it is recommended to buy a complete back up camera kit. A complete kit should include all the parts necessary to tackle a clean install. This guide could vary depending on if your car is already outfitted with an on dash monitor, or not.
Materials Needed
Back up camera kit
Drill and grinder/dremel
Phillips and flathead screwdriver
Marker
Multistep bit for drill
Step 1 – Choose location
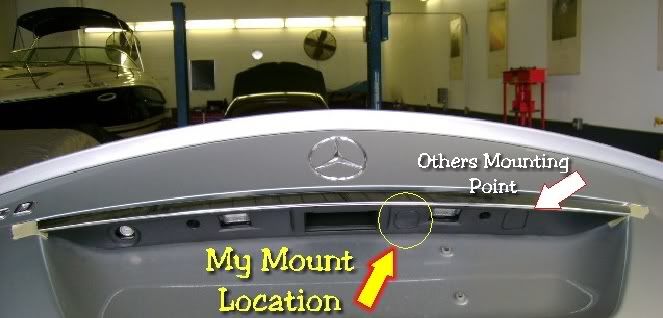
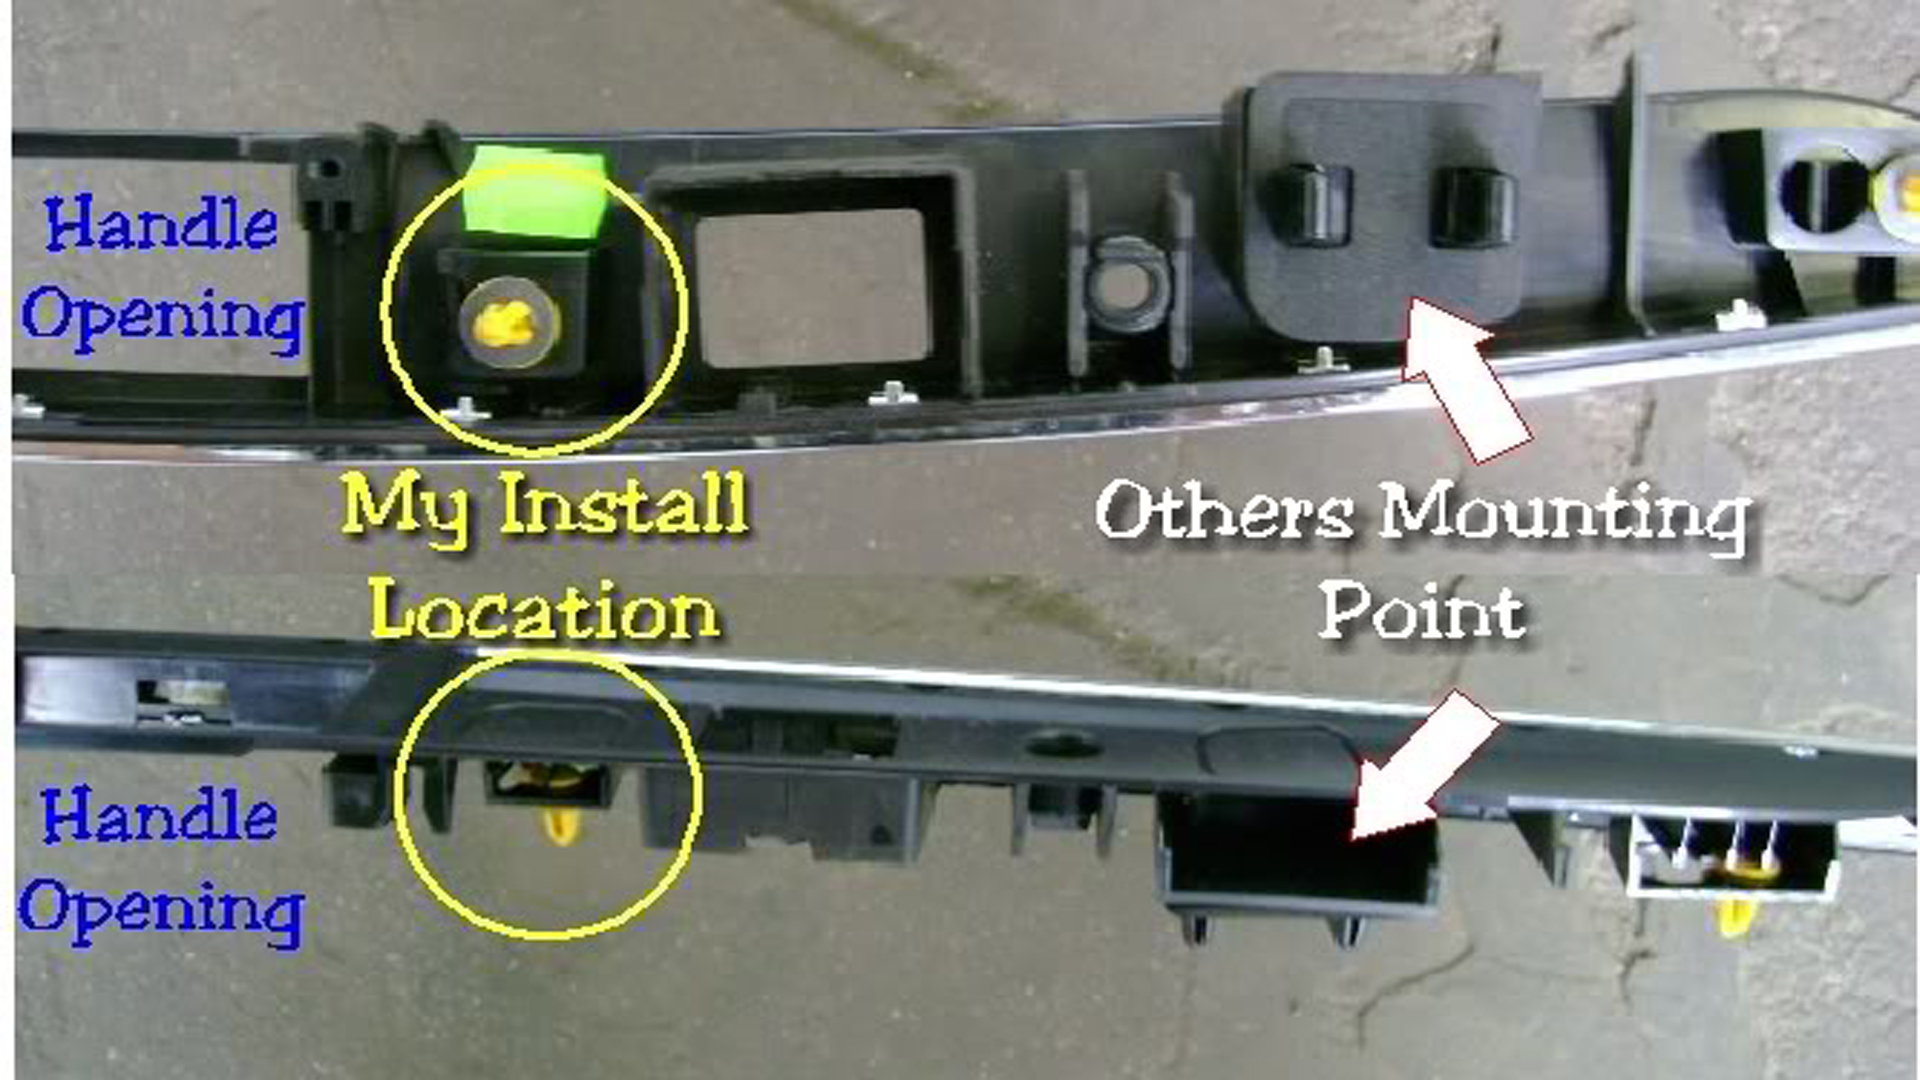
The location of the backup camera can vary depending on your desired location. Some may offer better view, and some may conceal the camera better.
Figure 1. Two different locations where to mount a back up camera.
Step 2 – Create opening
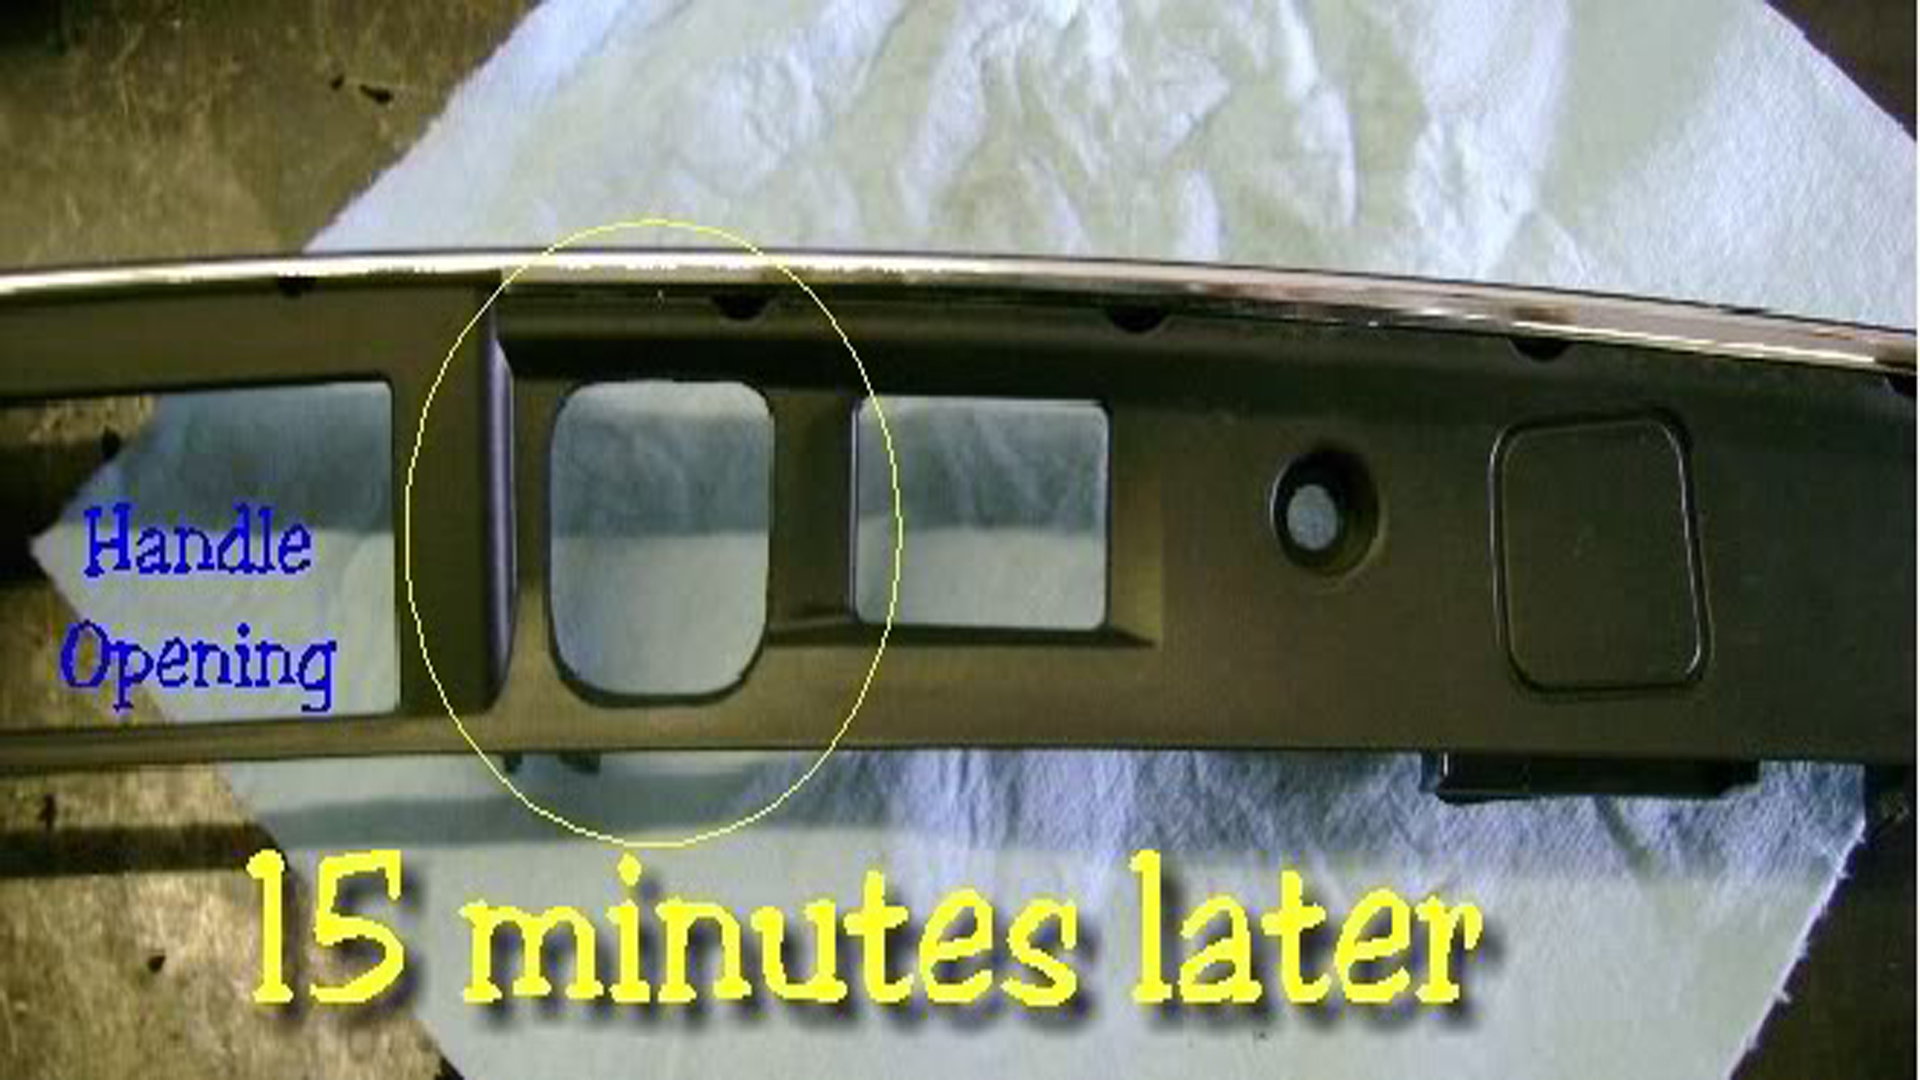
If you've chosen to mount the camera on the chromed trim of your trunk lid, remove this trim by releasing the tabs on its side. Once the molding is out, you can use the outline provided in your camera kit to draw the right size outline before cutting. Once you've drawn the outline, use your cutting tools to carefully create the opening.
Figure 2. Use camera as guide for cutting the opening, or use provided outline/diagram.
Figure 3. Once hole has been cut.
Pro Tip
Remember to measure twice, and cut once!
Step 3 – Mount camera bracket
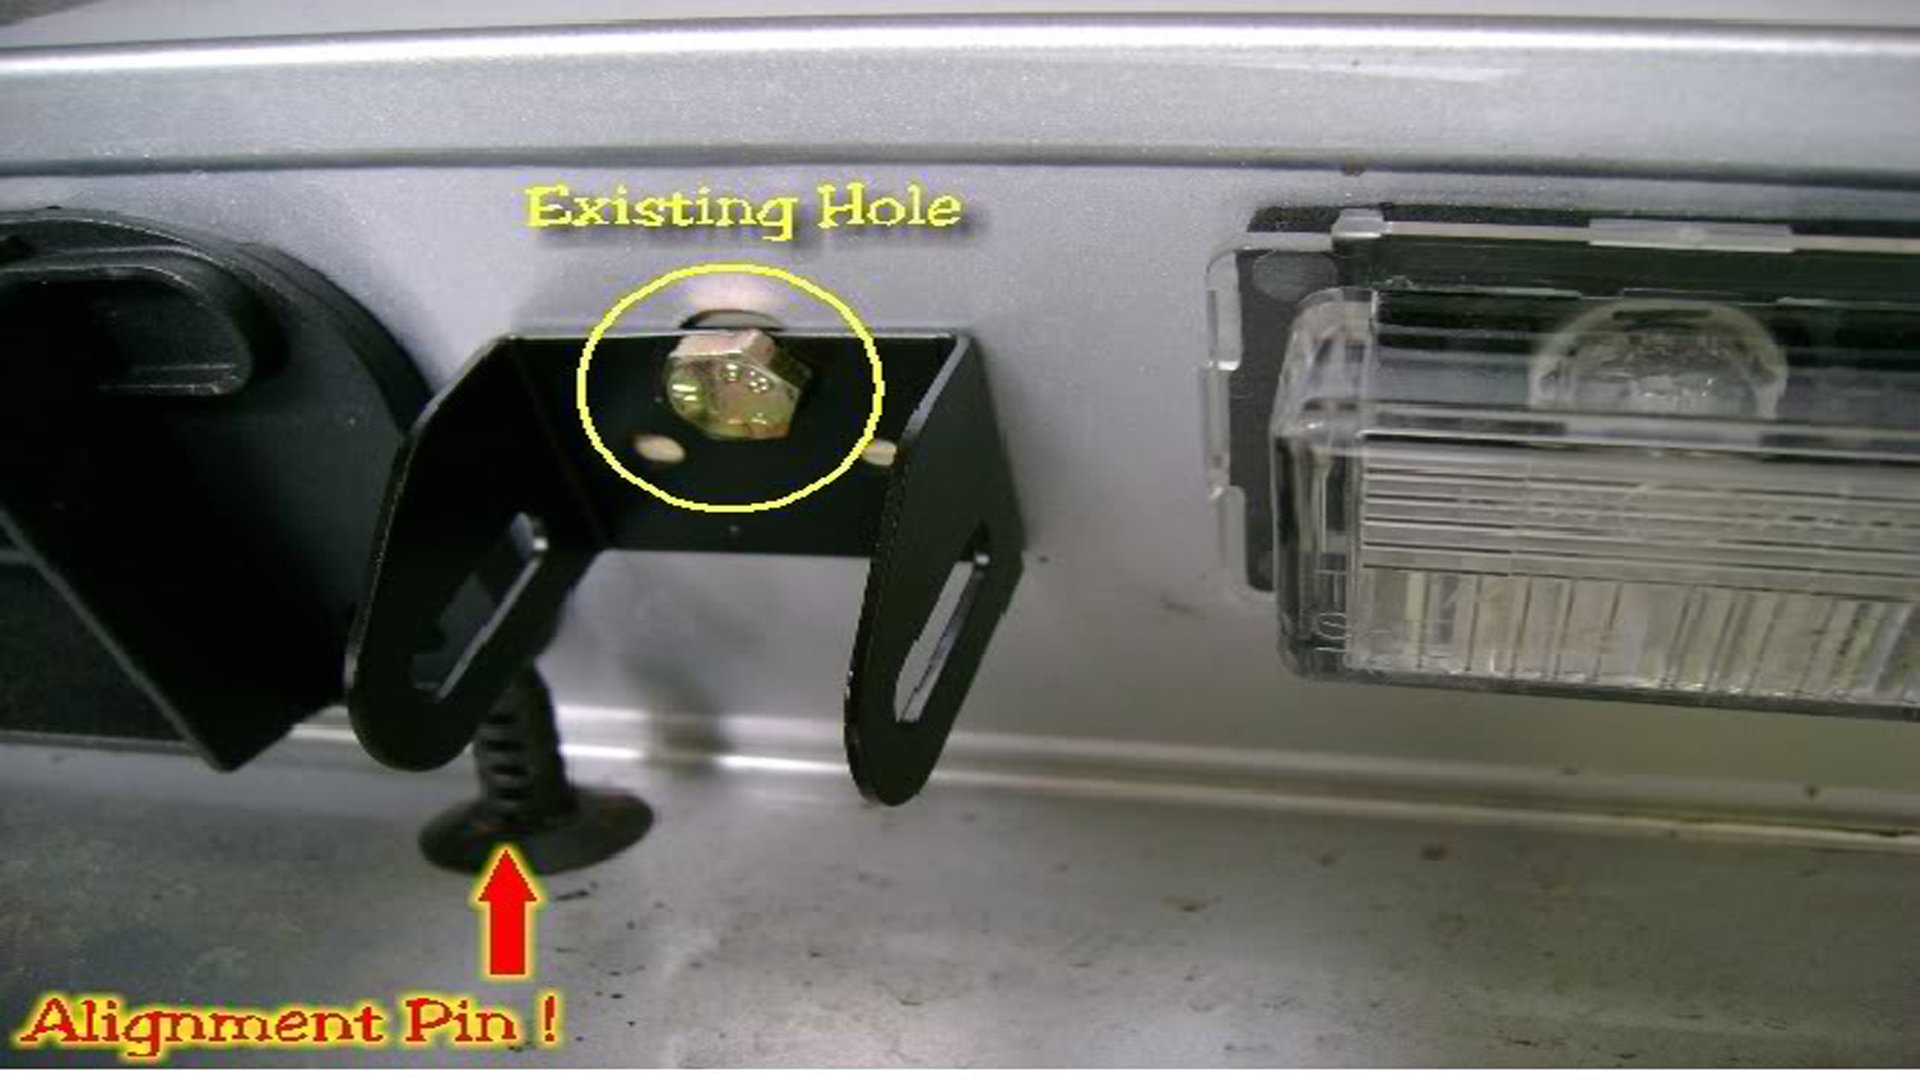
Now that the camera hole has been prepped, you may use the bracket provided in the kit to mount the holding bracket. For this part, you may take advantage of an existing hole already drilled on the trunk lid. Use the hardware provided to bolt in the bracket.
Figure 4. Existing hole.
Figure 5. Mounted bracket.
Step 4 – Wire camera
If your car is already equipped with a factory monitor, as all you have to do is run the wiring through the trunk, through the headliner junction with the door frames, into the driver's side tail harness, and plug in the video connectors. If your car is not equipped with the monitor, then run the wiring through the same location, but then install and plug in according to your camera kit instructions. Additional mounting for the aftermarket monitor may be required. Once the wiring is laid out, zip tie any loose wiring, specially the heavier relay box.
Figure 6. Insert camera video wire into the trunk through one of the many openings.
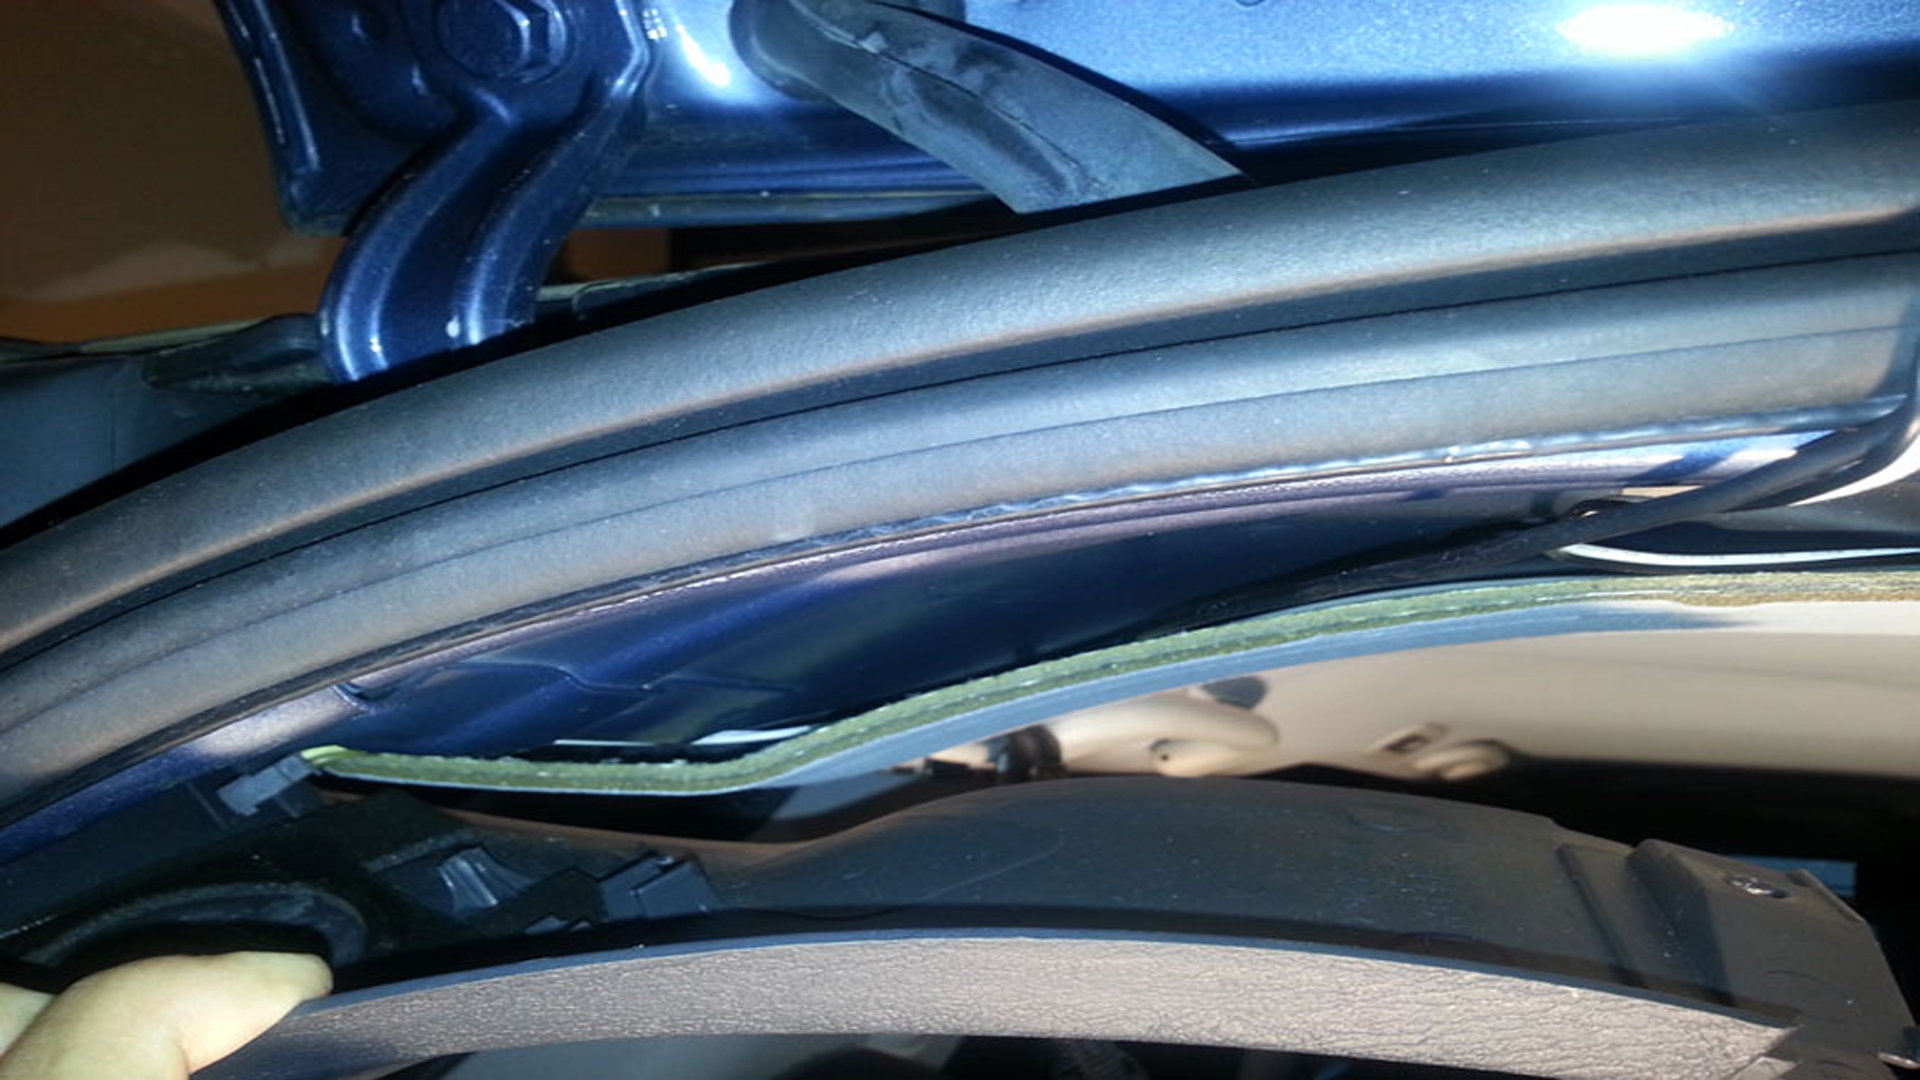
Figure 7. Carefully pop out headliner from molding, and gently tuck in the wiring.
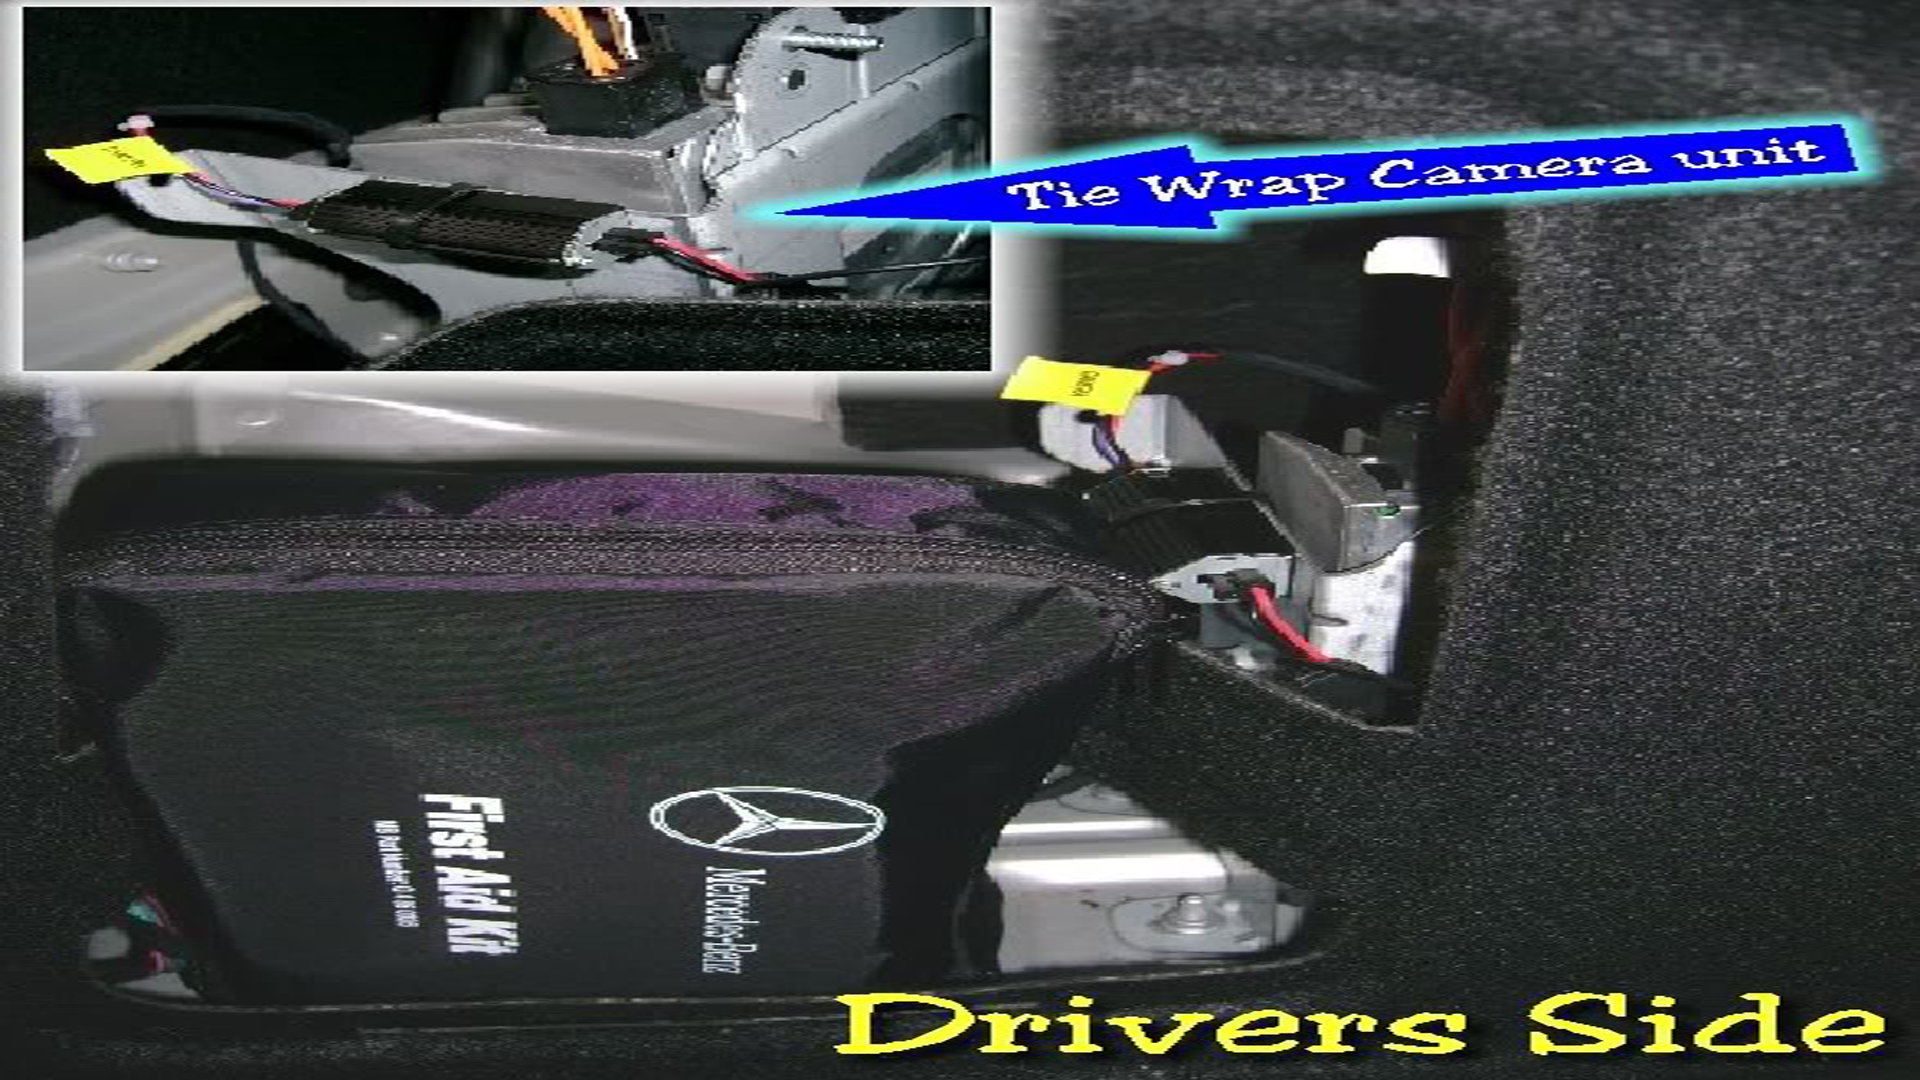
Figure 8. Plug in wiring into tail wiring harness.
Figure 9. Zip tie the camera relay box.
Step 5 – Mount camera and test unit
Attach the camera unto the holding bracket by using zip ties to attach the camera instead of bolts, as these can easily be replaced, and cannot be overtightened and damage the bracket.
Once the camera is mounted, start up the car and test the system, then adjust the camera to make sure the viewing angle is correct, and the camera is as concealed as desired.
Figure 10. Finished product.
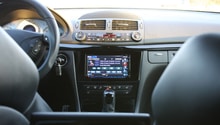
Figure 11. Final result (With stock Mercedes-Benz monitor).
How to Install Rear View Camera
OneWayAutoSports
Do you want to install a rear view camera on your Mercedes-Benz w212? Read this article to learn how.
This article applies to the Mercedes Benz E-Class w212 ...
Does your C-Class's interior need a little love? Check out these (mostly) easy DIY modifications!
6771
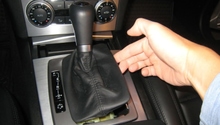
1. Replace Center Trim Has the center trim near the shifter become scuffed or is otherwise looking worn? ...
How to Install Car Stereo
tw2, hueholla
Tired of your factory built stereo or looking for something with better features? Read here to learn how to upgrade your stereo.
This article applies to the Mercedes-Benz ...
COMAND System Common Issues
Troubleshoot the COMAND system in your C-Class using these helpful tips.
This article applies to the Mercedes-Benz C-Class and C-Class AMG (2007-2014).
The Mercedes-Benz is equipped ...
Here are a few great holiday gifts for the AMG fan in your life.
These simple holiday gifts are things that no AMG lover can ignore.
141216
Holiday to Remember
It may seem hard to believe, but ...
Mercedes-Benz builds some of the most intelligent cars on the road today. Here is some of the amazing technology that they use to make that happen.
Mercedes-Benz builds some of the most intelligent cars on the road ...