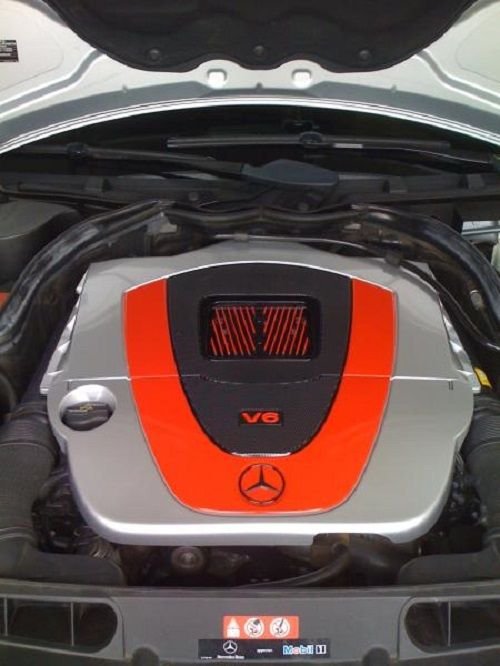
If you checked out your engine cover and noticed it looks a little worse for the wear, consider painting it, which you can do at home following these simple steps.
This article applies to the Mercedes-Benz w204 and w205 (years 2007-Present).
Dirt, grease, and oil can all contribute to the mucking up of your Mercedes Benz W204’s engine cover. If you take pride in the look of your car, this particular component can be an ongoing headache as it’s very difficult to maintain a clean appearance. One way in which you can give the engine cover a fresh new look worth showing off is to paint it. You can do it at home using simple tools and paint, and given the proper coating and maintenance, it’s a look sure to last a while.
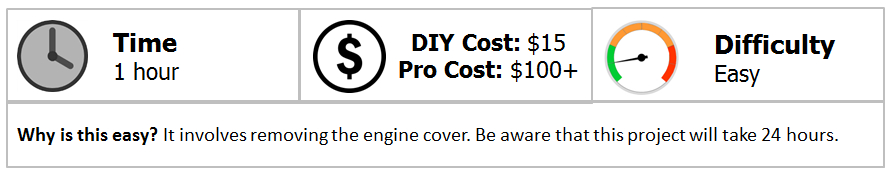
For obvious reasons, none of this work should be done inside the engine bay. The engine cover is secured with several clips, pull up gently and the cover will come off.
Step 2 - Clean engine cover
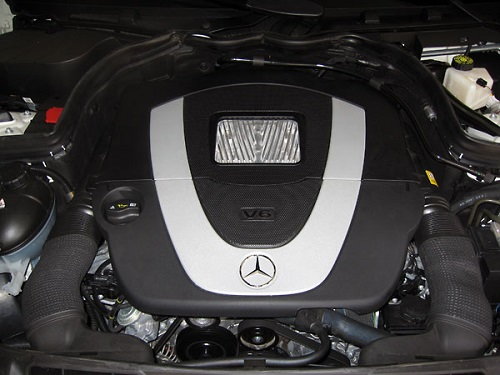
Wash your engine cover with soap and water, and pat dry with your towel. If excess oil or grime has stained your engine cover, liberally clean with degreaser and water until stain free. The engine cover on your Mercedes-Benz is made of plastic, so things like paint stripper shoudl be avoided. If necessary, a high-grit (1000+) sandpaper can be used to agitate the surface, although, again, care should be taken to not permanently damage the plastic. Spend some time doing this as you want to make sure all chemicals are removed from the cover so the paint properly adheres to it. Allow the cover to dry.
Figure 3. Spray down your engine cover.
Step 3 - Mask the engine cover
With your now cleaned and dried engine cover. proceed to use masking tape, or painter's tape, and mask off any areas that you do not want to have sprayed.
Figure 4. Areas to remain unpainted are masked.
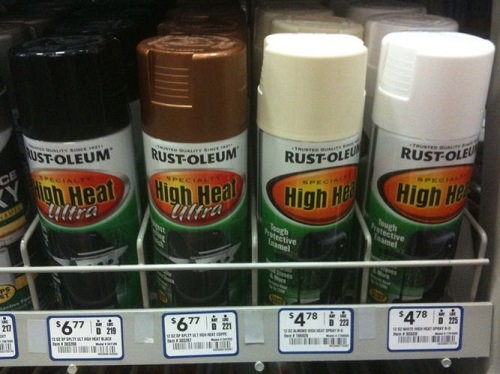
Step 4 - Apply high-heat paint
Figure 5. Pick your poison...err paint.
This special type of paint can be found at any auto parts store. You’ll want to apply four or five light coats, and wait five minutes between each one. Allow to dry for 24 hours.
Step 5 - Reinstallation
After letting the paint cure on your engine cover, check out your handy work. If everything looks good, pop it back onto the engine and you're done! If the painted surfaces look or feel rough, or have too much texture, do some very light wet-sanding with high grit sandpaper (1000+) to smooth out the finish.
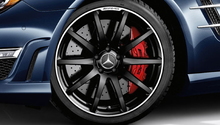
How to Paint Brake Calipers
Custom painted calipers look awesome and are easy to accomplish; what's not to love?
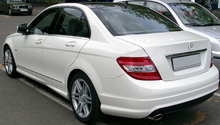
This article applies to the Mercedes-Benz C-Class (2007-2014).
Get out your masking materials, ...
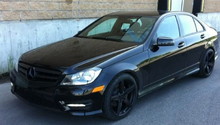
How to Plasti-Dip Wheels
Plasti-dipping your wheels is a great way to update the look of your Mercedes-Benz E-Class. It's fairly inexpensive and doesn't take long to do at home.
This article applies to the ...
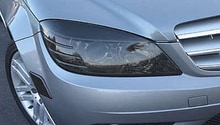
How to Black Out Headlight Housings
Chrome is old school. Black housings are the here and now. Learn how to black out your headlights.
This article applies to the Mercedes-Benz C-Class w204 (2007-2014).
This ...
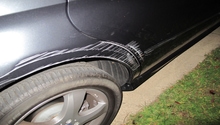
How to Repair Paint Chips and Scratches
Fix unsightly paint chips and scratches using these helpful DIY tips.
This article applies to the Mercedes-Benz C-Class w204/w205 (2007-Present), and E-Class w211/w212 ...
Paint Modifications
Discover paint modification options for your C-Class or C-Class AMG.
This article applies to the Mercedes-Benz C-Class and C-Class AMG (2007-2014).
Imperfections in your paint will happen, no ...
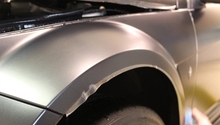
How to Protect Your Paint
Don't let the world see the true age of your Mercedes-Benz.
This article applies to the Mercedes-Benz C-Class and E-Class (2002-Present).
Your vehicle's original paint can develop heavy ...