Mercedes-Benz C-Class: How to Replace Battery
A battery will last three or four years. That's just the nature of the beast. If your battery is putting out less than 12 volts, it's time to replace it. Continue reading as this article will show you the process of replacing the battery in your Mercedes-Benz C-Class w204.
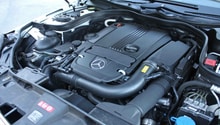
This article applies to the Mercedes-Benz C-Class w204 (2007-2014).
Pull into your parts store parking lot, and have the clerk check your battery for free. Of course s/he may want you to purchase a battery from the store, but there is no obligation. Alternatively, use a voltmeter to make sure your battery is putting out 12 volts. Anything less, and it's time to replace.

Materials Needed
- 3/8" ratchet
- 3/8" extension
- 10mm deep socket
- 3mm deep socket
- Magnet
- Flat head screwdriver
Before beginning, turn the engine off and set the parking brake.
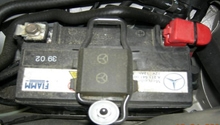
Step 1 – Remove the battery cover
- Open the hood, and locate the battery cover on the passenger's side of the vehicle. Pry open the three hold-down clips that secure the battery cover.
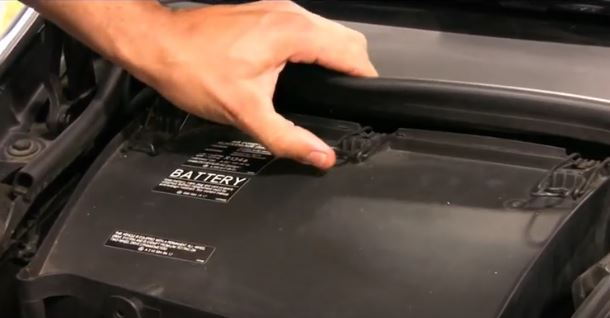
- After prying open all three hold-downs, remove the battery cover.
Pro Tip
Check the date on the battery you intend to purchase (date stamp located on top of the battery). Make sure it is fairly recent; an old battery reduces its effective lifetime.
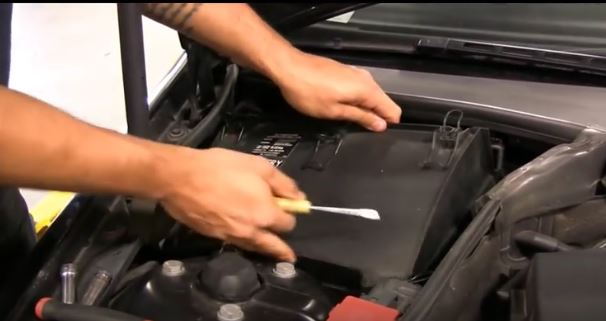
Step 2 – Remove the battery
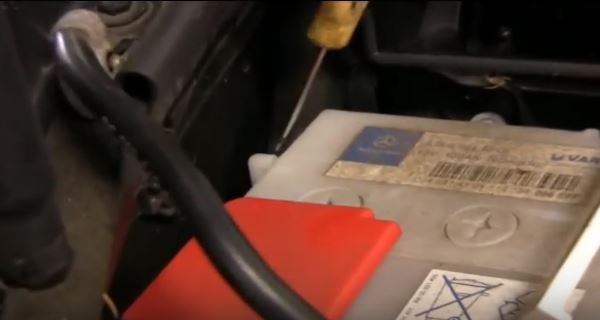
- After removing the battery cover, find the positive (red) and negative (black) terminals.
- Use the 10mm deep socket and extension to remove the nut that secures the negative battery cable.

Pro Tip
Use your flat head screwdriver to wedge in between the cable hold-down and the terminal (if necessary) to help loosen the cable.
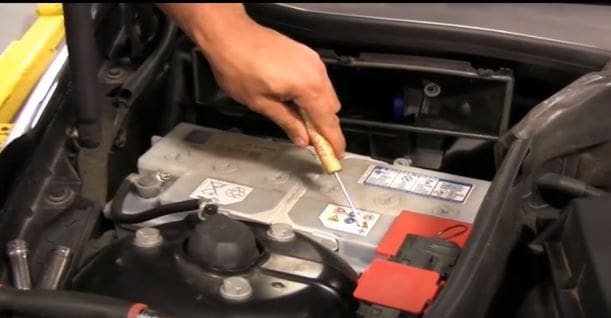
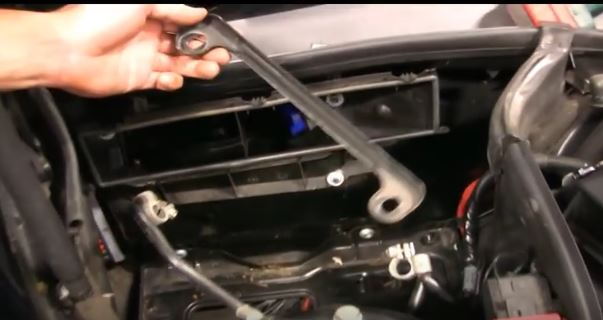
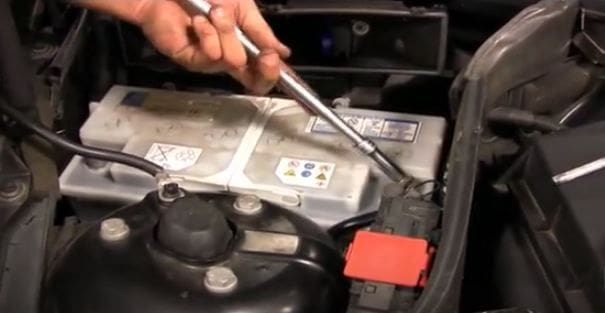
- Use the 10mm socket, extension, and your ratchet to remove the positive cable. Look down into the area around the battery on the right side. You will see two bracket hold-down nuts located on the right side of the battery.
- Use your 10mm socket and extension to remove both nuts.

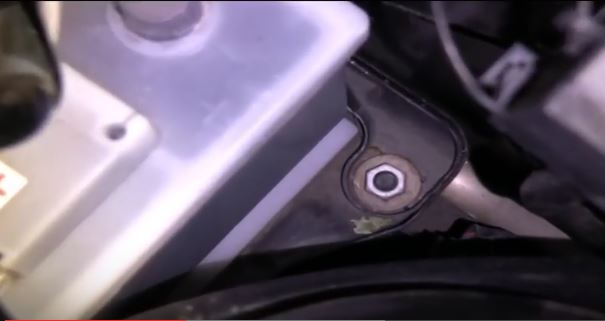
Figure 6. Use 10mm deep socket and extension to remove the bracket nuts. 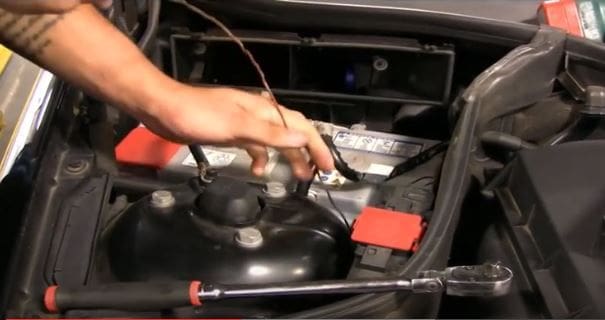
Figure 7. Magnet on the end of a coat hanger to retrieve nuts.
Pro Tip
If the nuts remain in the battery well, use a magnetic socket to lift them out.
- Use your flat head screwdriver to pry off the battery ventilation tube.
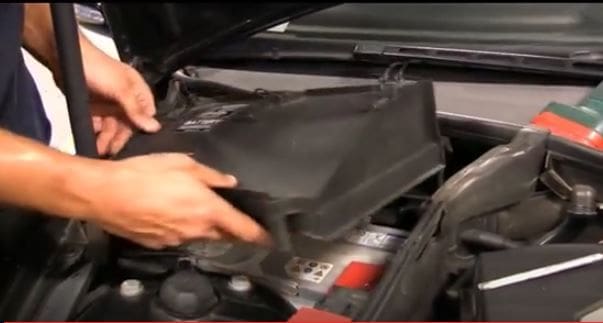
- Use the two handles to lift the battery up and out of the car.
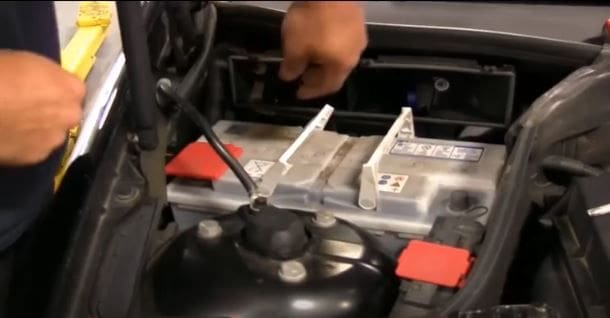
- Look into the battery well to find the hold-down bracket, and remove it.
Step 3 – Install the new battery
- Drop the new battery into the well. Make sure the battery is snug and well-seated both on the right as well as left sides. Re-attach the drain tube to the left side of the battery.

Figure 11. Drop the new battery into place. 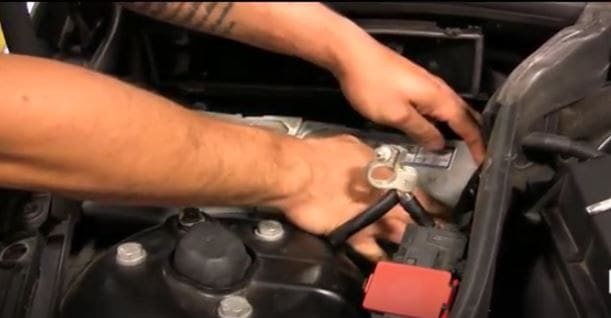
Figure 12. Make sure battery is properly seated.
- Insert the hold-down bracket into the battery well on the right side of the battery. You may have to drop the bracket into the well, and then reach in to position it correctly. Place the hold-down nuts into position on both sides, and use your ratchet, 10mm socket as well as extension to tighten the nuts.
Step 4 – Reconnect the battery
- Use your 10mm socket and ratchet to reconnect battery cables. Connect the positive (red) cable first, and then the negative (black) cable.
- Re-install the battery cover, and close the three hold-downs.
Related Discussions
- Battery Recommendations - MBWorld.org
- 2008 C350 Battery Replacement - MBWorld.org
- Where is Negative Terminal? - MBWorld.org
- DIY Battery - MBWorld.org