Mercedes-Benz E-Class AMG: How to Replace Starter
The starter is the mechanical device that initially moves the engine when you turn the key. At one point or another in your Mercedes-Benz E-Class' life, you will need to replace it.
This article applies to the Mercedes-Benz E-Class AMG (2002-2009).
The starter is an electro-mechanical device that rotates the engine fast enough for centrifugal force to take over. The starter includes a starter solenoid, which receives power from the battery and a signal from the ignition switch. When the ignition switch is turned to the crank position, electrical contacts inside the solenoid meet and create magnetism which rotates the starter. Common causes of starter failure include damage to electrical wiring, damage to the magnets inside the starter, and mechanical damage to the starter gear and drive.
Materials Needed
- 10mm sockets
- 10 and 13mm stubby wrenches
- Floor jack
- Jack stands
- Wheel chocks
- Safety glasses
- Torque wrench
- Flathead screwdriver
- 27mm deep well socket
- 12" 3/8" or 1/2" extension
- Penetrating oil
- T45 Torx socket
- 3/8" or 1/2" swivel
- Blocks of wood
Step 1 – Disconnect the negative battery cable
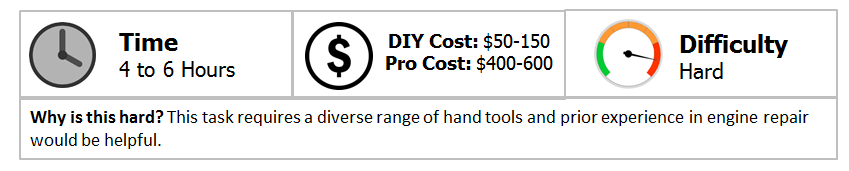
Lift up the carpet in the trunk. Remove the negative battery cable from the battery.
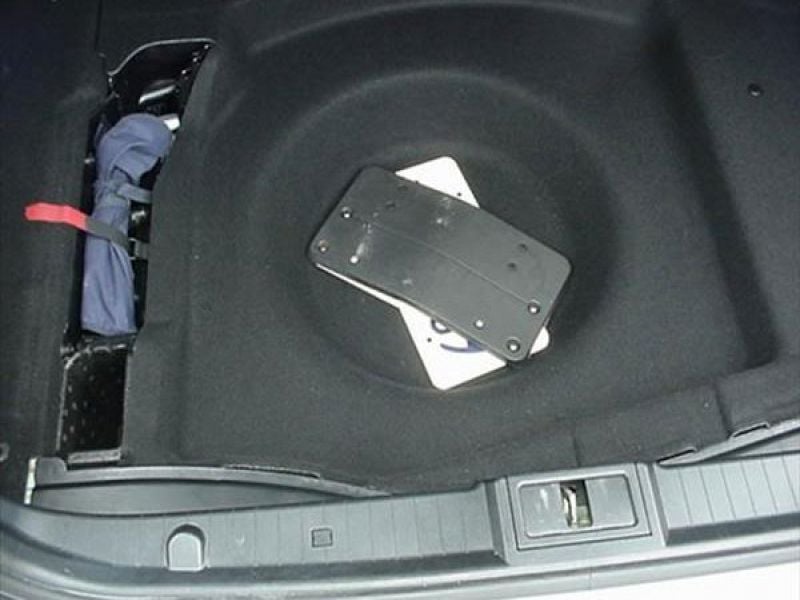
Figure 1. Remove the center piece of carpet lining the bottom of the trunk. 
Figure 2. Disconnect the negative battery cable.
(Related Article: How to Replace Battery - Mbworld.org)
Step 2 – Raise and support the front of the vehicle
Depending on your size, you may be able to replace the starter with only the front of the vehicle raised. Place two wheel chocks behind the rear wheels if this is the case.
Set the emergency brake. Install the factory jack pads. Raise the vehicle with a floor jack from corner to corner moving in a diagonal line until it's completely supported on jack stands. Make sure the jack stands are centered on the jack pads. You can use a block of wood for additional clearance.
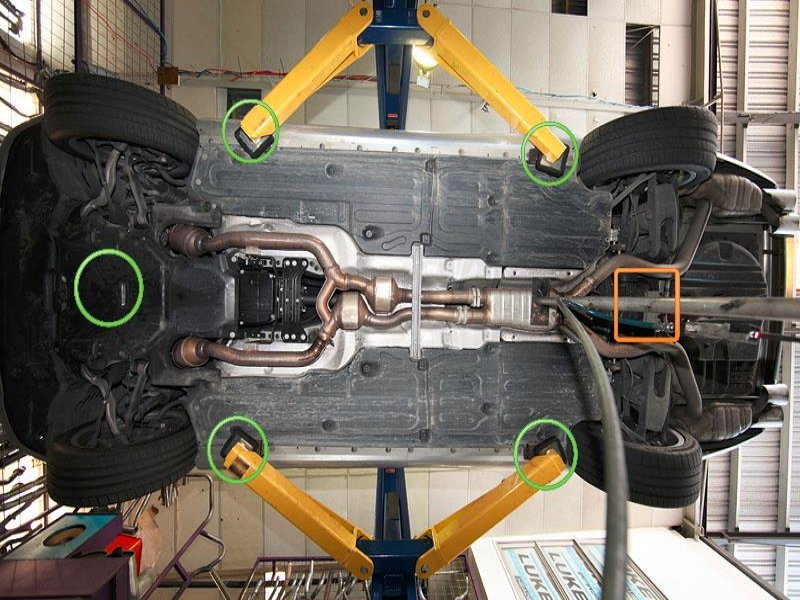
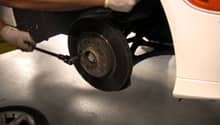
Figure 3. The four smaller green circles represent the jack pads. 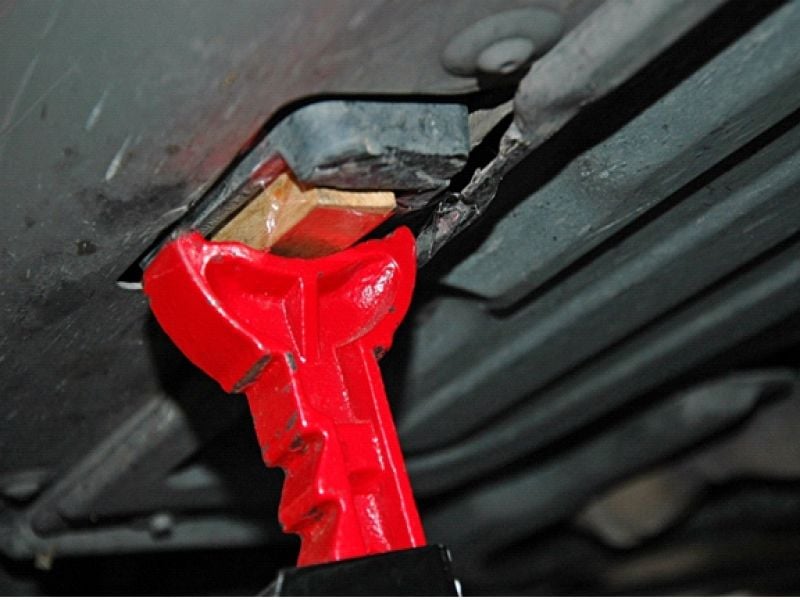
Figure 4. Placing a jack stand under the jack pad.
(Related Article: How to Jack Up Your Car - Mbworld.org)
Step 3 – Remove the engine compartment paneling/splash shields
There are three separate splash shields that must be removed. You can remove them by unscrewing the bolts holding them in place and they should come right off.
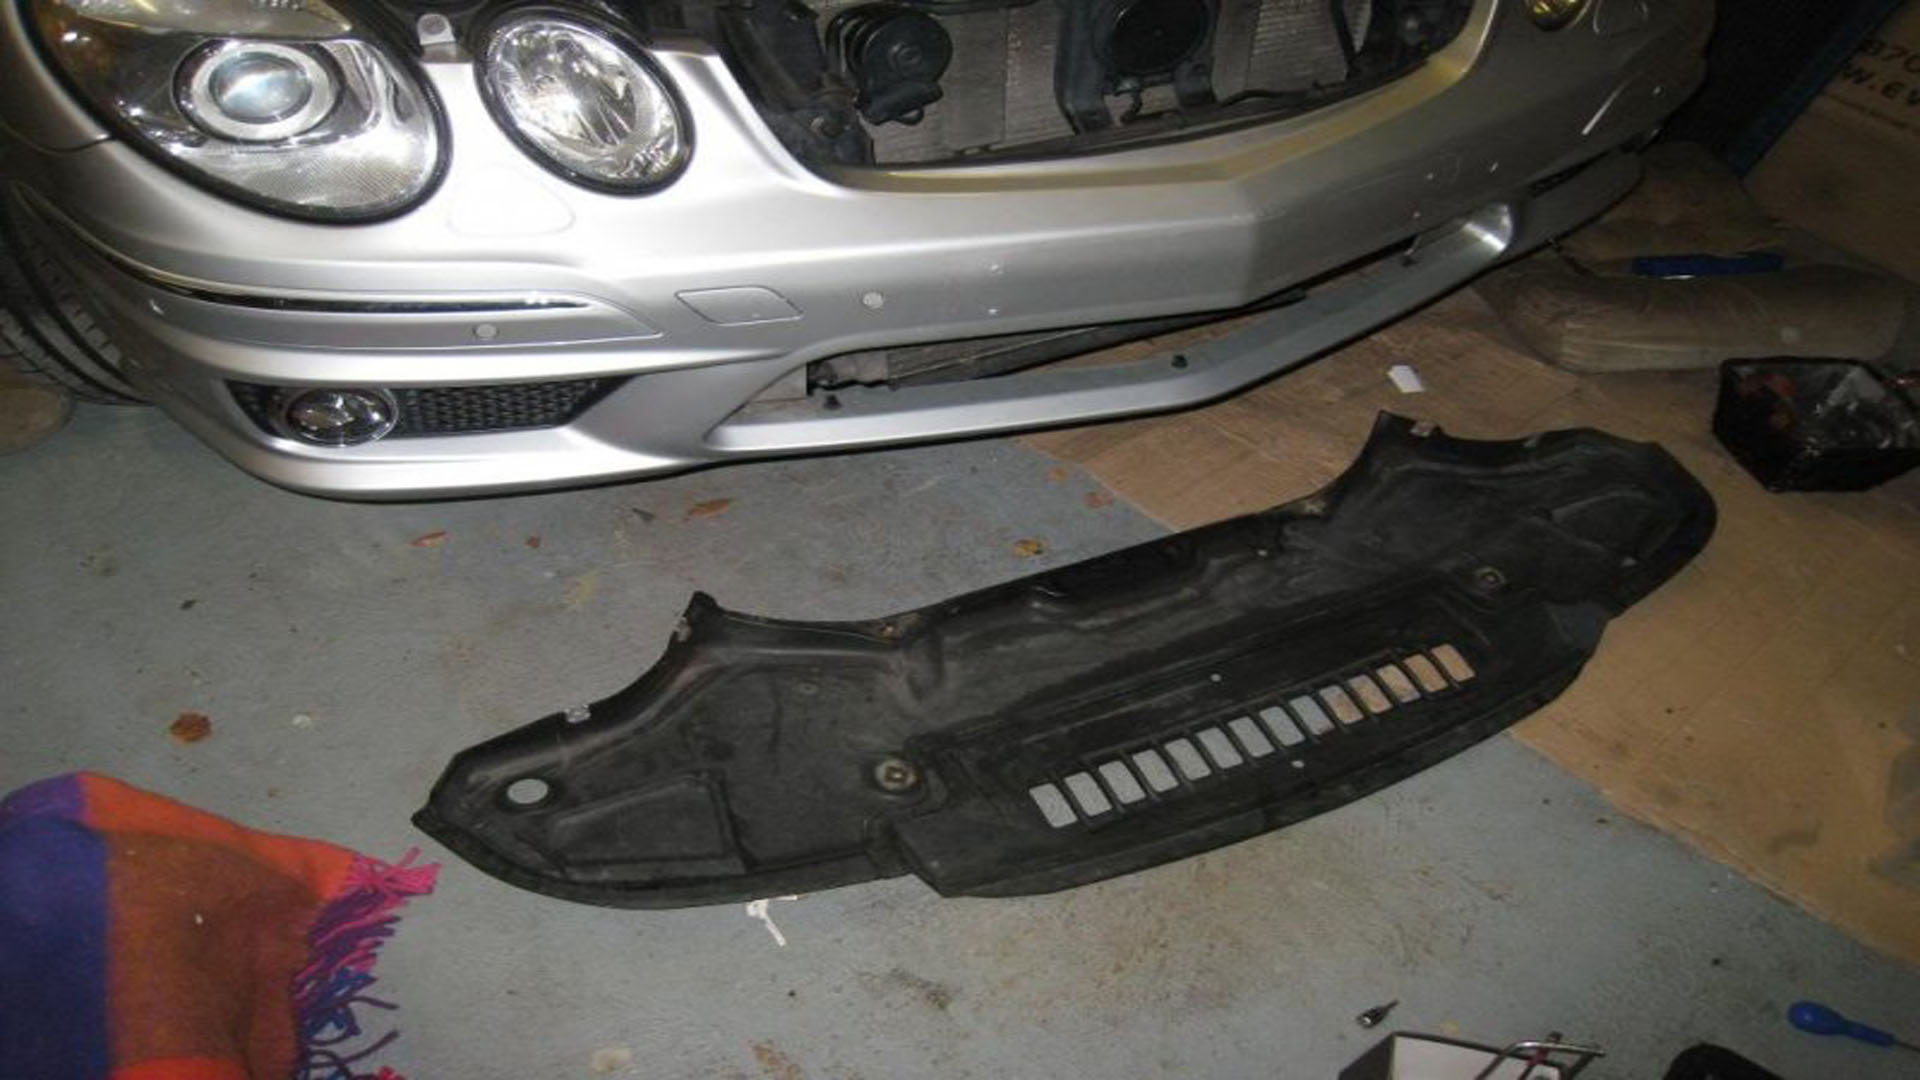
Figure 5. The front splash shield has been removed. 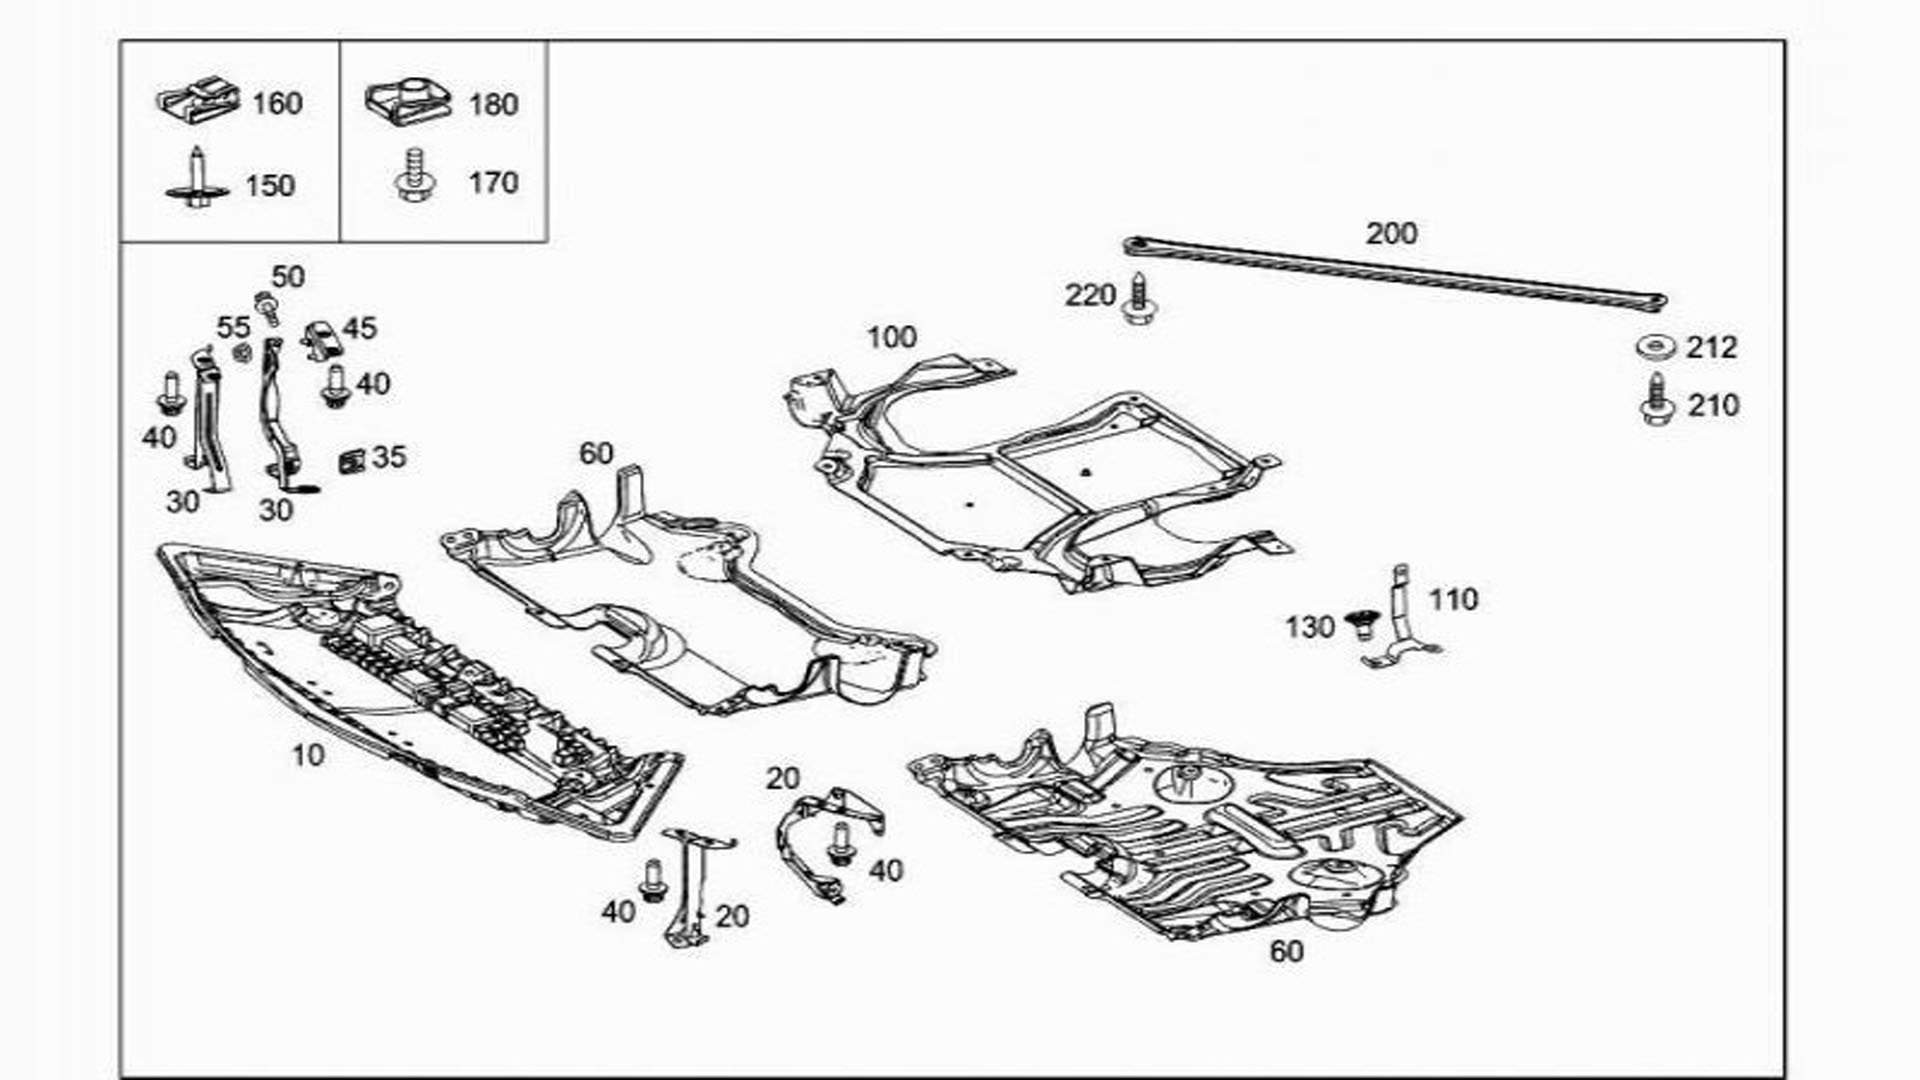
Figure 6. A diagram of the splash shields. You will be removing the parts numbered (10), (60), and (100).
Step 4 – Remove brackets and clamps
There is a bracket holding a hydraulic line and a clamp that connects to the wiring going to the starter. Remove the bracket and pry the clamp loose from the wiring using either a pry bar or screwdriver.
Step 5 – Remove the right engine mount
Position your floor jack underneath the oil pan with a block of wood placed on the floor jack pad. Support the weight of the engine by lifting against the oil pan.
There are two screws holding the engine mount to the vehicle's body and engine. You do not have to completely remove the engine mount, instead, just lay it down on its side in the engine bay.
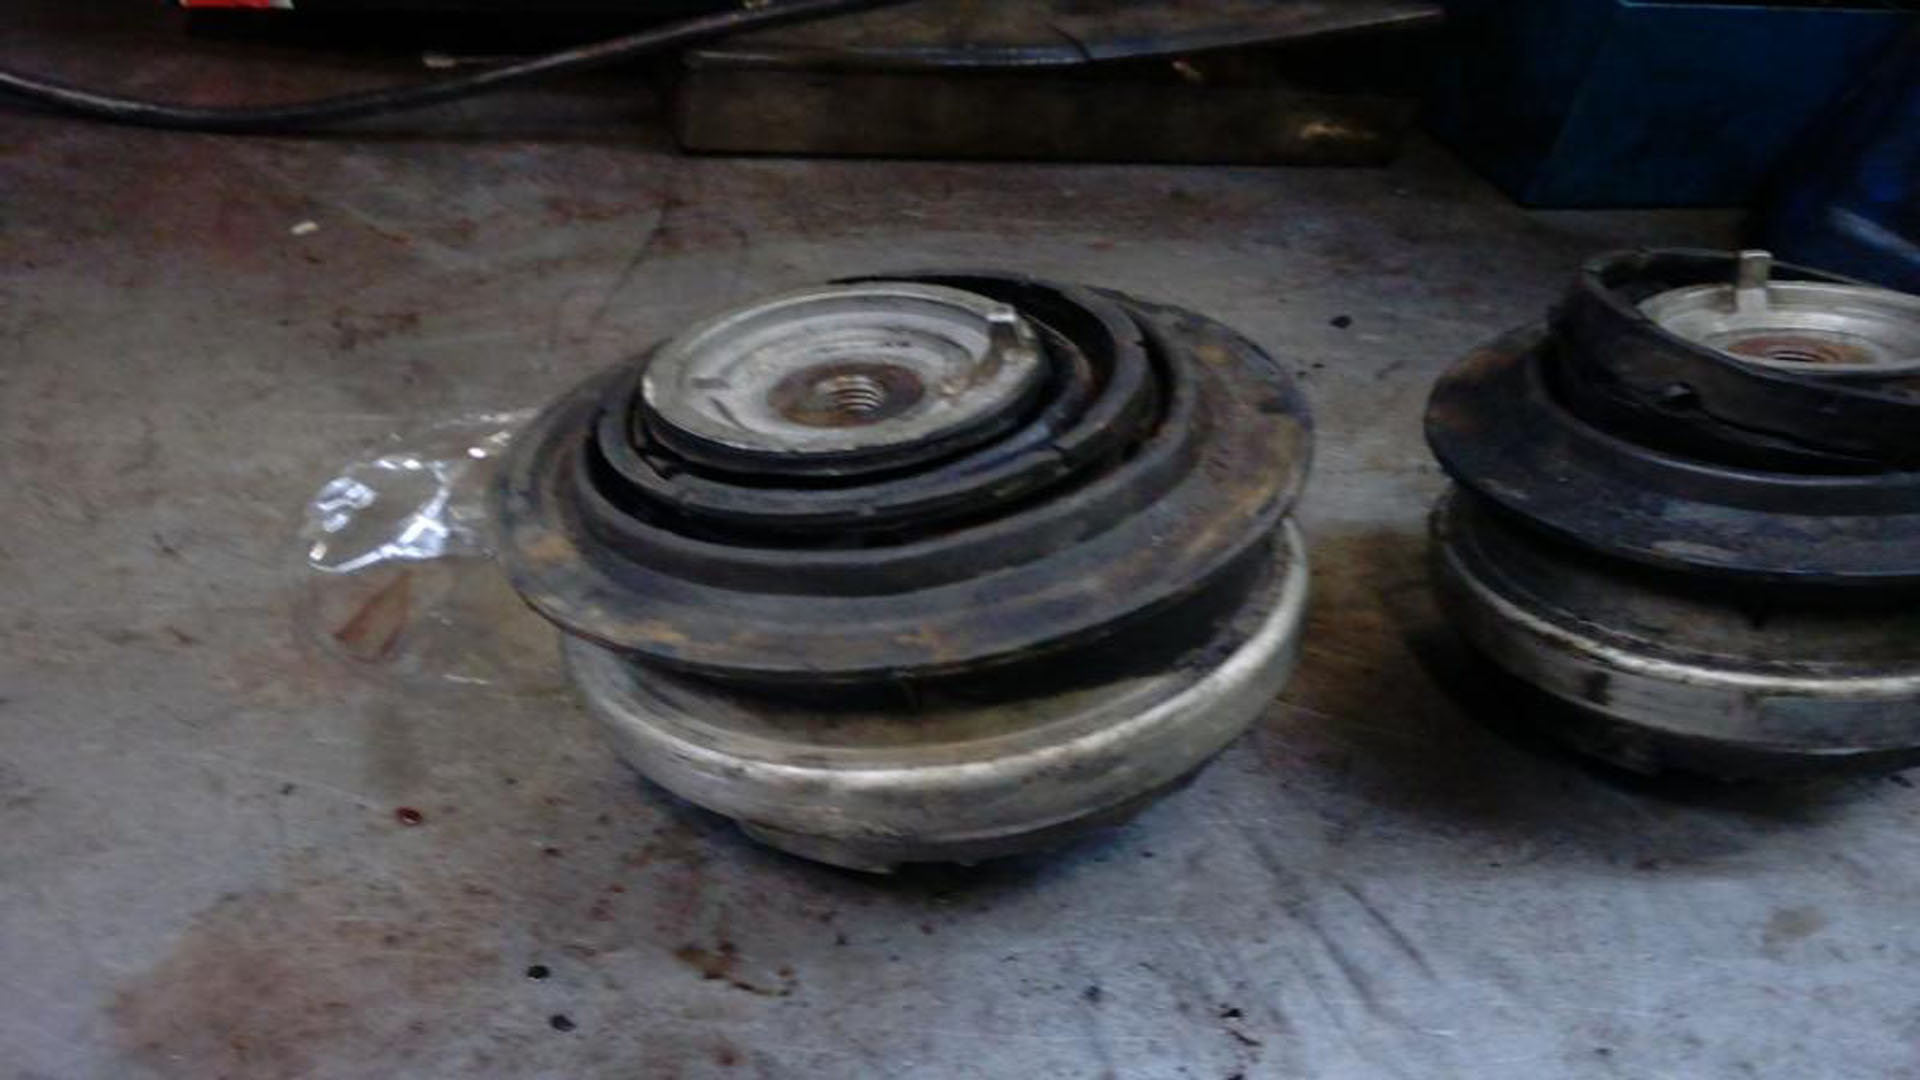
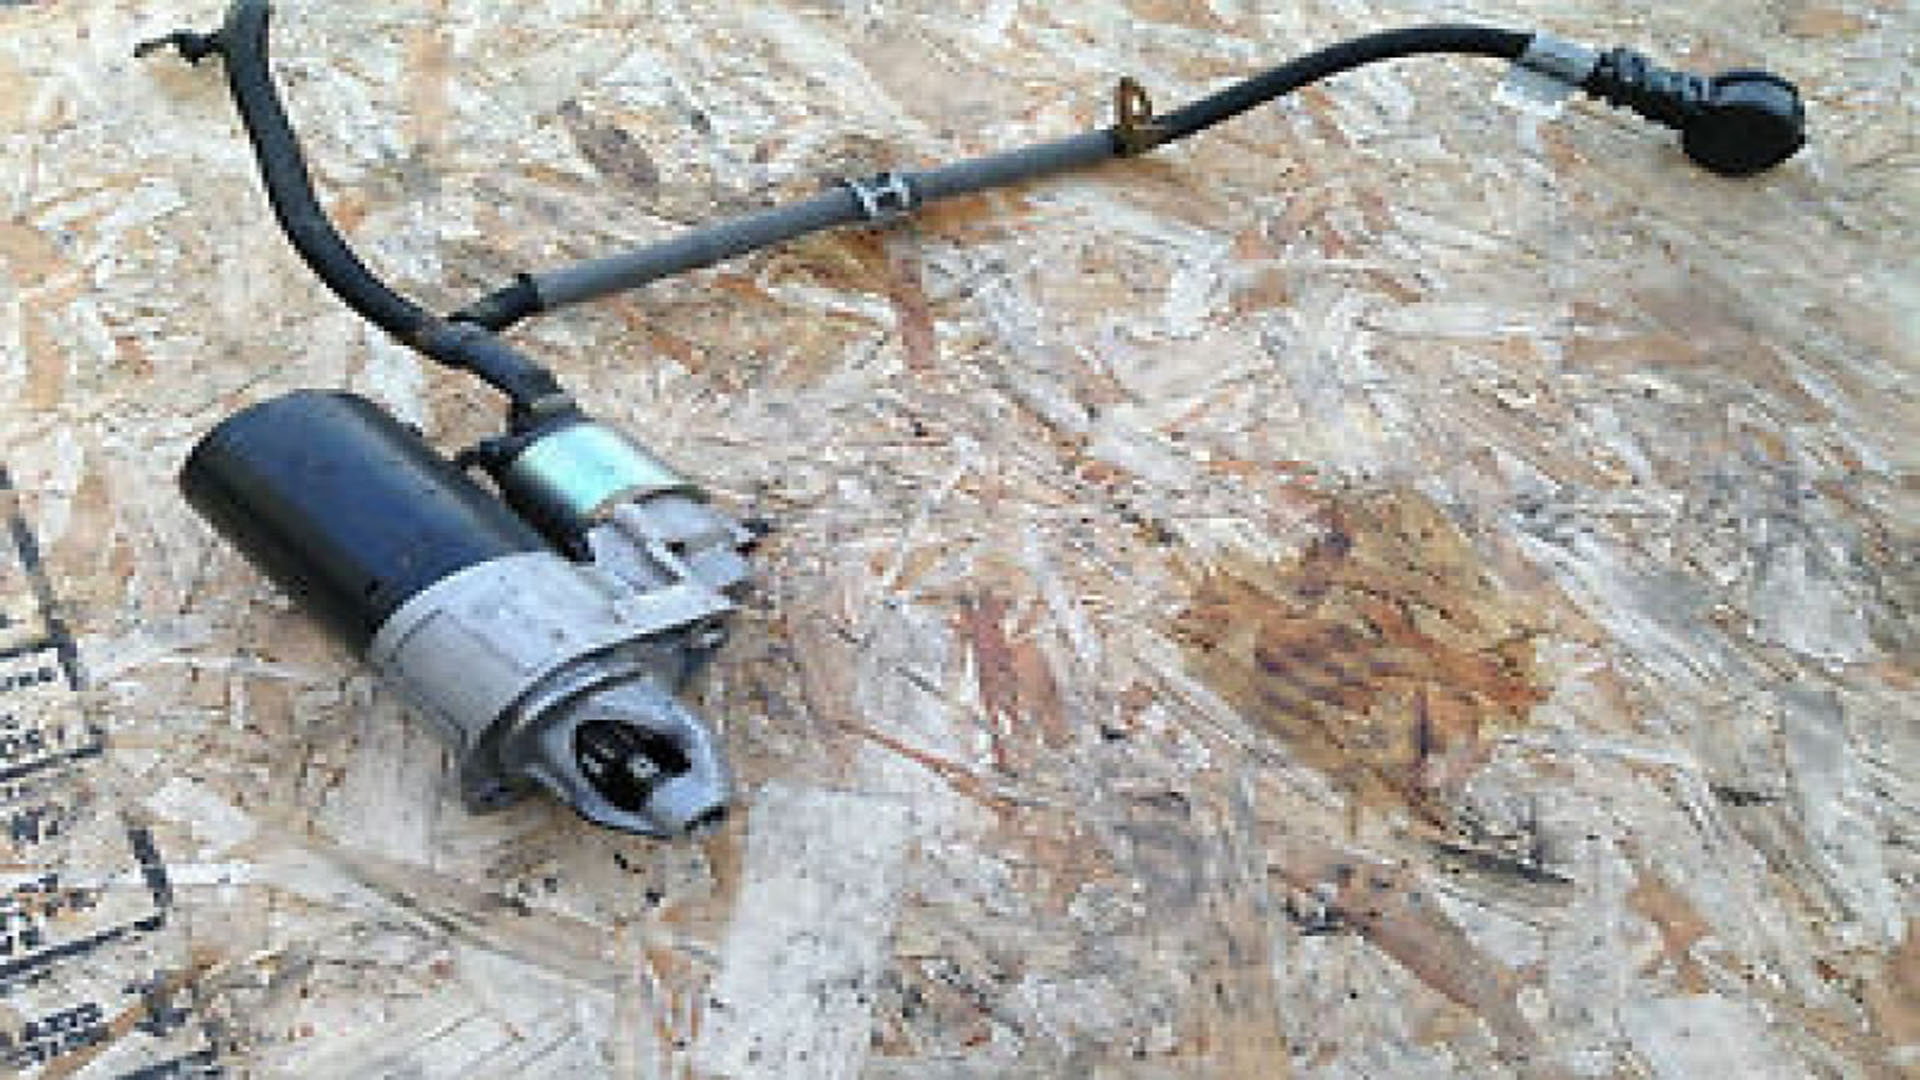
Figure 8. The E55 engine mount. 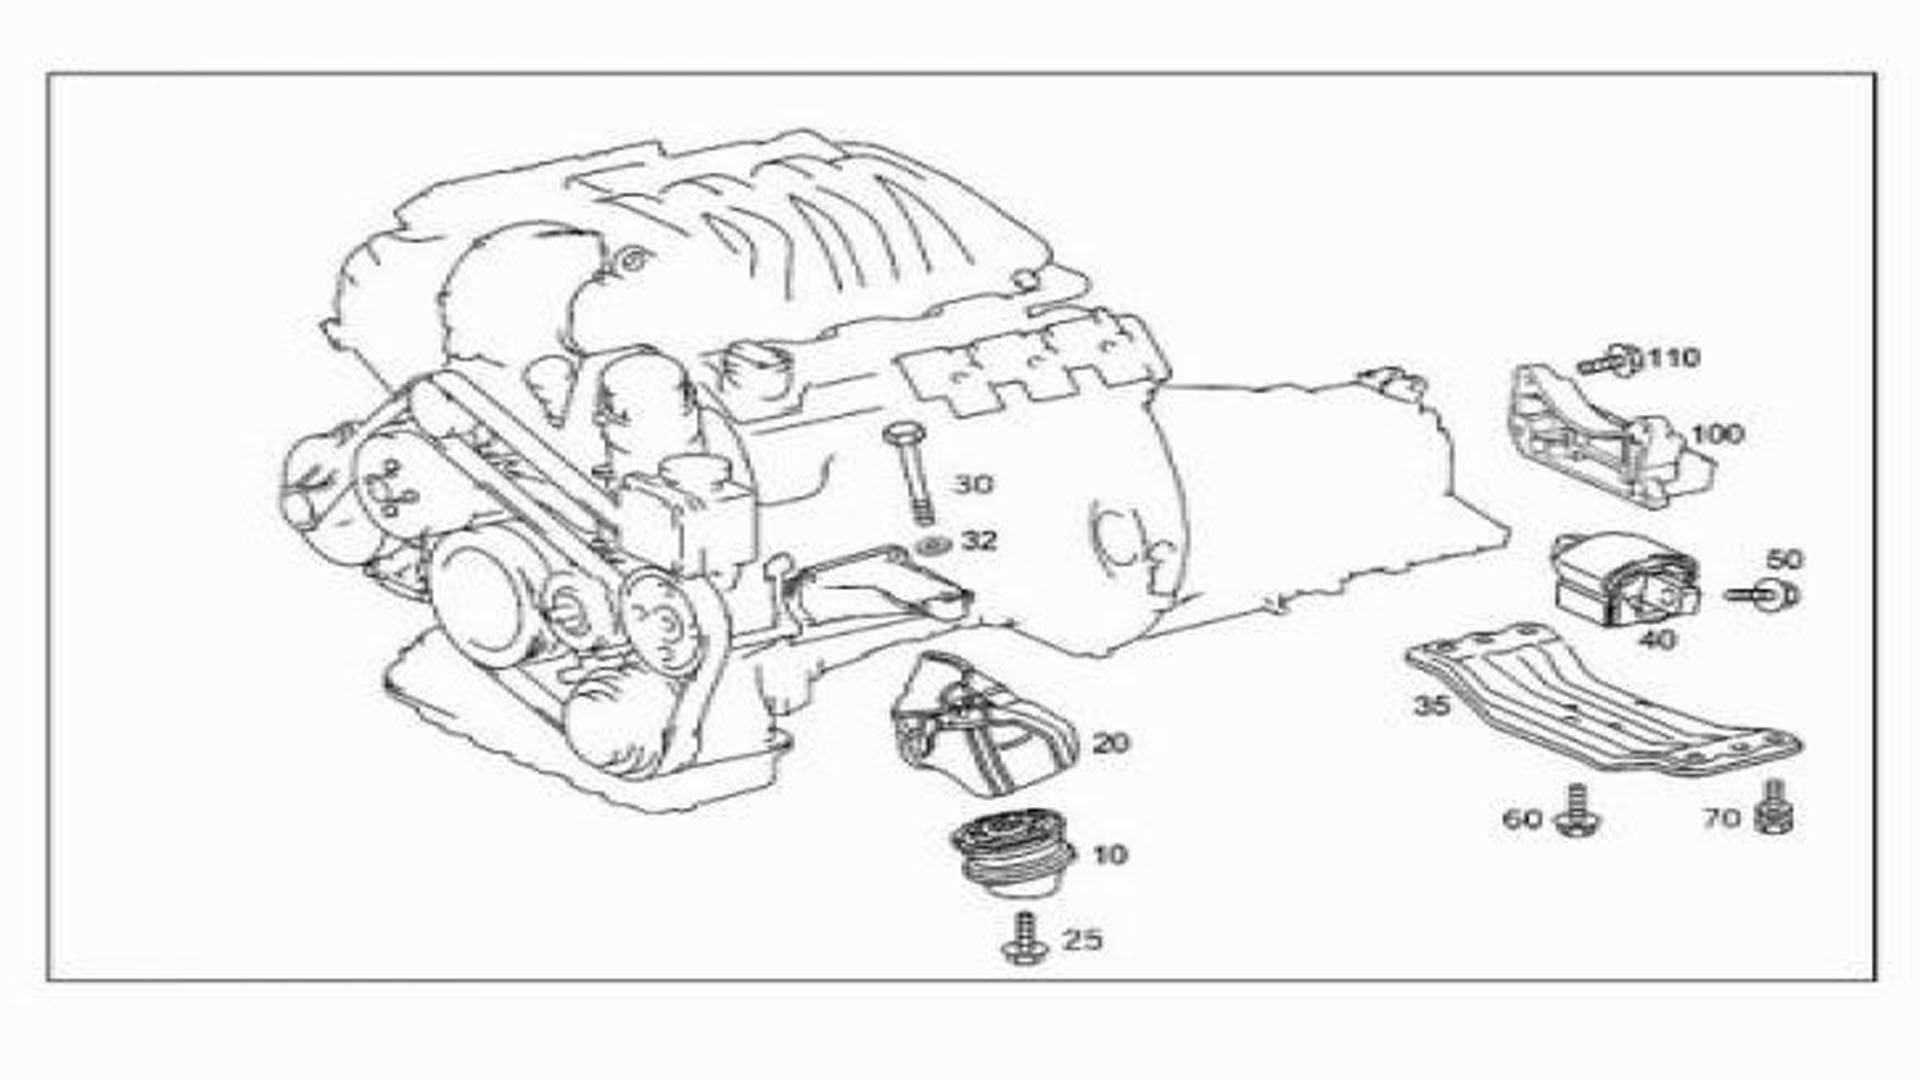
Figure 9. A diagram of the engine mount.
Step 6 – Disconnect the wiring attached to the starter
There is a 13mm nut holding the battery cable to the starter, and a 10mm nut holding a solenoid wire to it. There may be a plastic cap over the 13mm nut that simply pops off the nut.
Step 7 – Remove the starter
- There are six bolts holding the starter to the crankcase.
- These bolts are torqued to 40 Newton meters.
- Take the starter down and out of the engine bay.
- Install in the reverse order of removal.
- Simply bolt the starter back in the crankcase, and bolt the engine mount back in its place.
- Re-install the bracket and clamps holding the wire going to the battery.
- Finally, install the 3-part engine shield back and bolt it in place.
Step 8 – Perform the normalizing procedure
- Once the battery cable is re-connected, normalize the power windows by holding the window switches in the up position for three seconds.
- For the tilting roof, open it fully and hold the roof open for three seconds.
- To normalize the steering angle sensor, start the vehicle and turn the wheel from lock to lock. Then center the steering wheel.
- The installation is now complete!
Related Discussions
- Replacing Starter E500 - MBWorld.org
- Starting Problems - MBWorld.org
- How to Replace a Starter - MBWorld.org