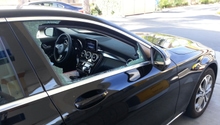
Mercedes-Benz C-Class: How to Replace Door Lock Actuator
If the door locks in your C-Class are bouncing up and down or are otherwise not functioning properly, the system's actuator might be broken. This is a costly component to replace at the repair shop, but it is something you can do at home. Read on to learn how to replace it yourself.
This article applies to the Mercedes-Benz C-Class w204 (2007-2014).
Due to their frequent use, the springs in the door lock actuator mechanism wear out over time. This can result in the car's locks malfunctioning; whereupon, they either don't work at all or otherwise bounce up and down. It's an expensive component to replace—with average parts and labor prices somewhere around $650. But if you have an hour to spare and are willing to get your hands a bit dirty, it’s something you can replace yourself at home. Read on to learn how.

Materials Needed
- T20, T30 Torx screwdrivers
- Pry tools/plastic trim removal tool
- Actuator
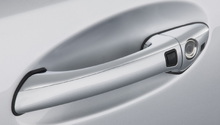
Step 1 – Remove lock cover
Remove the T20 Torx and remove lock cover. Take care when levering off the cover from the door handle; you may need to shimmy it back and forth a bit. Now, remove the two Torx bolts under the handle cover.
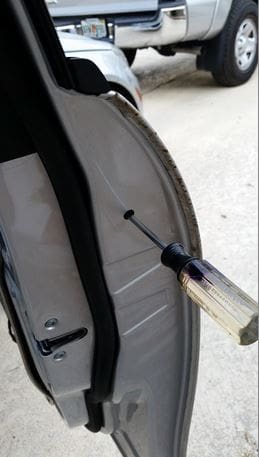
Step 2 – Remove door trim
Carefully lever around the edge of the door trim, and lift it off. Pull up and forwards on the door trim to remove. Disconnect all hook linkage, and remove insulation in order to access actuator housing area.
(Related Article: How to Remove Door Trim Panel - MBWorld.org)
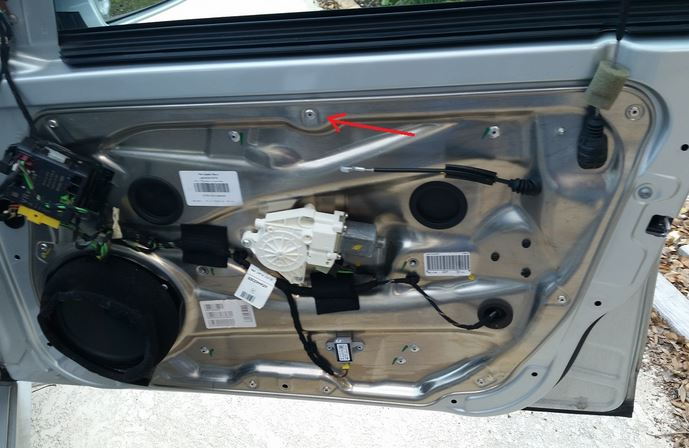
Step 3 – Release actuator
Remove the T30 Torx screws holding the actuator. Some models have a plastic cover in place over this area. if present, remove.
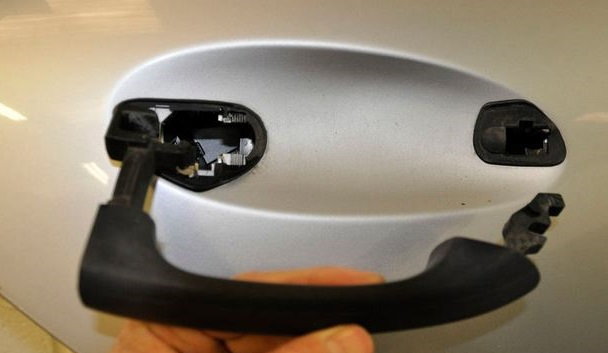
Step 4 – Remove door handle
This component does have a plastic cover, and you'll need to pry it off. Once done, remove the handle’s blanking plate and unscrew the T20 Torx that holds the outer door handle. Now, in order to remove the handle, first remove small part of the handle release by removing the previous T20 Torx. Next, slide handle to the left to release from vehicle. Remove two exposed T20 Torx screws. Doing this will release the bearing clamp.
Step 5 – Remove foam block, bearing clamp, and actuator
Remove the foam block that sits in front of the actuator. There are two blocks, which you'll want to slide apart and remove. Pretty straightforward, remove clamp and set aside. You can now access the actuator. Remove actuator by disconnecting all wires.
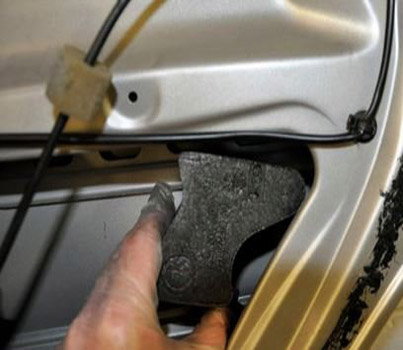
Figure 4. Foam block removed. 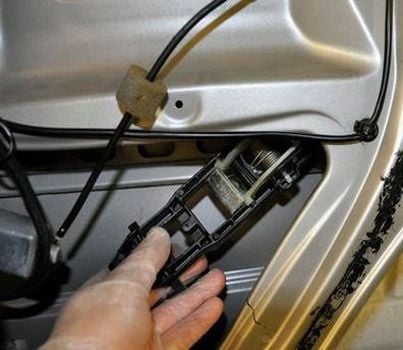
figure 5. Clamp behind foam padding, removed. 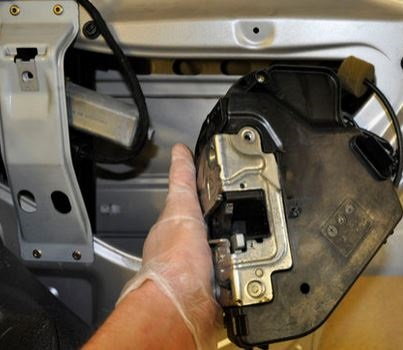
Figure 6. Window actuator removed.
Step 6 – Replace with new actuator
Attach wires to new actuator and slide into housing area. Re-install the bearing clamp, and slide the two foam blocks back into place. Re-install the T20 Torx screws and the door handle. Re-install the T30 Torx screws, and slide door trim back into place. Finally, re-install the T20 Torx screws as you slide the lock cover back into place.
Related Discussions
- DIY: Replacing Door Lock Actuator - MBWorld.org
- 2008 C300 Driver Door Lock - MBWorld.org
- Door Lock Problem - MBWorld.org
- Help! Door Lock Not Working - MBWorld.org