Mercedes-Benz C-Class: Why Doesn't My Horn Work?
A non-operating horn in your Mercedes-Benz C-Class can be one of four problems. Investigate the solution by following these simple step-by-step methods.
This article applies to the Mercedes-Benz C-Class (2007-2014).
If your horn stops working, it can be annoying and dangerous. If you want to warn the car next to you that is drifting into your lane, you'll find that hard to do if your horn doesn't work.irst check the fuse and relay that supply power to the horns. Then comes checking the wire connection to the horns. Your Mercedes has two horns; if one stops working, you may not notice because the other one is still operating. If you find only one horn is worn out or defective, replace both horns because the horns come as a set, and if one horn is history, the other one most likely will go bad soon, too.

Materials Needed
- Sockets
- Ratchet
- Pick
- Replacement fuse
- Replacement relay
- Jack and jack stands
- Tire iron
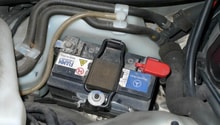
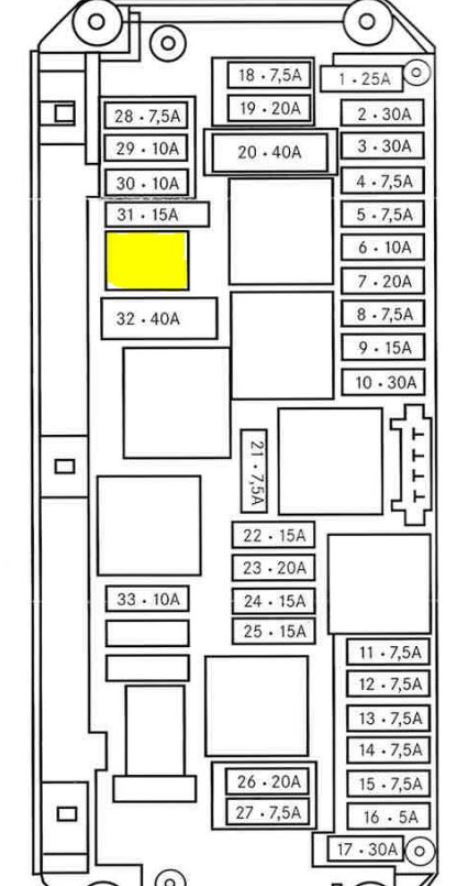
Step 1 – Check the fuse
Inspect the fuse to make sure it is good. If it is good, make sure it is seated properly.
Pro Tip
Another way to test the fuse is to take another fuse from the fuse box with the same amperage that you know is good and install it in the horn fuse receptacle. If the horn works with the alternate fuse, you know the original fuse is bad.
Step 2 – Check the relay
Make sure the horn relay is good. If it is good, make sure it is seated properly.
Pro Tip
You can test for a good relay the same way you can test for a good fuse; replace the relay with one you know is good (same amperage) and test the horn.
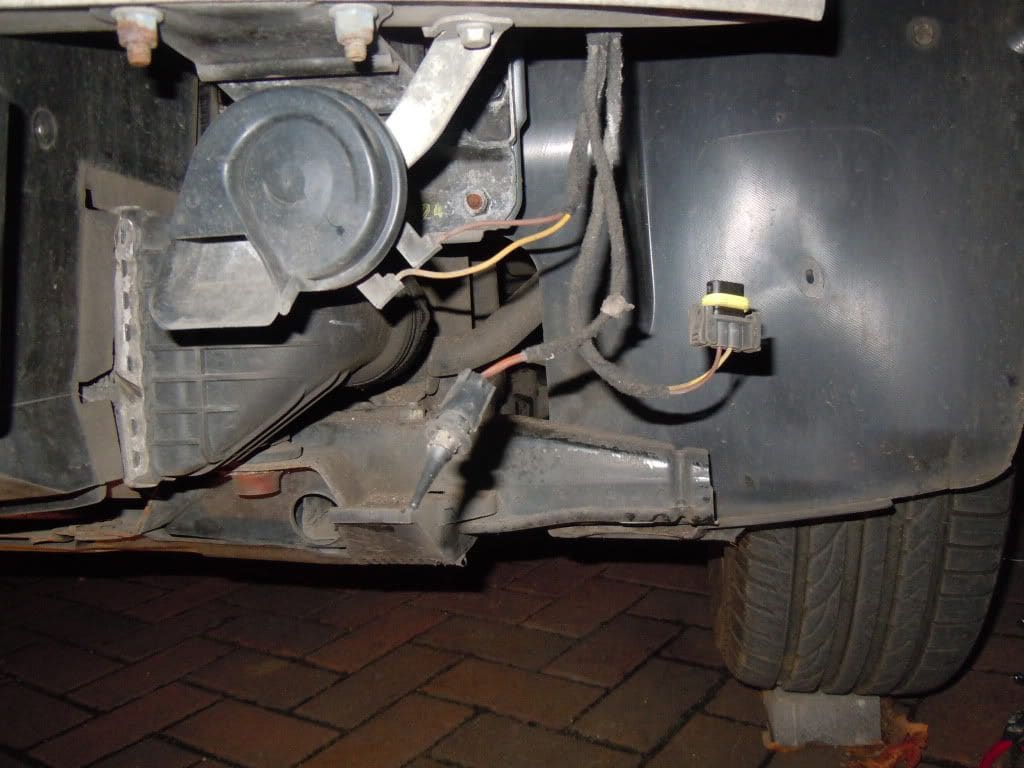
Step 3 – Check the wire connections to the horns
Your Mercedes has two horns: a low-tone horn located in the engine compartment on the passenger side and a high-tone horn located on the driver's side of the engine compartment. You can easily access the passenger-side horn and check the connection to make sure it is secure and not corroded. If the connection is good and not corroded but the horn doesn't work, you'll need to replace the set.
Pro Tip
Because it is difficult to access the driver's side horn, it does not make sense to dismantle the area so you can access the horn just to check the connection, since you will want to replace both horns anyway.
Step 4 – Replace the horns
Easily find and replace the low-tone horn located in the engine compartment on the passenger side near the fog light. With socket and ratchet, unfasten the horn from its mounting and disconnect the power wire, then connect the wire to the new horn and mount it to the car. Test the horn.
Follow these instructions to replace the driver's side horn:
- Put the car in Park and set the emergency brake. If manual transmission, put the car in gear and set the emergency brake.
- Jack up the car and place the vehicle on jack stands.
- Use the tire iron to remove the tire on the driver's side.
- Use the pick to remove the wheel-well liner.
- Remove the washer-fluid reservoir.
- With ratchet and socket, un-mount the defective horn; disconnect the power wire.
- Mount the new horn and connect the power wire.
- Test the new horn.
- Re-install the washer fluid reservoir and wheel-well liner.
- Remount the wheel.
- Lower the car off the jack stands.
Related Discussions
- W204 My Horn Stopped Working - MBWorld.org
- W204 My Horn is Not so Good - MBWorld.org
- Horn Not Working - MBWorld.org