Mercedes-Benz E-Class AMG: How to Replace Serpentine Belt
You never want your serpentine belt to break; if it does, everything stops working. It is easy to change them, so continue reading as this article will guide you through the process.
This article applies to the Mercedes-Benz E-class AMG w211 (2002-2009).
The serpentine belt on your car drives everything; so if it breaks, you will be unhappy. Do you like having power steering, air conditioning, and having your engine not overheat? The serpentine belt drives those accessories, so regular service ensures reliable performance. It is not too difficult to replace them. If your car is supercharged, then that belt is separate from the accessories. Fortunately, it is way easy to replace. The other belt is a little bit more complicated, mainly because it is longer and drives more things. Because the belt is pretty long, you need to have some patience to get it strung around all of the pulleys and idlers. It is worth the trouble, though, if you want to save yourself $400. Come along for the adventure, and enjoy the satisfaction of doing it yourself.

Materials Needed
- Small 5mm drift punch or Allen wrench
- 17mm wrench
- 17mm 3/8" drive deep socket (or regular socket and very short extension)
- 3/8" ratchet
- Long straight bladed screwdriver for prying
If your car is the supercharged E55 AMG model, you may as well change that belt since you will be removing it.
Step 1 – Remove front portion of engine cover
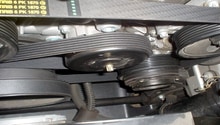
Remove the front portion of the engine cover by pulling the air ducts out of it after you pull it forward. Then, pull the cover off and carefully set it aside. Pull the air ducts forward and remove them. Now the belts should be easy to see.
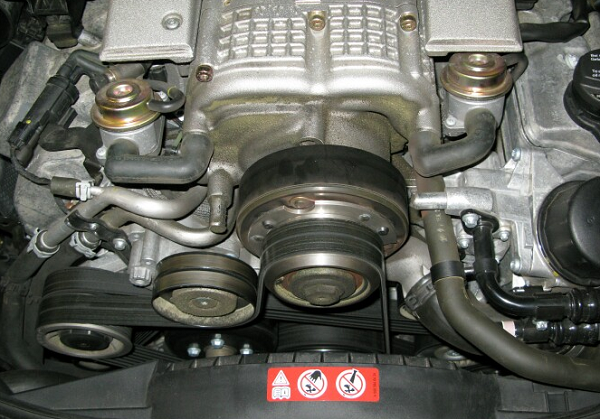
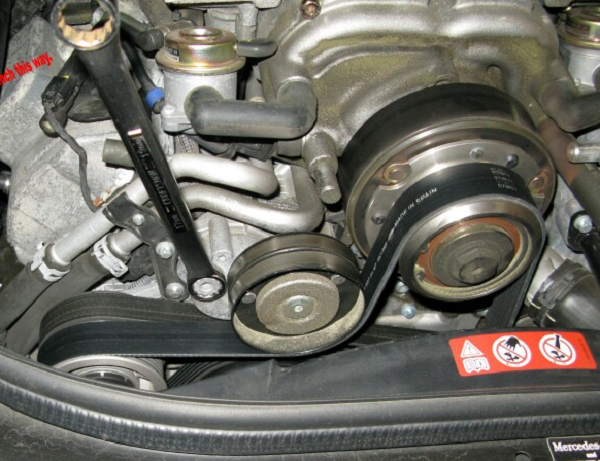
Step 2 – Remove supercharger belt
Use your 17mm wrench or socket to loosen the tensioner by rotating counterclockwise.
Once you have loosened it, put the drift through the hole on top of the tensioner.
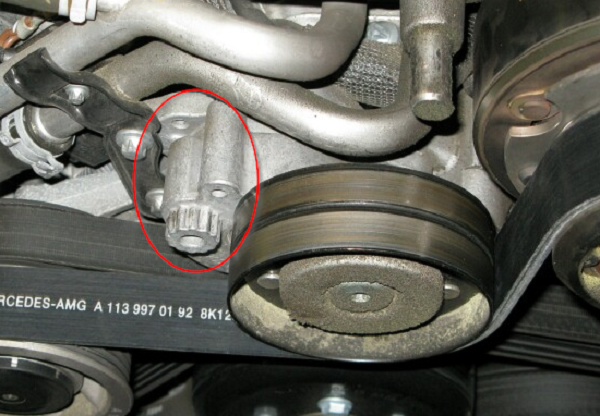
Figure 3. Hole for locking tensioner. 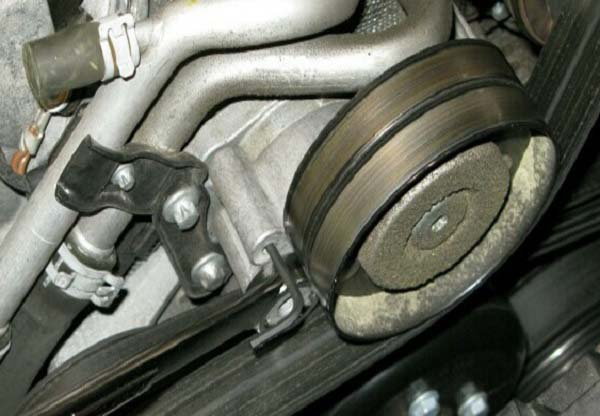
Figure 4. Locking tensioner.
If you need more leverage than the wrench can supply, use a ratchet. A piece of pipe can be put on the end of a regular ratchet or (my favorite) a long ratchet with a swivel on the end. Now just slip the belt off. It may take a bit of wiggling, but it should come free without too much issue. Be careful to not damage the pulleys.
Pro Tip
Before you take the belt off, be sure to note how it is routed. Taking a picture of the route is helpful. There is only one way for it to be routed on the pulleys, and it is important.
Step 3 – Loosen serpentine accessory belt
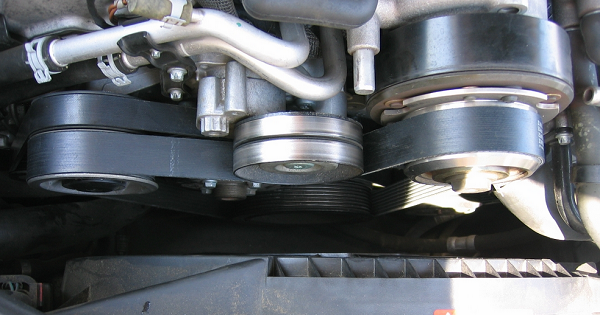
This is very similar to the other belt. The nut on the tensioner is a little more difficult to see. The tensioner nut is to the upper-left of the crank pulley.
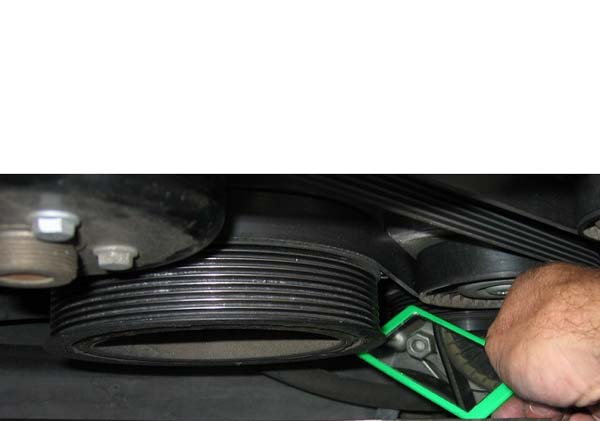
Figure 5. Hidden tensioner nut. 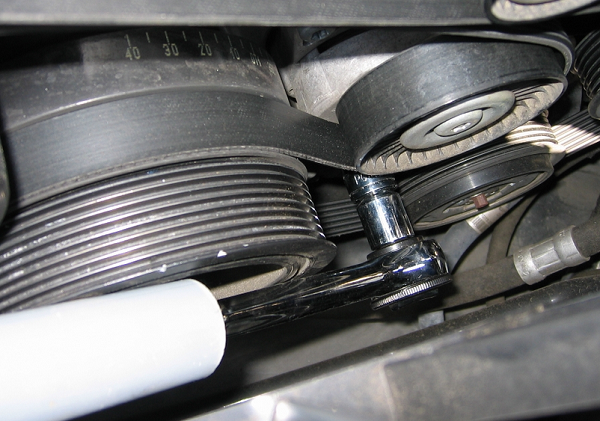
Figure 6. Ratchet on serpentine tensioner nut.
It will be a little more work to get this one released, since it is down in the bowels of the front of the engine. Put your 17mm deep socket on the nut and turn counterclockwise about 60 degrees to release tension. Now, while keeping the tension off with the ratchet, remove the belt from the tensioner pulley. It is smooth so it should slide right off.
Now, gradually release the tension and remove the ratchet.
Pro Tip
Be careful when you release the tension off of the belt. The spring in the tensioner exerts a tremendous amount of force.
Step 4 – Remove belt
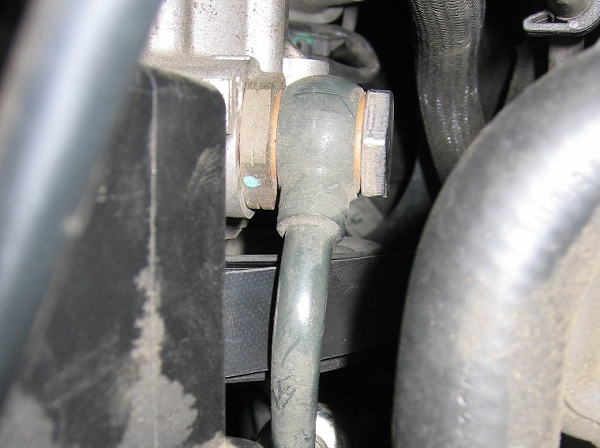
Unwind the belt from around the pulleys as it goes around. They will be pretty easy, except the power steering may be tight. Keep working and it will come out
Pro Tip
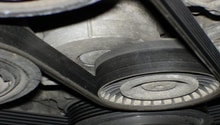
It is difficult to see that a serpentine belt is truly bad. There may be cracks in the ribs that are acceptable. If the belt is old or you just want peace of mind, replace it.
Step 5 – Replace the belt
Feed the new belt over the pulleys the same way you removed it. The power steering will be a challenge. Use the long screwdriver to help get the belt over the pulleys. You will want to leave it off of the idler pulley to the upper-left of the crank pulley. Now, put your ratchet back on the tensioner and turn it counterclockwise. You will be able to slip the belt over the idler pulley. Release the tension on the idler and you are done. Double check that the belt is over all of the pulleys .
Pro Tip
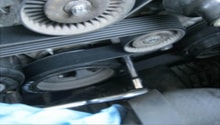
Some people say that it is easier to remove the fan shroud to gain the extra room to the belts, while others say it is more work than just dealing with the limited space issue.
Step 6 – Re-install the supercharger belt
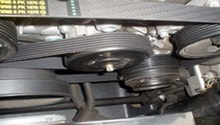
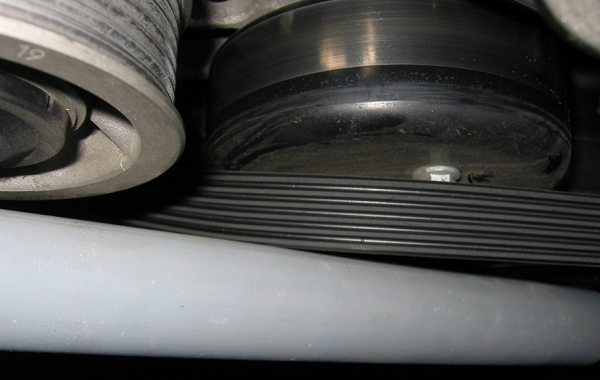
Reverse the actions in Step 2, and the supercharger belt will be installed. When you are finished the belts should look like Figure 9 below.
With the new belt installed and the tensioners set correctly, you have completed the install. Turn the engine over, and ensure that the engine runs normally with no abnormal noise from the belt. Replace the front part of the engine cover, and you are done.
Related Discussions
- Serpentine Belt DIY - MBWorld.org
- Shredding Serpentine Belts - MBWorld.org
- Complete Serpentine Belt DIY - MBWorld.org