Mercedes-Benz E-Class AMG: How to Replace Third Light
With the third brake light linked to a decrease in the number of rear-end collisions, it's a good idea to replace it when it burns out or is otherwise damaged and stops working. It's a tiny safety feature that pays big dividends, especially if you tackle the project yourself.
This article applies to the Mercedes-Benz E-Class and E-Class AMG (2002-2009).
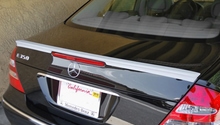
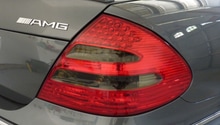
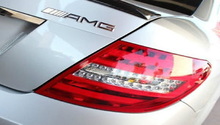
The third brake light helps drivers behind you see more easily when you apply your brakes. It's situated high above your tail lights and is more directly in a driver's line of sight. Anecdotal evidence shows that this third brake light helps prevent rear-end collisions. Of course, unless you are looking for it, you may never know when your third brake light goes out – until someone rams into you from behind. It's a good idea to periodically make sure that this third brake light is working. When it's not, rather than taking your Mercedes-Benz E-Class to a mechanic to replace, you easily can do it yourself – no matter what your experience level is with car DIY projects. The LED light itself isn't inexpensive, but you can save a pretty penny by replacing it yourself.

Materials Needed
- Medium flat head screwdriver
- Pocket knife (optional)
- T-25 Torx screwdriver
- Replacement third brake light
Step 1 – Prepare to replace third brake light
Remove the nine plastic caps on inside of your trunk with the medium flat head screwdriver or pocket knife. Remove the cap on either side of the side hinge of the trunk. You can also remove the latch on the trunk hinge plastic covers as well, though you don’t need to in order to access, remove, and replace the third brake light.
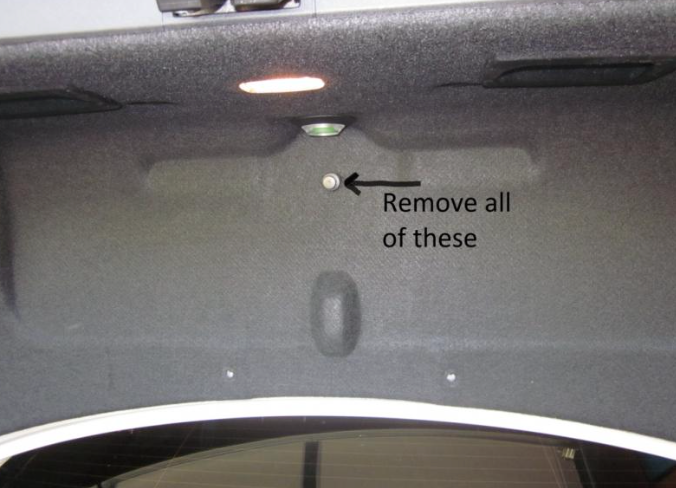
Figure 1. Remove the nine plastic caps on inside of the trunk. 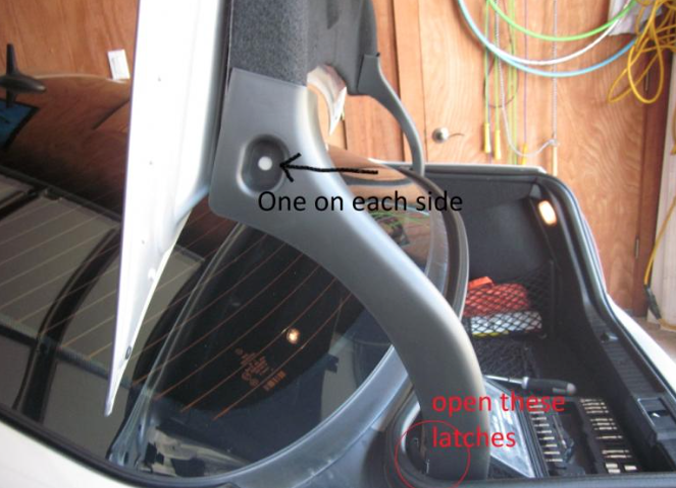
Figure 2. Remove the cap on either side of the side hinge of the trunk.
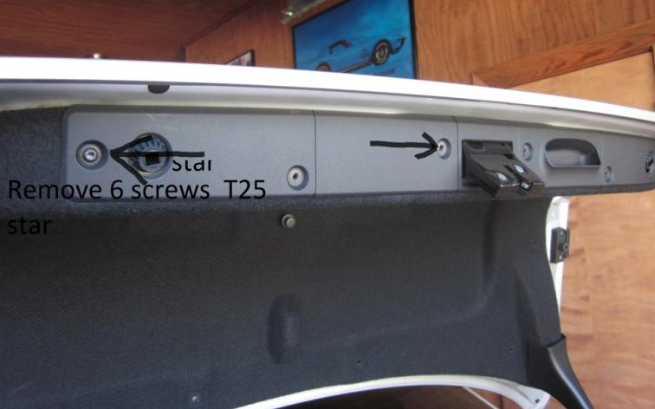
Step 2 – Remove carpet on inside of trunk lid
Use the Torx screwdriver to remove the six screws holding the plastic trunk cover over the trunk latch, and then pull down the interior carpet from the trunk lid.
Step 3 – Remove light
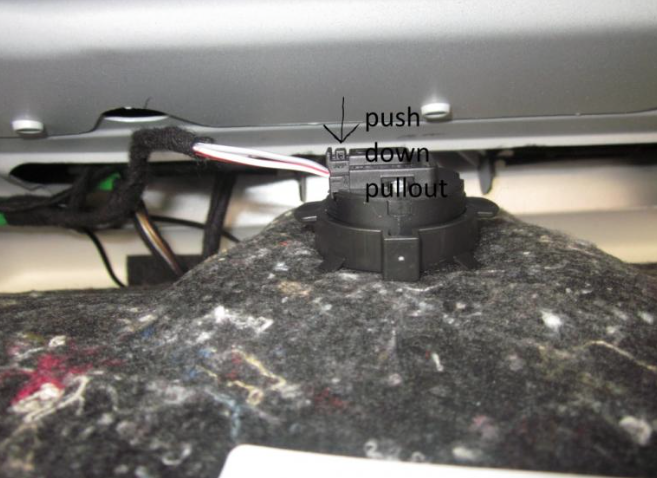
Remove the light by pushing it down, twisting it, and then pulling it straight up. You may need to wiggle it a little to free it.
Step 4 – Access third brake light
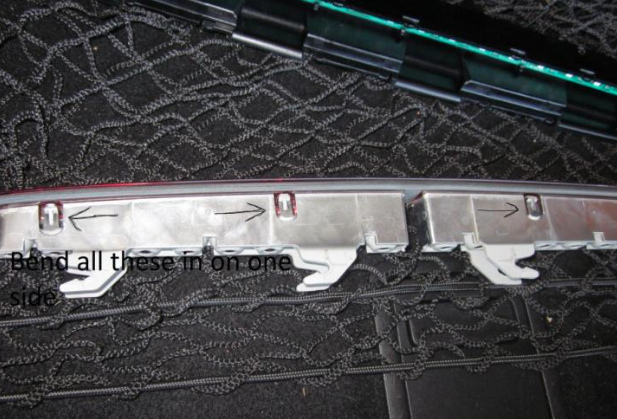
Push down and out on the two tabs that stick out of the third brake light. Once you do, remove the back of the LED part. This back is usually black. Slide this part to the left, let the right side of it drop out of its slot, and then disconnect it on the left side. Remove lens cover with the screwdriver or even with your fingers. The new light should come with a new lens cap, so there's no need to re-use the one you currently have. To remove the lens cover, press on the tabs holding it in place. There are tabs on the front of the cover and on the back of the cover.
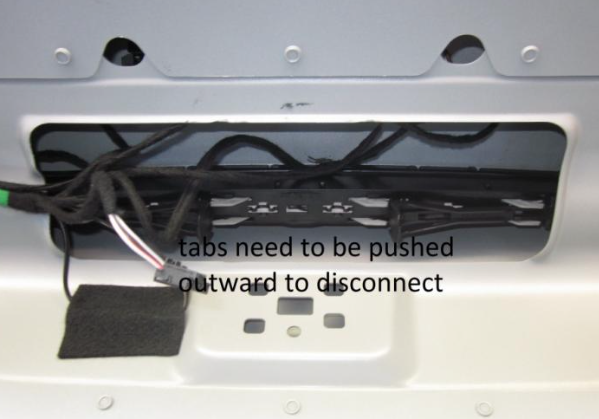
Figure 5. Disconnect by pushing tabs outward. 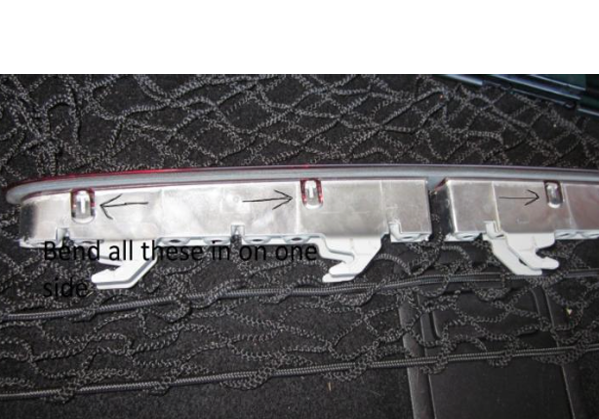
Figure 6. Bend back tabs to remove lens cover. 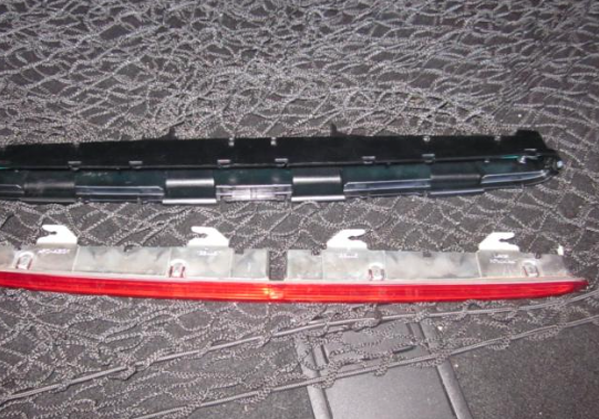
Figure 7. What you will have once you remove the lens cover.
Step 5 – Replace third brake light
Insert the new lens cover on assembly making sure the lens is facing in the right direction. Do not bend back any of the tabs on the lens cover. To help the lens cover sit better in the assembly, consider cleaning the assembly with a paper towel and some glass cleaner. If you do, let it dry completely before installing the new lens cover. Re-install plug from its slot on the trunk, and then slide the LED portion back into place. Start by sliding it in on from the left first and then from the right. Turn up the grey tabs and also pull black tabs back toward the center of the assembly.
Step 6 – Check the third brake light
Turn the ignition like you’re about to start the car and confirm that the third brake light comes on. If not, remove the assembly and make sure you’ve correctly inserted the bulb.
Step 7 – Re-install components to complete project
- Push carpet back into place.
- Use Torx screwdriver to re-install the six screws holding the plastic trunk cover over the trunk latch.
- Re-install latch on the trunk hinge plastic cover (if you removed it in Step 1).
- Re-install cap on either side of the side hinge of the trunk.
- Re-install the nine plastic caps on inside of trunk.
Featured Video: Removing Third Brake Light
Related Discussion and Site
- DIY Third Brake Light Replacement - MBWorld.org
- How to Replace Third Brake Light - BenzWorld.org