Mercedes-Benz E-Class and E-Class AMG: How to Install Lowering Springs
Installing lowering springs in your Mercedes-Benz E-Class can be just the thing to make your car stand out from the rest. This guide will lead you through how to safely and properly drop your lovely E-Class a few inches.
This article applies to the Mercedes-Benz E-Class and E-Class AMG (2002-2009).
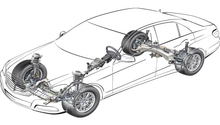
The Mercedes-Benz E-Class is one of the premier luxury sedans on the market today. This doesn't mean that Mercedes owners don't have a good reason for customizing their sweet ride. There are quite a few things to do to a Mercedes-Benz to really make it pop and make it unique. One of those things is to lower the car. Making an E-Class into a low rider isn't the easiest mod to do, but it is certainly not impossible, even for the most novice of wrench turners. With the correct tools and enough time, the weekend warrior garage mechanic can get this job done and be thrilled with the results. Of course, if you have any hesitation about taking on this task, be sure to consult with a professional and have them do it. Messing around with the suspension on any vehicle isn't anything to take lightly. With enough free time, this mod can be done at home while saving a lot of money in the process.

Materials Needed
- Hydraulic floor jack
- Jack stands
- Socket wrenches with extensions and metric sockets (13, 16, 17, 18 and 21 mm sizes)
- 10, 11, and 14 mm star bolt sockets
- T40, T50, and T55 Torx bit drivers
- Small sledge hammer
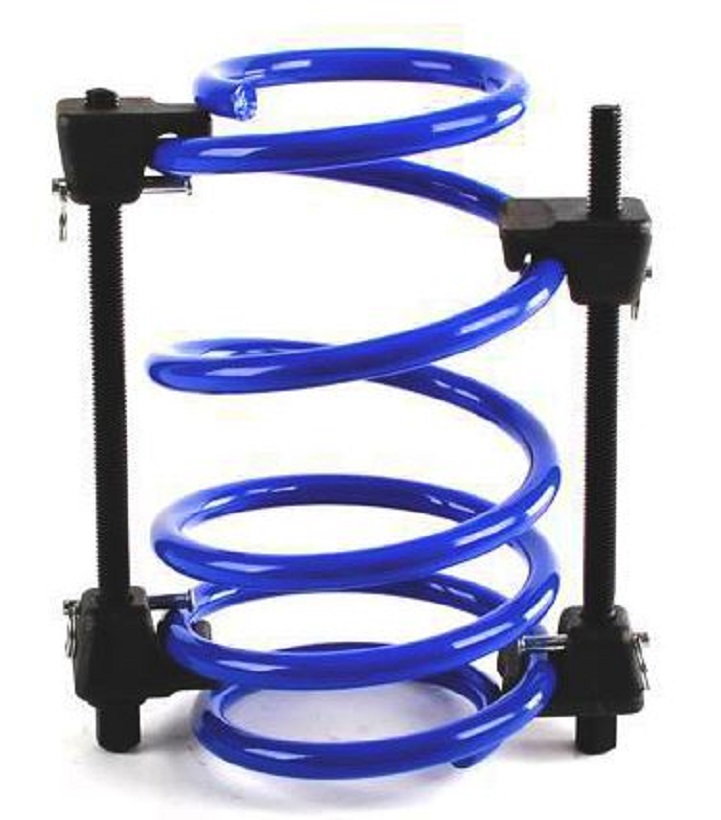
- Spring compressor (not required, but very helpful)
- Blue Loctite
Steps 2-6 are for the rear of the car, step 7 starts the procedure for the front springs.
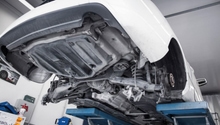
Step 1 – Loosen lug nuts, lift car, and remove wheels
Remove the lug nuts before you lift the car. On level ground, raise the car with the hydraulic floor jack at the proper jacking locations. Place the car on jack stands at the proper locations as well. Once the car is safely on the jack stands, remove the lugs and pull the wheels off.
(Related Article: How to Jack Up Your Car - Mbworld.com)
Step 2 – Remove plastic covers
There are plastic covers over both the track bar and the lower control arm that need to come off. The lower control arm plastic cover comes in two parts that are held together by plastic tabs. Carefully remove these tabs and the cover will come right off. The track bar plastic cover is similarly held in place with four plastic tabs as well. With these covers, you should be able to pop the tabs with either a narrow flat head screwdriver or a pair of needle nose pliers.
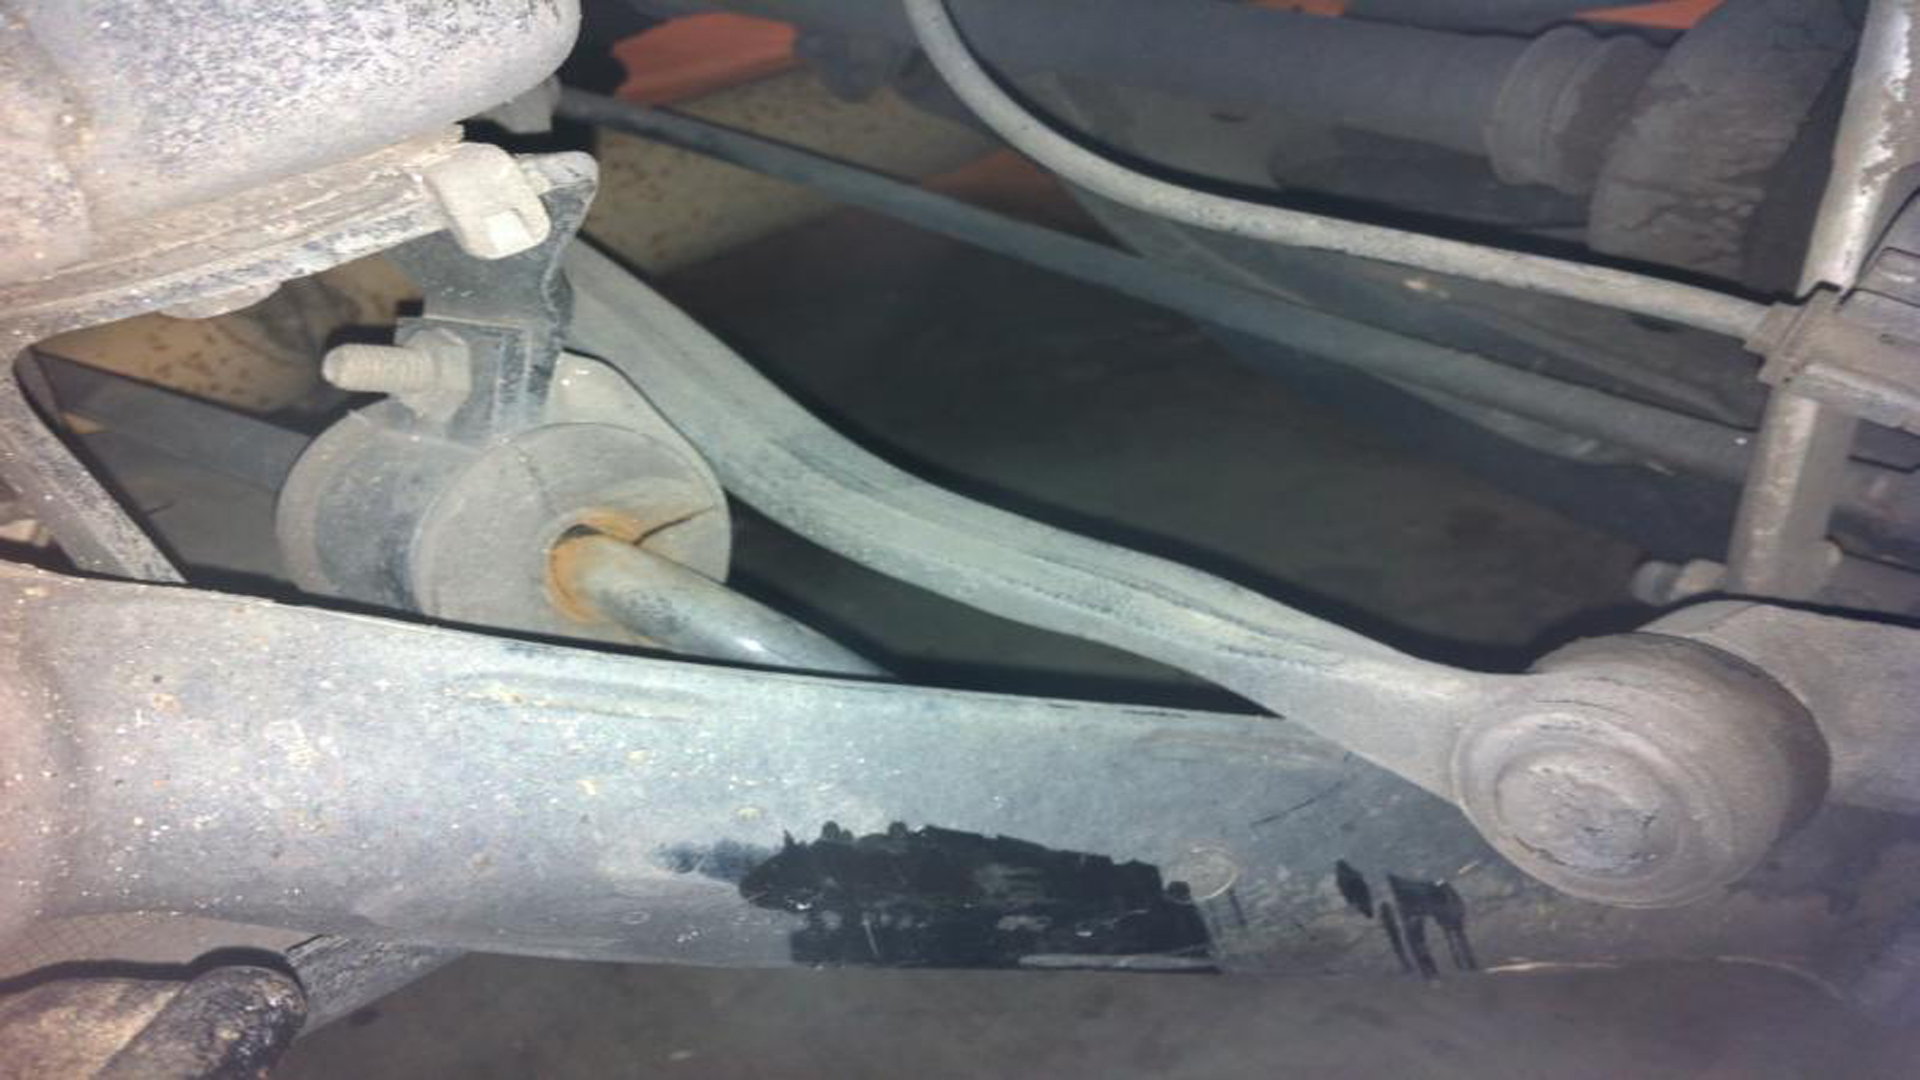
Step 3 - Remove lower shock bolt and stabilizer bolt
The lower shock bolt mounts the bottom of the shock to the lower control arm. Remove this 16 mm nut and pull the bolt out. Remove the 13 mm stabilizer link nut and pull that bolt out.
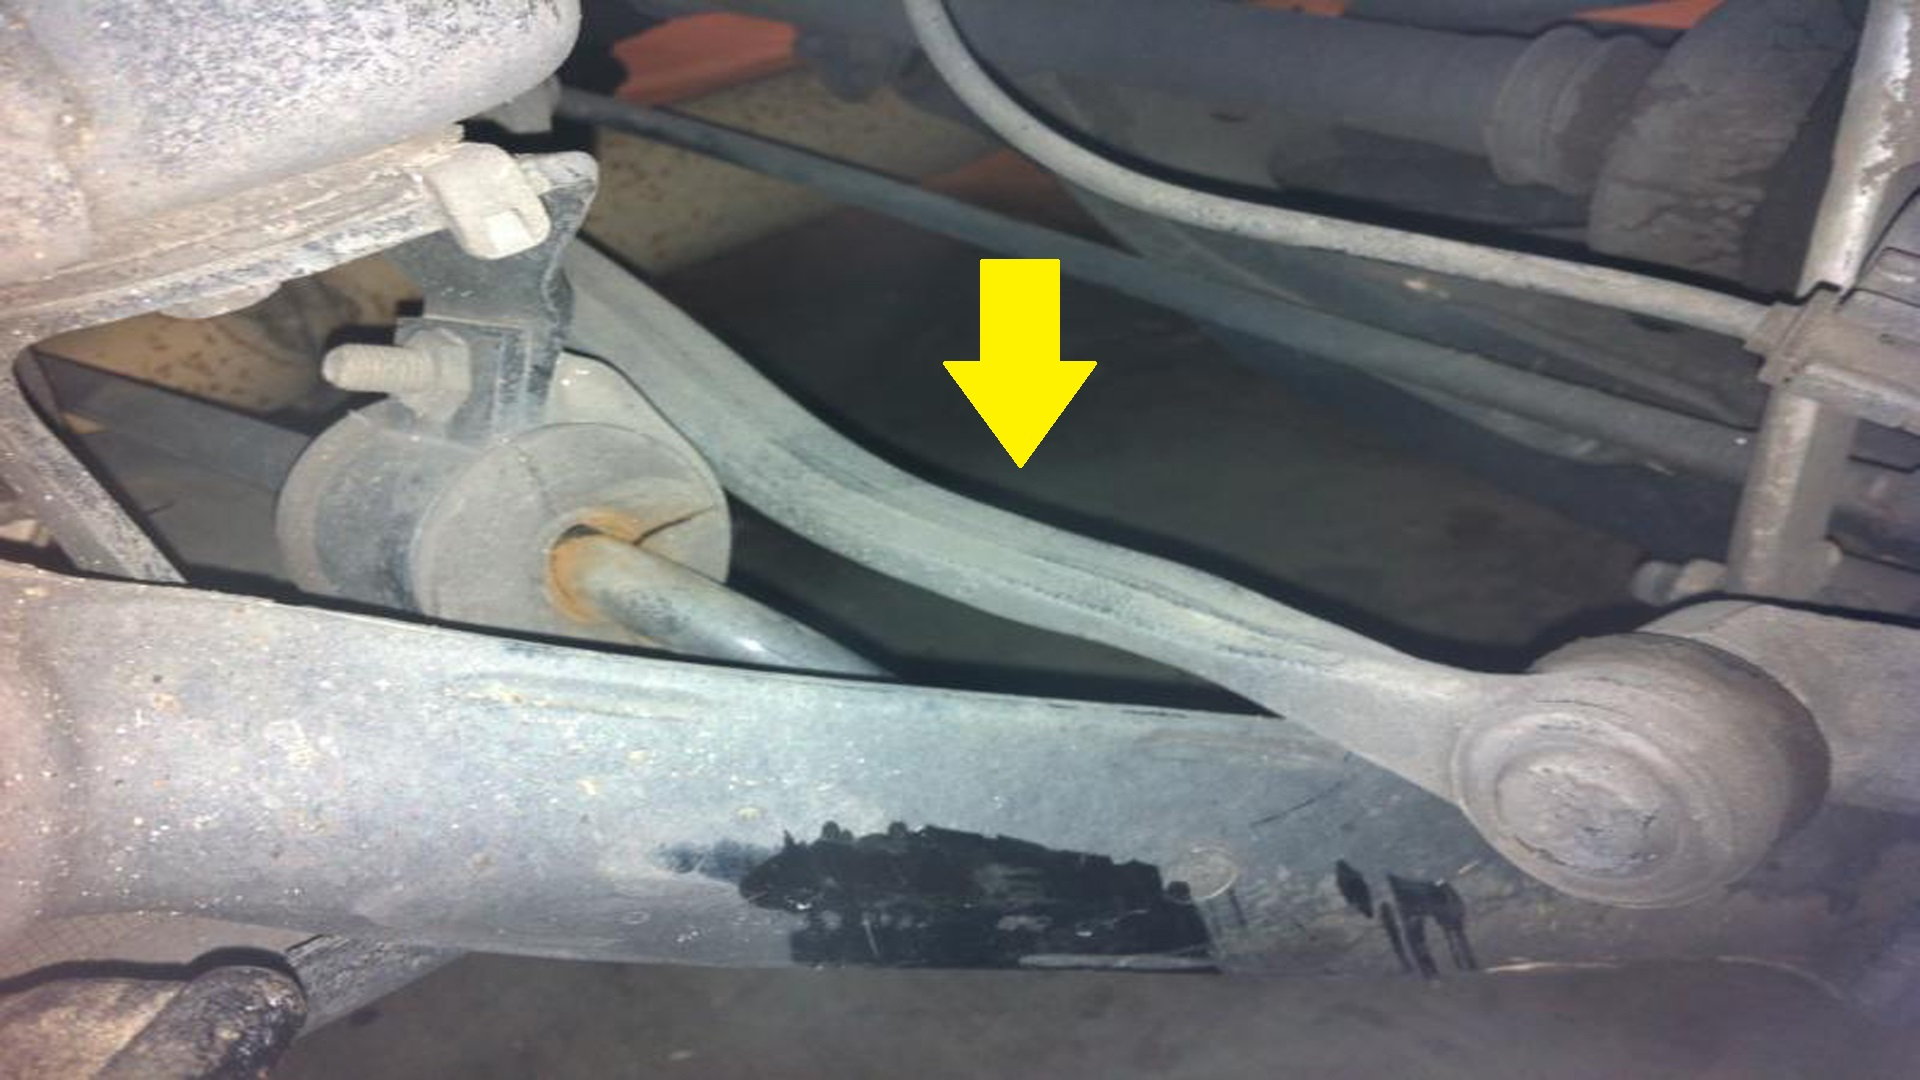
Step 4 – Remove inner control arm bolt and pull out old spring
Use a T55 Torx bit for the bolt, a 13 mm socket for the nut, and remove the inner control arm bolt. This is close to the exhaust pipes, so it may be a difficult step due to the lack of space. This will free up the springs. You can now pull out the old springs, but make sure to note the position of both ends of the springs on the upper and lower insulators. If you feel any tension on the spring, use your spring compressors to compress the spring.
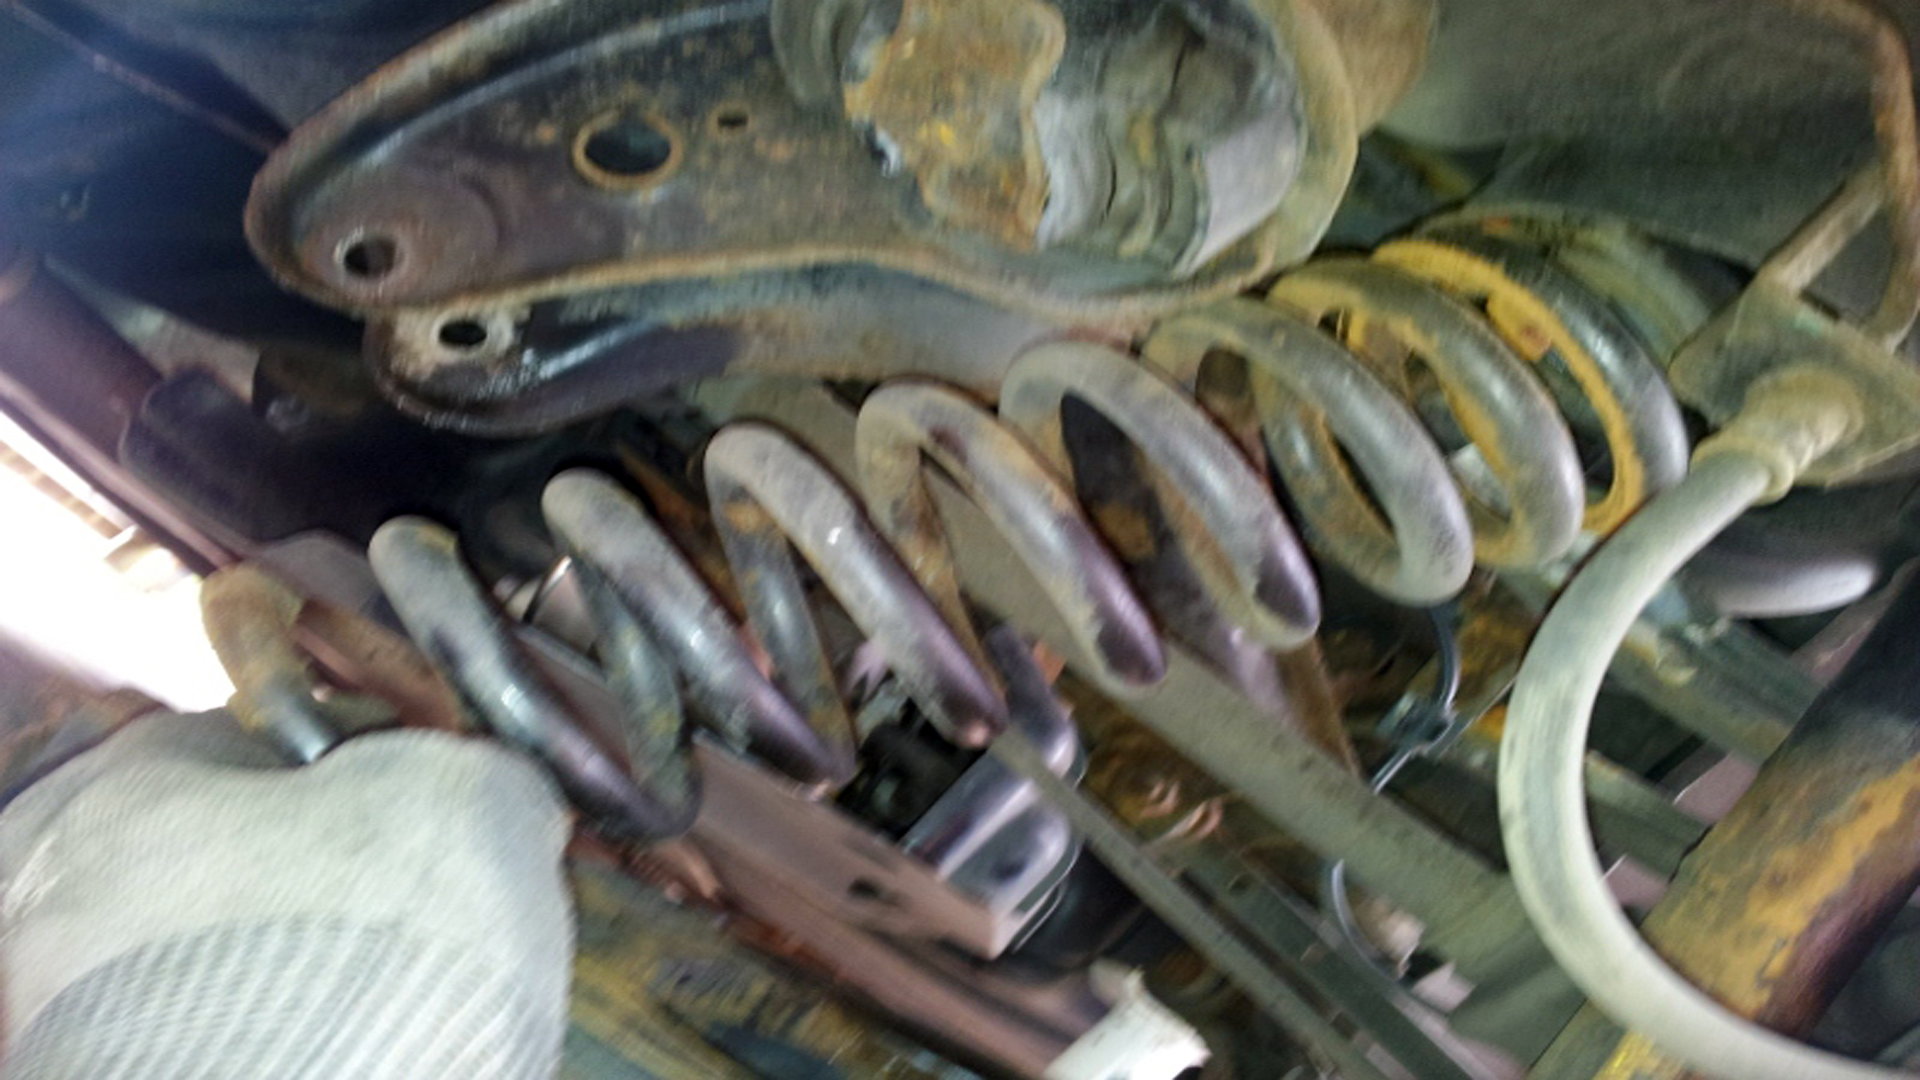
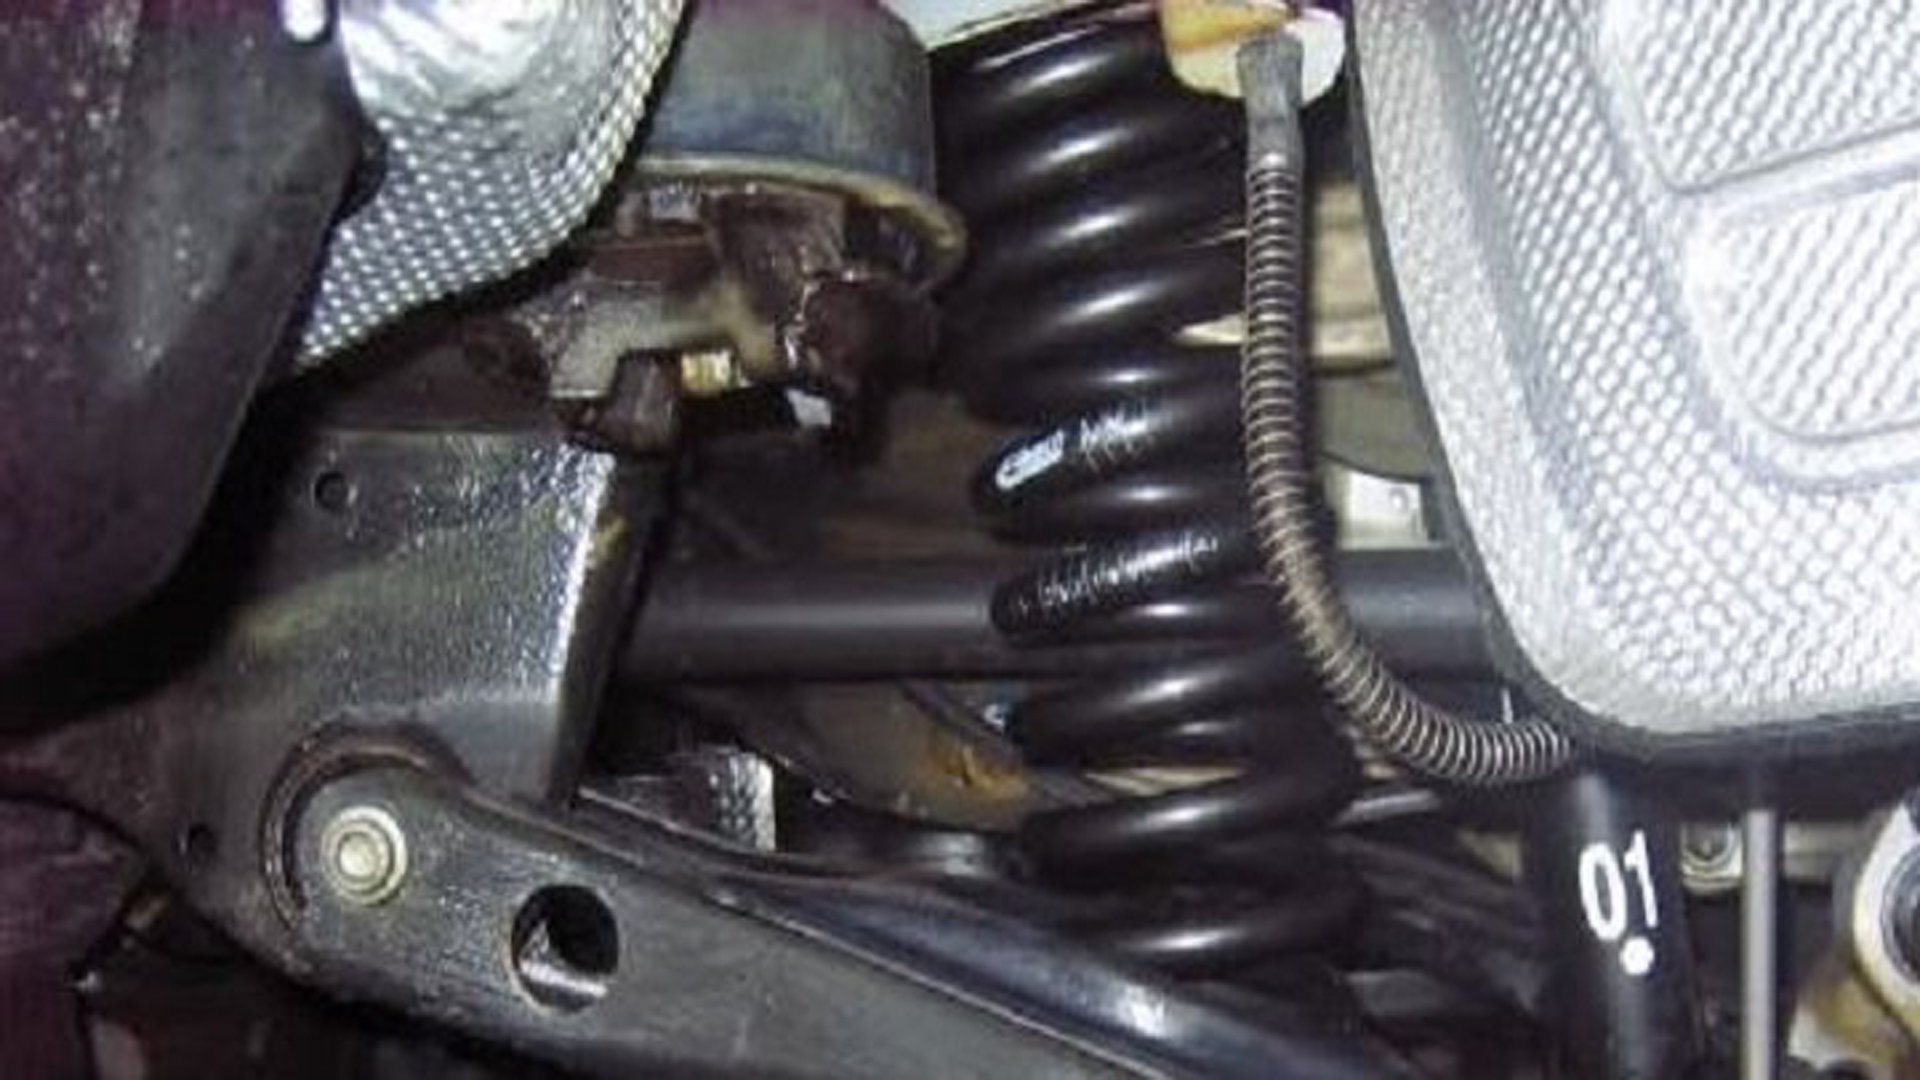
Step 5 – Install new springs
Take the new springs and be sure to place the top and bottom ends in the same position on the upper and lower insulators as where the original springs were located.
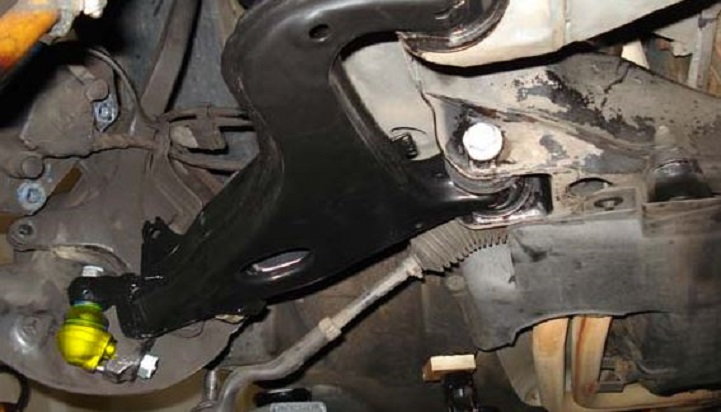
Step 6 – Place floor jack under lower control arm
Use the floor jack to raise the lower control arm back into position. Replace the inner control arm's bolt, and use some blue Loctite on the threads. Move the lower shock back into the mounting position on the lower control arm and replace the bolt. Move the stabilizer bar into position and replace the stabilizer link bolt, again, using blue Loctite on the threads. Replace the plastic covers and repeat the steps for the other side of the rear.

The next series of steps are for the front of the car.
Step 7 – Clip plastic zip ties from the strut and brake line connectors
There is a plastic clip that holds the brake lines to the front struts to keep them safely out of the way. There is also a plastic zip tie that holds this connector to the strut. You will need to clip this zip tie first, and then let the two brake lines dangle freely, but still try to keep them out of the way. The plastic piece that the brake lines were connected to needs to be separated from the strut that it's attached to. Use a flat head screwdriver to pry the upper and lower part of this plastic clip away from the strut. You need access to the upper bolt, but keep this plastic brake line holder close to the body of the strut.
Caution
Be careful with the line's plastic mounting as it is prone to breaking.
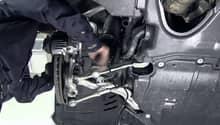
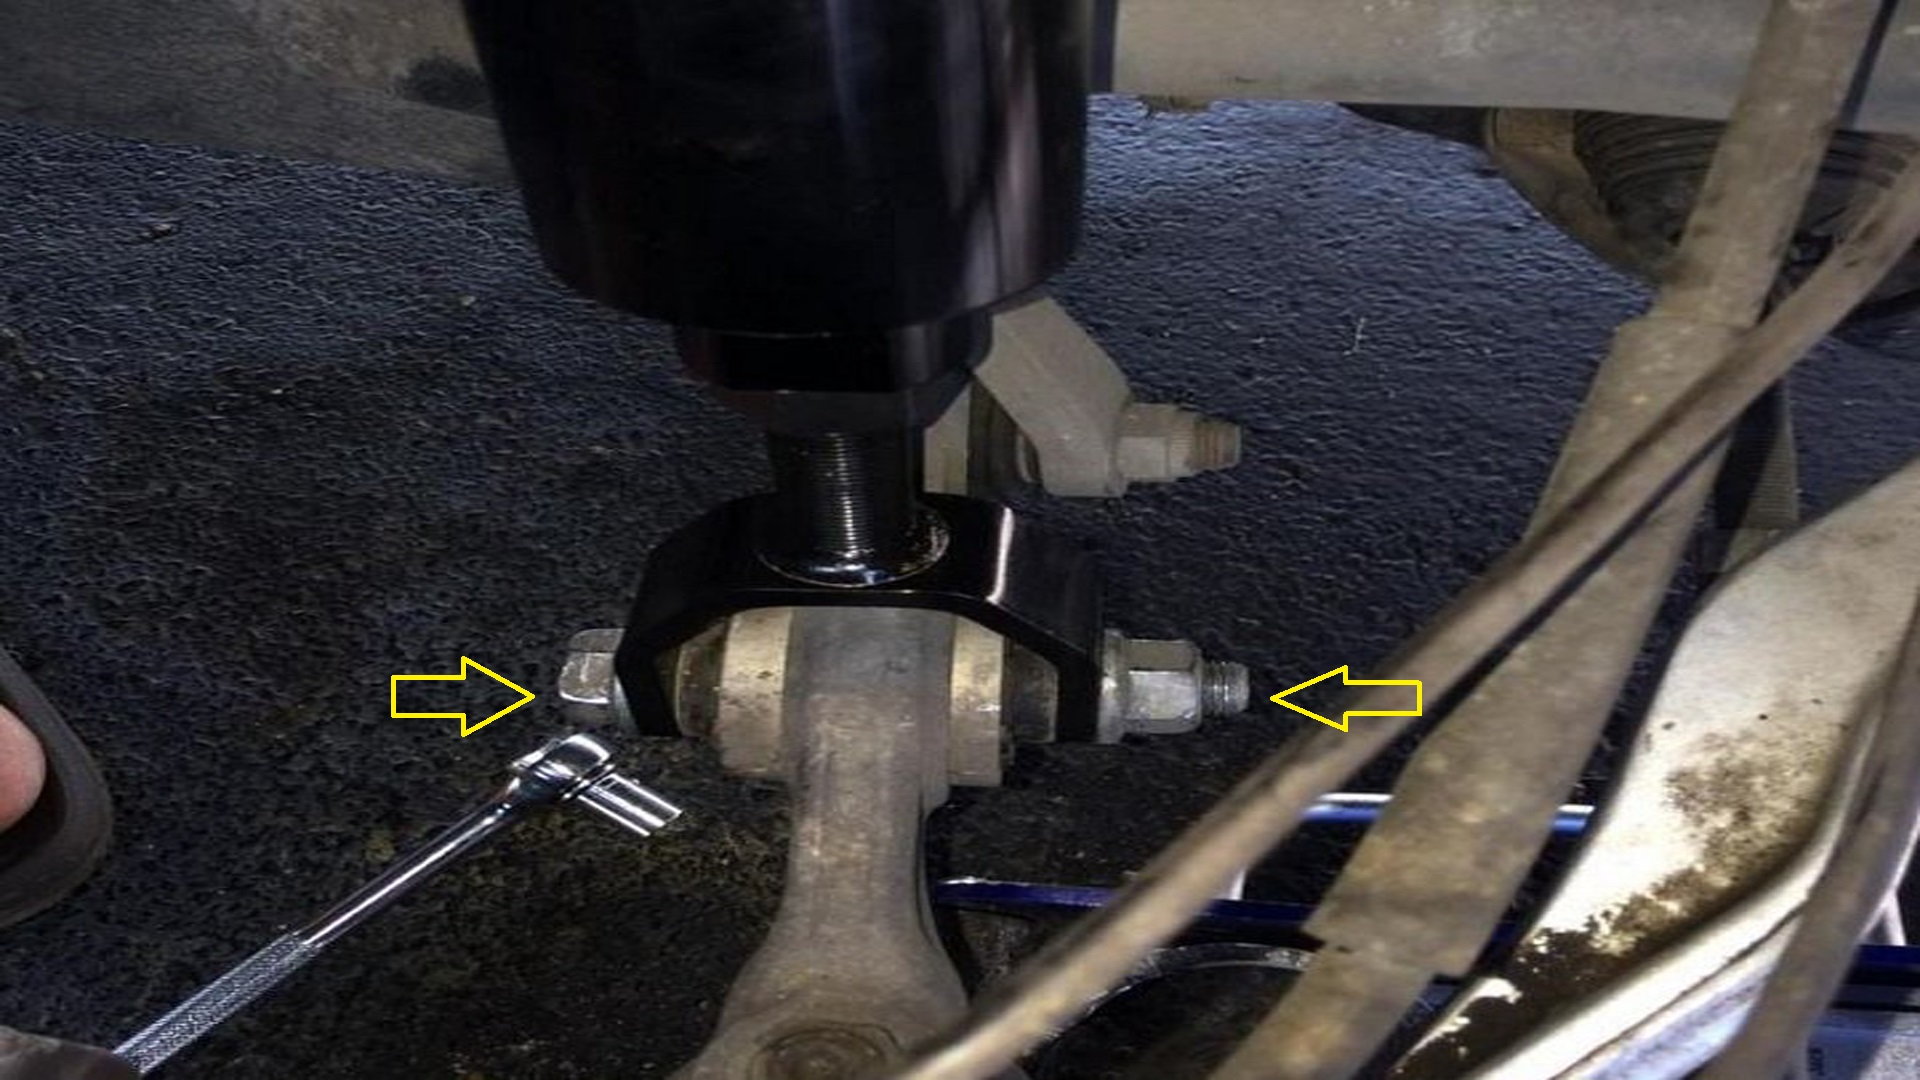
Step 8 – Disconnect the stabilizer link
You will need to use an 18 mm crescent wrench and a T40 Torx bit on a ratchet to remove the bolt holding the stabilizer link in place. Turn the nut counter clockwise and the Torx bit clockwise to remove the nut. Take a floor jack and lift the stabilizer arm up enough so that the tension on the link bolt is released. The bolt can then be pulled out and the stabilizer arm can be moved out of the way.
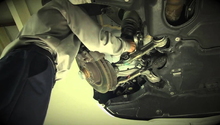
Step 9 – Remove strut
Remove the 21 mm upper strut bolt which should now be accessible with the brake line mounts and the stabilizer arm out of the way. There are also two lower 11 mm star bolts on the lower end of the strut that must be removed. These two are hidden behind the brake rotors, so you'll need to squeeze your head in the wheel well in order to see them. The final three strut bolts are located at the top of the strut tower in the engine bay. Be careful as these are now the only things holding the strut to the car. Remove two bolts, and then loosen the third. Hold the strut assembly with one hand while you remove the last bolt with the other, and be prepared for quite a bit of weight.

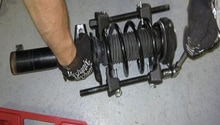
Step 10 – Disassemble the strut
A spring compressor is really needed for this step for safety purposes. Remove the three clips that hold the upper mounting plate onto the rubber flange. Use a spring compressor to compress the spring well enough so that there is no tension on the upper and lower plate. If you are not sure how to use a spring compressor, please get help or directions on how to use it as it can be dangerous work. Once the spring is compressed, remove the 21 mm nut in the center of the top mounting plate. Once removed, the upper mounting plate and the spring can be removed. Make sure you note the location of all these components so you can put them back in the correct order.
Step 11 – Install lowering spring
Replace the lowering spring onto the strut assembly and replace all the components back in their original order. You may need to only press down on the upper mounting bracket and compress the lowering spring enough to get the 21 mm bolt re-threaded. Once the strut assembly is rebuilt with the lowering spring, replace the entire strut back onto the car, bolting the top three tower bolts first. Replace the two lower strut bolts next, followed by the top strut bolt. Use the blue Locktite on all of these threads. Use the floor jack to push the stabilizer bar back into place and reinstall the stabilizer link bolt. Push the plastic brake line mount back onto the strut body, replace the brake lines and use new zip ties to secure in place. Repeat steps 7-11 for the opposite side of the front end.

Related Discussions
- Lowering Springs DIY Guide with Photos - MBWorld.org
- The Best Way to DIY Lowering - MBWorld.org
- Official DIY of Lowering Springs - MBWorld.org