Mercedes-Benz E-Class and E-Class AMG: How to Replace Power Window Regulator
It's common for the Mercedes-Benz E-Class' power window regulator to go bad. We'll help you get those windows working again in no time.
This article applies to Mercedes-Benz E-Class and E-Class AMG (2002-2009).
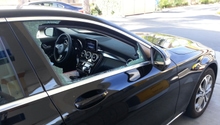
Mercedes-Benz E-Class is known for quality and durability, but let's face it - there's not a vehicle out there of any make or model that doesn't have a weak point or three. The most common failure has to do with the cables that do the lifting. The plastic gearing that attaches to the motor tends to wear over time until one day you push the button and the window drops like a stone. No more pleasing smoothness when you push the button - just some expensive-sounding clunking and grinding noises. Fear not -- you can fix this.

Materials Needed
- Phillips screwdriver (for trim removal)
- Small/medium Torx screwdrivers
- Plastic trim removal tool (or a flat-head screwdriver with some tape over the blade to prevent scratching plastic trim)
- Electric drill and bits
- Basic manual rivet gun
- 3-6 aluminum rivets (steel rivets are okay, but you'll need a heavy-duty rivet gun)
- Automotive Goop(R) or similar tacky adhesive
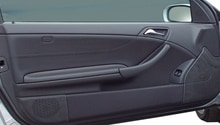
Step 1 – Remove the door panel
Remove the trim around the door panel, and gently pry off the door panel.This involves prying apart some pieces that snap together. Then begin removing a few screws and undoing some of the electrical connections. It's not especially difficult, but some care is required to avoid damaging the interior trim. Take care also with any of the delicate electric connections between the panel and the door itself.
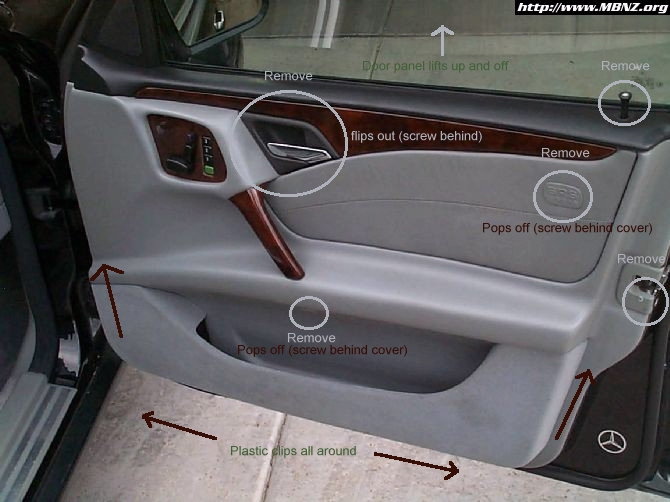
You'll also need to remove the Door Control Module. Disconnect and remove the speaker at the bottom of the door by unscrewing it.
Gently peel away the plastic or foam vapor barrier that protects the components inside the door.

Pro Tip
Don't be surprised if some of the plastic plug-type fasteners around the edges of the door panel break. It's what they do. They are easy to replace and you can find them at most hardware or auto supply stores.
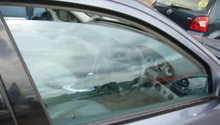
Step 2 – Move the window out of the way
Locate the two clamps on the regulator assembly that hold the window glass in place. Go ahead and loosen the Torx screws. Then lift the window by hand and secure it in place. The glass may stick to the rubber inside the clamps, just use your trim removal tool to gently pry it loose.
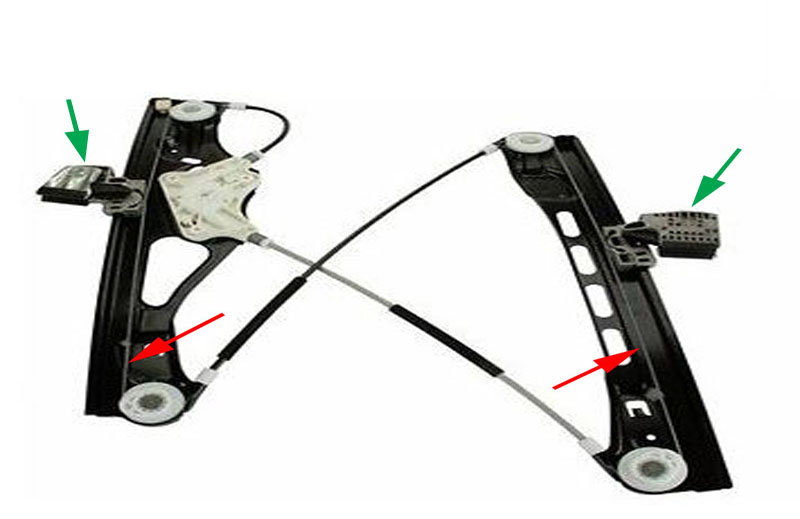
Figure 3. Window regulator. 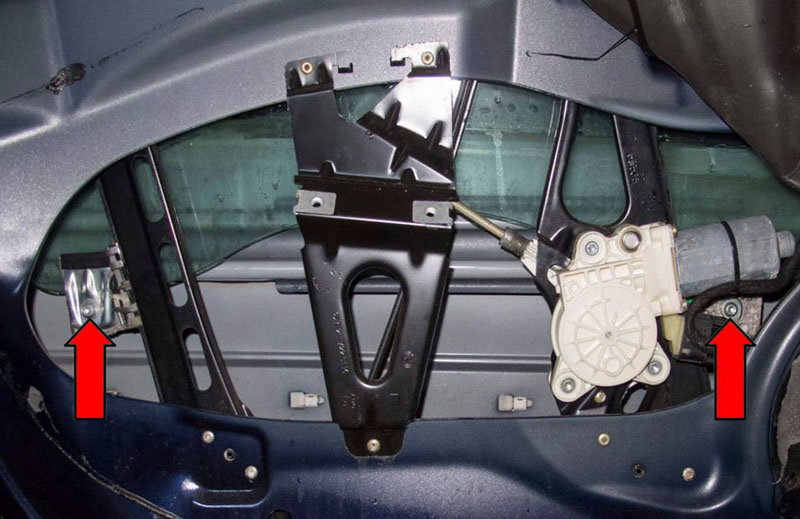
Figure 4. Clamps. 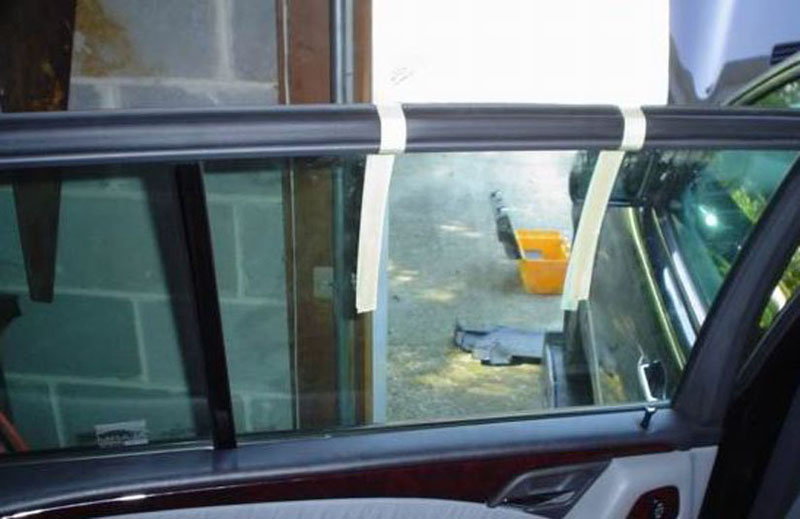
Figure 5. Secure the window.
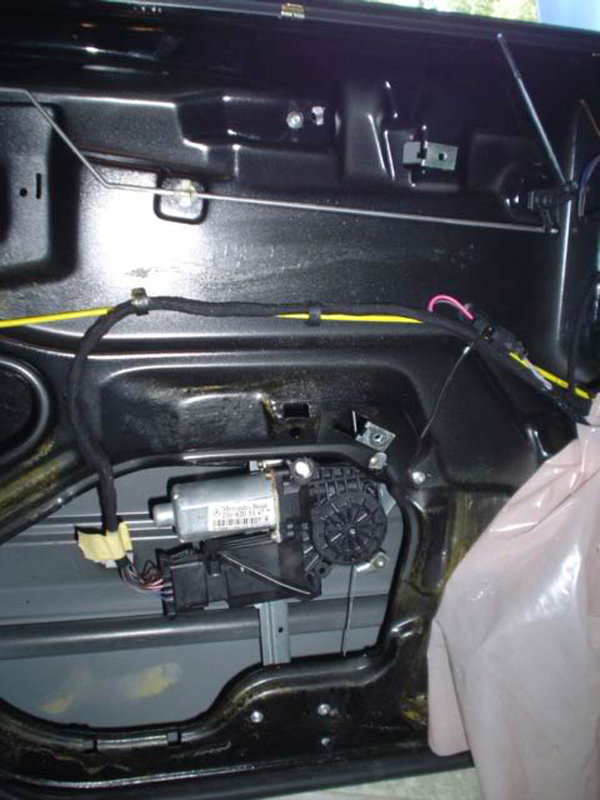
Step 3 – Remove the window motor
Start by unplugging the window motor from the assembly. Then remove the Torx screws that attach it to the regulator mechanism and set the motor aside. You may have to wiggle the motor a bit to get it to release from the mechanism.

Step 4 – Drill out the rivets that attach the regulator mechanism to the door
Locate the rivets that hold the top and bottom of regulator mechanism to the door. If you're working on a front door; there will be two rails, which adds up to a total of six rivets. Rear doors have just one rail. Using the small bit 1/16", drill through the center of each rivet. Using a slightly larger bit, drill through each rivet again. Repeat this process with a slightly larger bit each time until the rivets fall out.
Caution
Do not push too hard with the drill. If you go in too deep, you could dent the door skin.
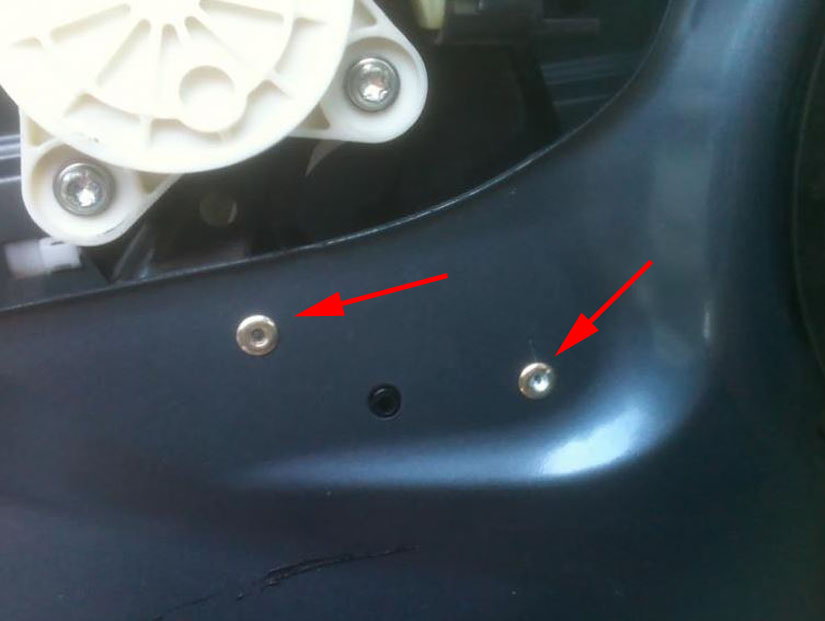
Figure 7. Regulator mechanism's rivets. 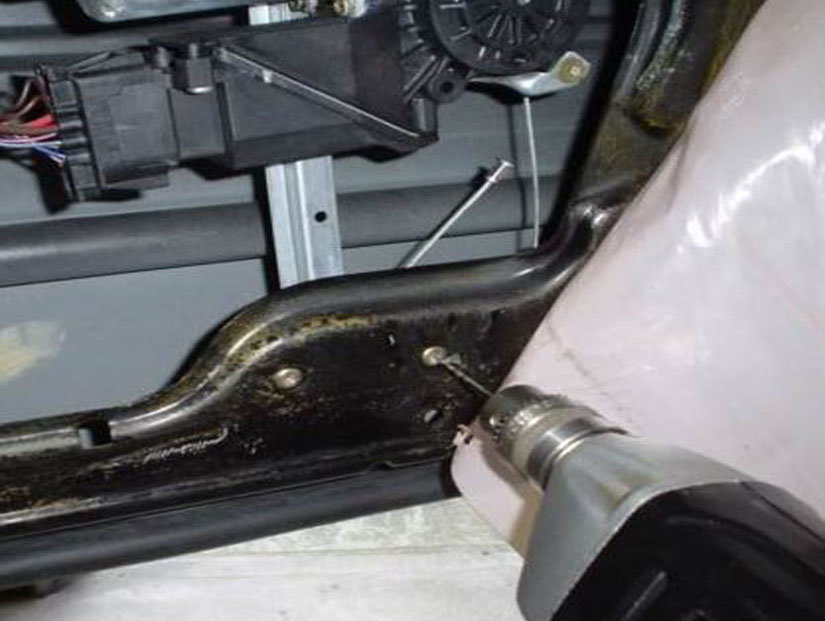
Figure 8. Drill gently.
Step 5 – Remove the old regulator
Lift the regulator assembly up a bit to disengage the plastic hook at the top that holds it in the door frame. Then maneuver it around until you can ease it out of the door. This may take a bit of fiddling, but be careful not to scratch the paint inside the door or snag any of the wiring.
Step 6 – Install new regulator and put the motor back in
So now that the old regulator is out, go ahead and reverse your steps to install the new one. Hook the new regulator assembly onto the doorframe and wiggle it around until the holes for the rivets line up. Starting with the top rivet, use your rivet gun to install the rivets.
Once you have the regulator fastened in, re-install the window motor. You may have to fiddle a little to get the splines on the motor to mesh with those in the regulator, but you'll be able to feel when it's seated properly.
Pro Tip
Before you tightening, put the rivets into their holes to help keep the regulator in proper alignment while fastening them.
Step 7 – Put the window back in place
Now carefully lower the window, and fit it into the clamps on the regulator. Then go ahead and tighten the clamps until they're snug.
Step 8 – Test the window and re-assemble the door
Before you get everything completely re-assembled, check the operation of the window. There's not much that can go wrong at this point. Although you may need to re-initialize the window so it learns when to stop and start its travel. Raise the window until the glass reaches the top, and hold the switch on for two or three seconds. Then, lower the window until it's all the way down, and hold the switch there for two or three seconds.
Featured Video: Removing W211 door trim panel
Related Discussion
- DIY '03 W211 Window Regulator Replacement - Mbworld.org