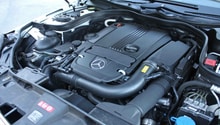
Mercedes-Benz C-Class AMG: How to Replace Engine Mount
Engine mounts bolt between the vehicle frame and engine. They keep the powertrain from moving, reducing vibrations inside the vehicle. It is important to replace the mounts quickly when they are damaged. The strain resulting from the loss of dampening in the motor mount can cause other parts to become damaged.
This article applies to the Mercedes-Benz C-Class AMG w204 (2007-2014).
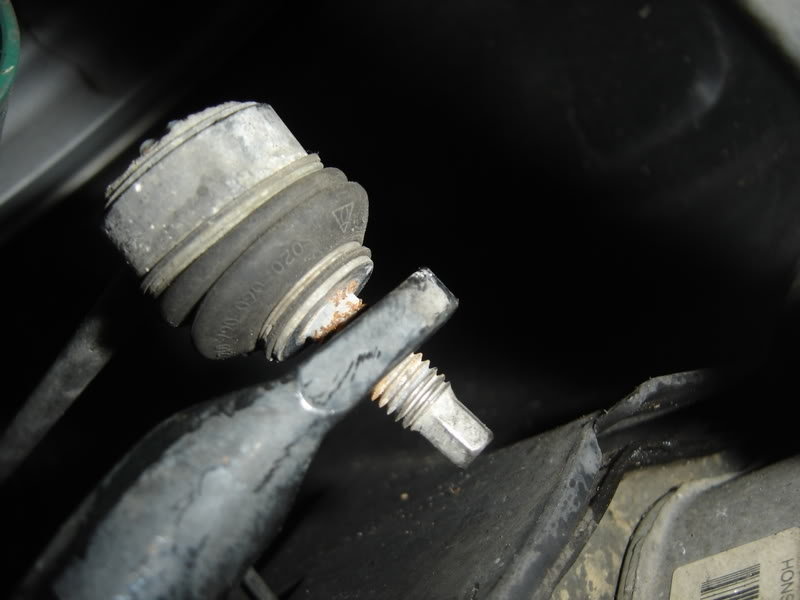
There are two hydraulic engine mounts on the Mercedes-Benz C-Class AMG w204. They are aluminum in construction, and surrounded by a rubber boot that entraps hydraulic fluid inside. This dampens movement and vibrations much like a shock absorber. Engine mount damage is generally easily noticeable to the driver. The driver may feel new vibrations throughout the vehicle with the engine running, and there may be movement in center console mounted shifter when accelerating/decelerating. There may also be visible fluid leaking from the mount.

Materials Needed
- Floor jack
- Engine hoist/leveler (optional)
- 3/8" ratchet
- Basic socket set (8mm-19mm)
- Block of wood
Removal of the engine mounts takes patience because there is only a small amount of room available to slide the mount into, and out of the vehicle. This how-to will explain how to remove the mounts in a way that only requires removal of the sway bar end links. You can also choose to remove the power steering rack, which does not require you to hoist the engine up from the top, or remove the exhaust from the manifolds. Also, carefully placing a block of wood with the floor jack at the edge of the oil pan is another method to raise the engine enough to make the needed clearance.
Step 1 – Raise and remove the front wheels
If you are using a powered impact gun, be sure to loosen the wheel lug nuts before raising the front.
(Related Article: How to Jack Up Your Car - MBWorld.org)
Step 2 – Remove the lower splash shield
There are four 8mm fasteners holding the splash shield in place.
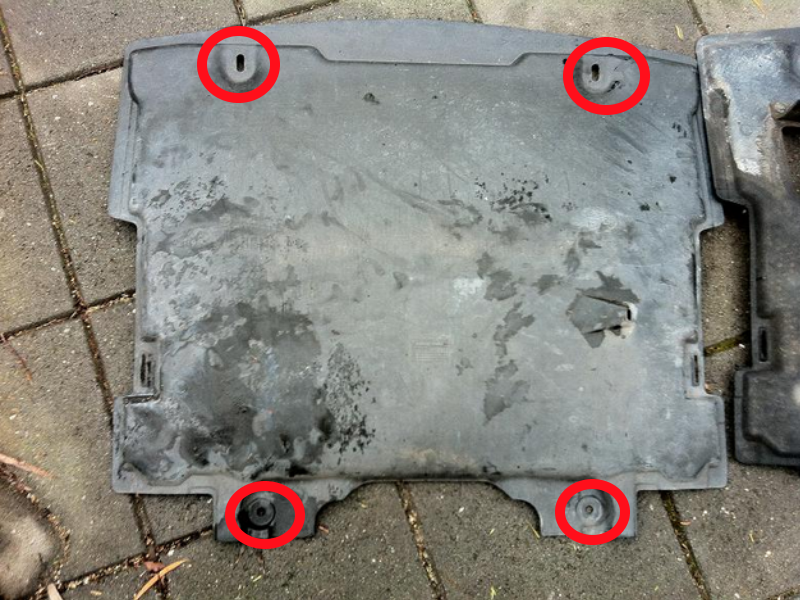
Figure 1. The red circles indicate the holes for the four 8mm fasteners. 
Figure 2. Location of the 8mm fasteners (red), and the bolts holding the sway bar end links to the sway bar (blue), which will be removed later. Ignore the yellow circles.
Pro Tip
With the splash shield removed, now is a good time to check for fluid leaks.
Step 3 – Disconnect the sway bar from the sway bar end links
As shown in Figure 2, there is one nut on each side holding the bar and links together. You will need to hold either the bolt or nut stationary, while turning the other counterclockwise. You will now use the floor jack and the block of wood to raise the sway bar up towards the engine. This will provide you with enough clearance to remove and install the mount.
Step 4 – Remove and replace the motor mounts
Position your engine hoist above the engine with the leveler attached, and find two suitable locations on the engine that are on opposite sides.
The ideal locations to connect the leveler to are the bolts that connect directly to the engine block or the heads. Brackets that mount to the engine will work as well.
- Raise the engine about 1.5 inches.
- There are 13mm bolts on the bottom side of the motor mount. The top side has 16mm nuts.
- The nuts on the top side are difficult to get to, and you will need your ratchet.
- Once the mounts are free, wiggle them out between the steering rack and sway bar. Then, replace them.
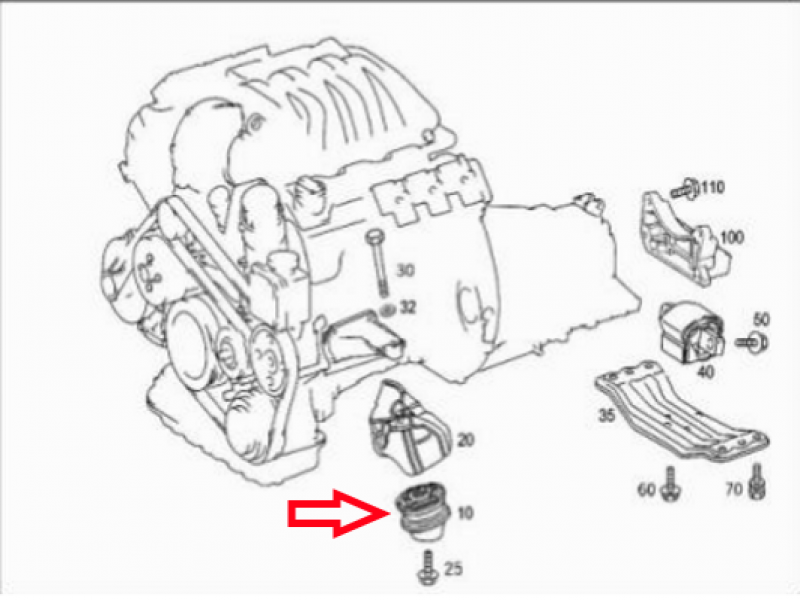
Figure 4. The engine mount is indicated by the red arrow. 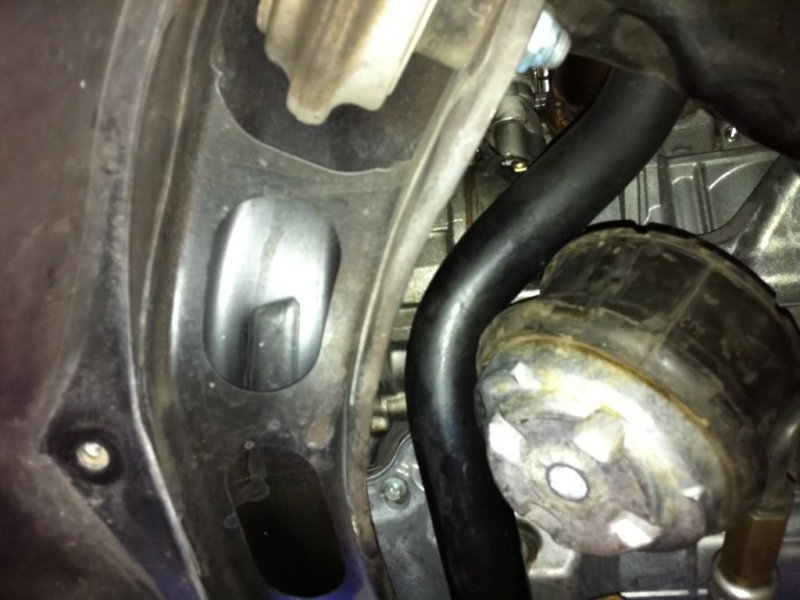
Figure 5. Squeezing the engine mount down and out of the engine bay.
Remember, if you do not have access to an engine hoist, you can lower the steering rack instead. The steering rack is heavier, and does require more precision with the floor jack to keep it from moving. There are two 18mm bolts and nuts holding the steering rack to the frame.
Step 5 – Re-install
With the engine mounts replaced, it's time to do a quick tidying up on the car:
- Refasten the sway bar end links.
- Re-install the splash shield.
- Lower the vehicle off of jack stands.
- Start the car, testing that vibrations have been eliminated.
Related Discussions
- Motor Mount DIY - MBWorld.org
- Engine Mounts Are Oil-filled - MBWorld.org
- Worn Engine Mount Vibrations - MBWorld.org