Mercedes-Benz C-Class: How to Install Compustar Remote Start
Remote start is a true beauty of a system. Not only can you start your car from far away, but you can make your car cold or warm, so the temperature will always be ready for you. This article will guide you through the process of installing a Compustar remote start on your Mercedes-Benz w204.
This article applies to the Mercedes-Benz C-Class w204 (2007-2014).
Mercedes-Benz builds a lot of technology into their cars that make daily lives easier, and more comfortable. The downside of it is that most of that technology comes at a price. Remote start falls into that category. While a lot of manufacturers are making remote start a standard feature, Mercedes-Benz still likes to charge upwards of $1,500 to get it from factory. If you want to save some money by doing it yourself, this article will help you through the steps of installing a Compustar remote start in your Mercedes-Benz w204.

Materials Needed
- Trim removal tool
- Flat head screwdriver
- Torx T-20 driver
Step 1 – Disconnect the battery and remove panels
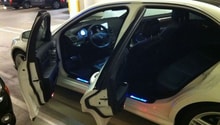
Before you begin any work, reach under the hood and disconnect your battery. Start by disconnecting the negative (black) terminal first, and then the positive (red) terminal last.
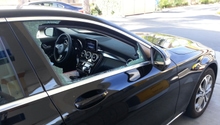
Locate the lower dash panel adjacent to the lower steering column panel, and use your Torx T-20 driver to remove the three Torx screws. Once the panel is removed, move up to the instrument cluster/bezel, and use your trim removal tool to pop the unit out. Make sure to do so smoothly to avoid damaging any parts, and also make sure to take your time.

Figure 1. Disconnect the battery. 
Figure 2. Remove lower dash panel. 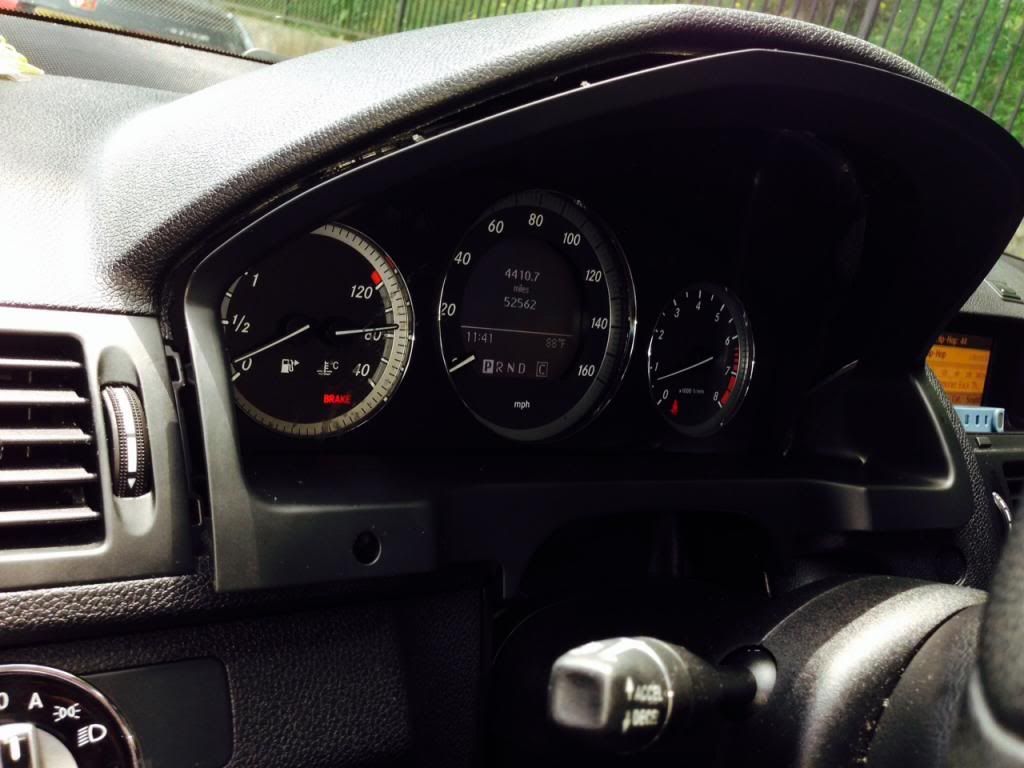
Figure 3. Remove instrument cluster.
Step 2 – Disconnect EIS
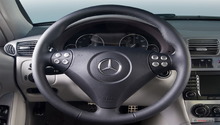
EIS stands for Electronic Ignition Switch, and that is the wiring harness that you will ultimately need to reach. But first, you must adjust your steering wheel to the furthest out and lowest position possible. Then, you will need to reach into the steering column through the top of the steering wheel to locate the EIS wiring harness. It is a white plastic plug that plugs in near the steering column. Once you have located it, use the flat head screwdriver to un-clip it from the base.
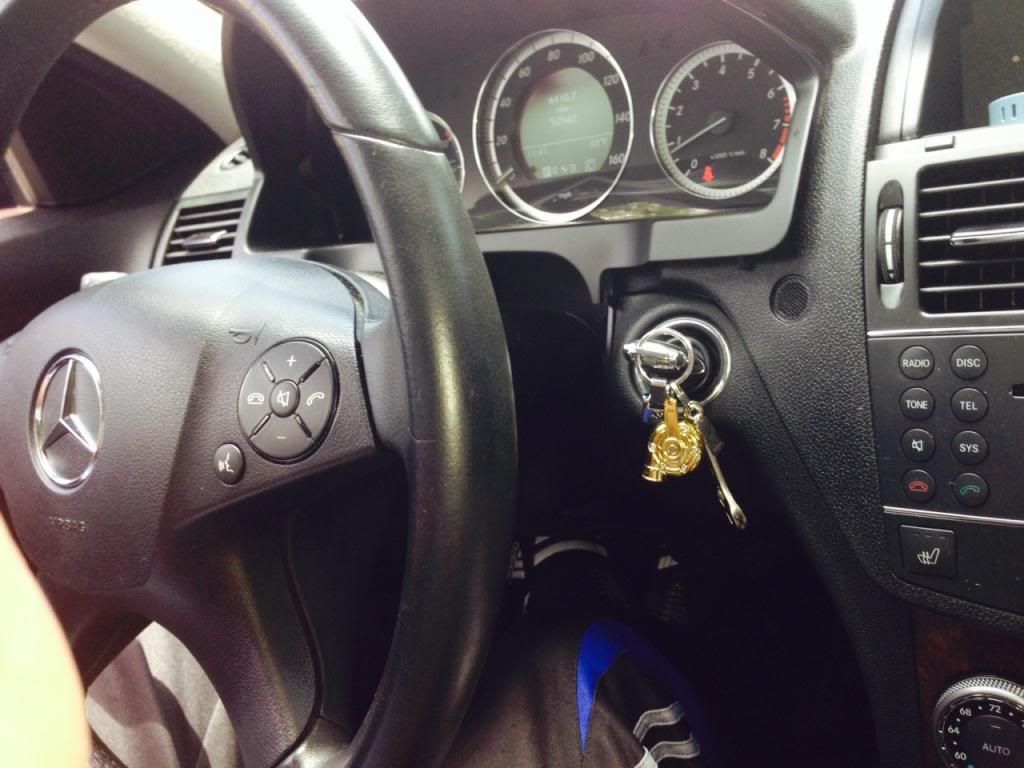
Figure 4. Lower steering wheel. 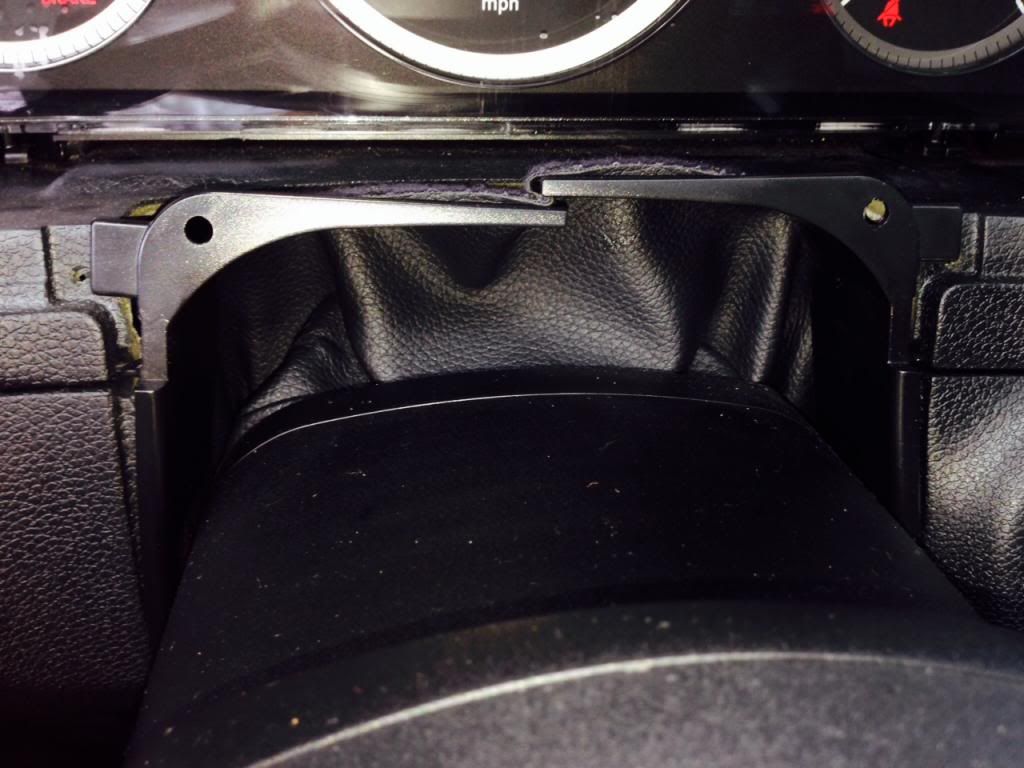
Figure 5. Access through the top of the steering column. 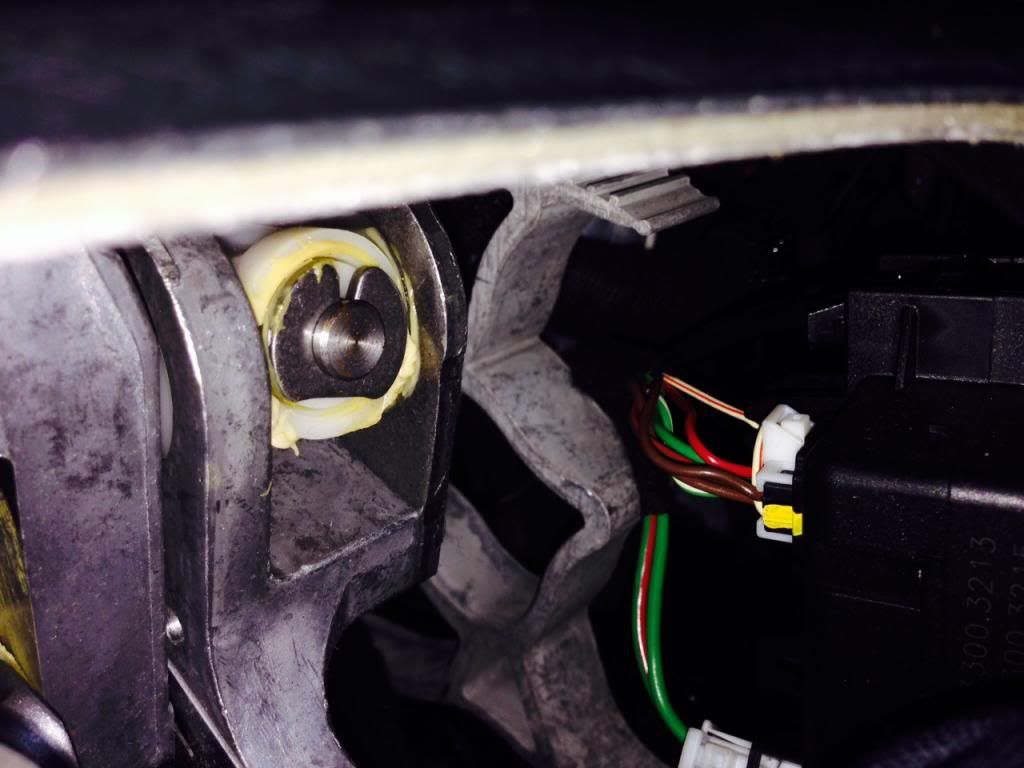
Figure 6. Locate the EIS white plastic connector, and unplug it.
Step 3 – Plug in Compustar
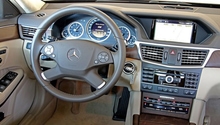
Now that the EIS plug is removed from your car, plug in the white connector into the black harness of the Compustar unit. Make sure the arrow on the black harness is facing away from the shroud. Then, plug in the blue harness that came with the Compustar into the EIS harness end that is attached to the car. The arrow on the black harness is pointing toward the shroud. Neatly wrap all the wiring, and tuck it into the column where the factory wiring was stored.

Figure 7. Plug in the white connector into the Compustar. 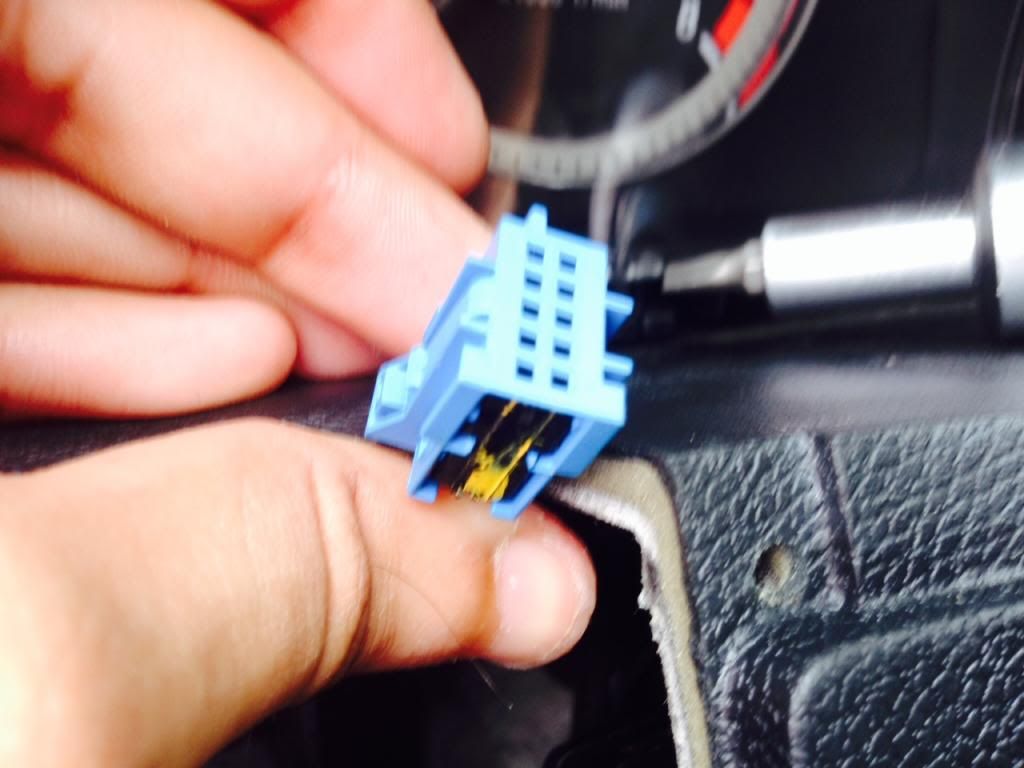
Figure 8. Plug in the blue harness into the EIS.
Step 4 – Program remote start
Before you move onto programming, reconnect your main battery to start your car, so you make sure the ignition is working as expected. Then, follow these procedures to make sure the remote start is programmed:
- Turn the key just one click (on the ignition) to the "ON" position. Do this five times within a 7-second period.
- Remove the key.
- Press the lock button once (hazards will flash).
- Step outside the car.
- Lock the door.
- Press the "PANIC" button once.
- Your car should start. If it didn't, then make sure the Compustar valet switch isn't turned on.
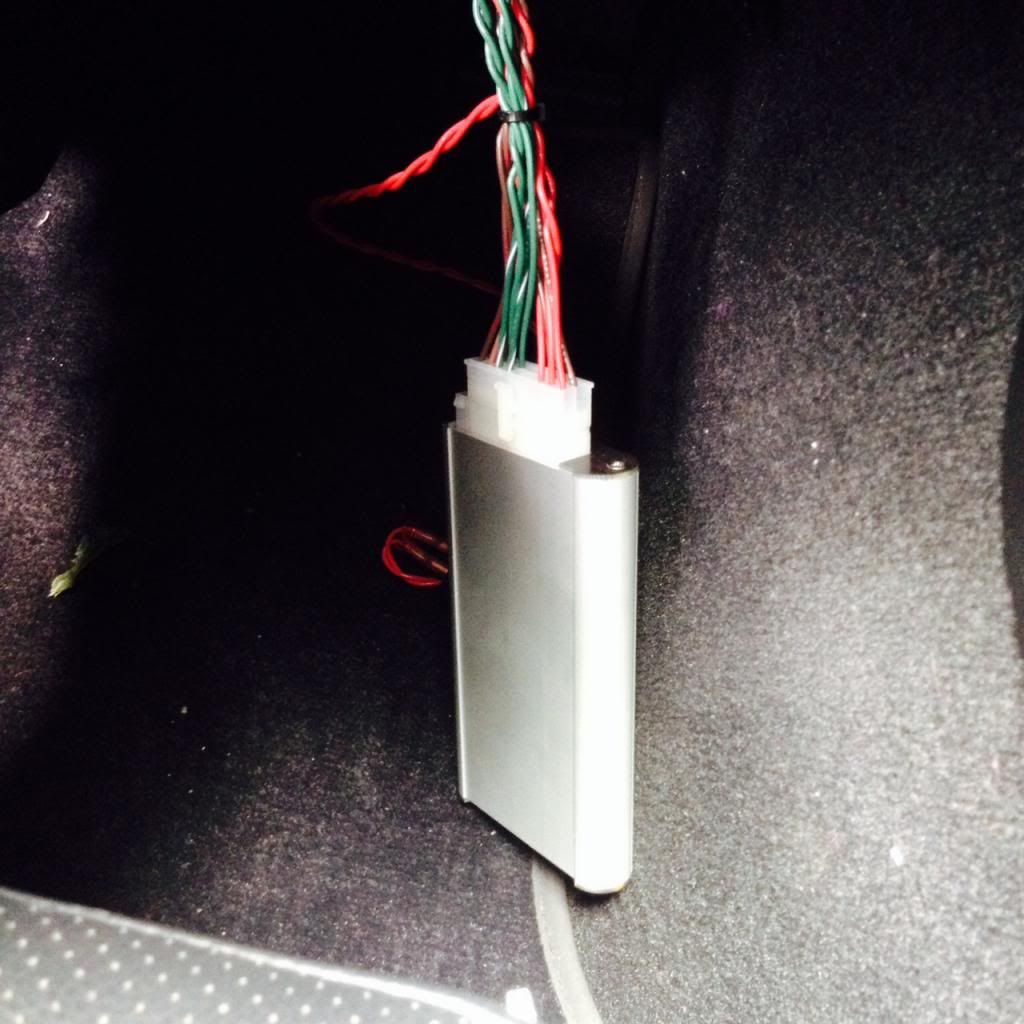
Figure 9. Compustar unit plugged in. 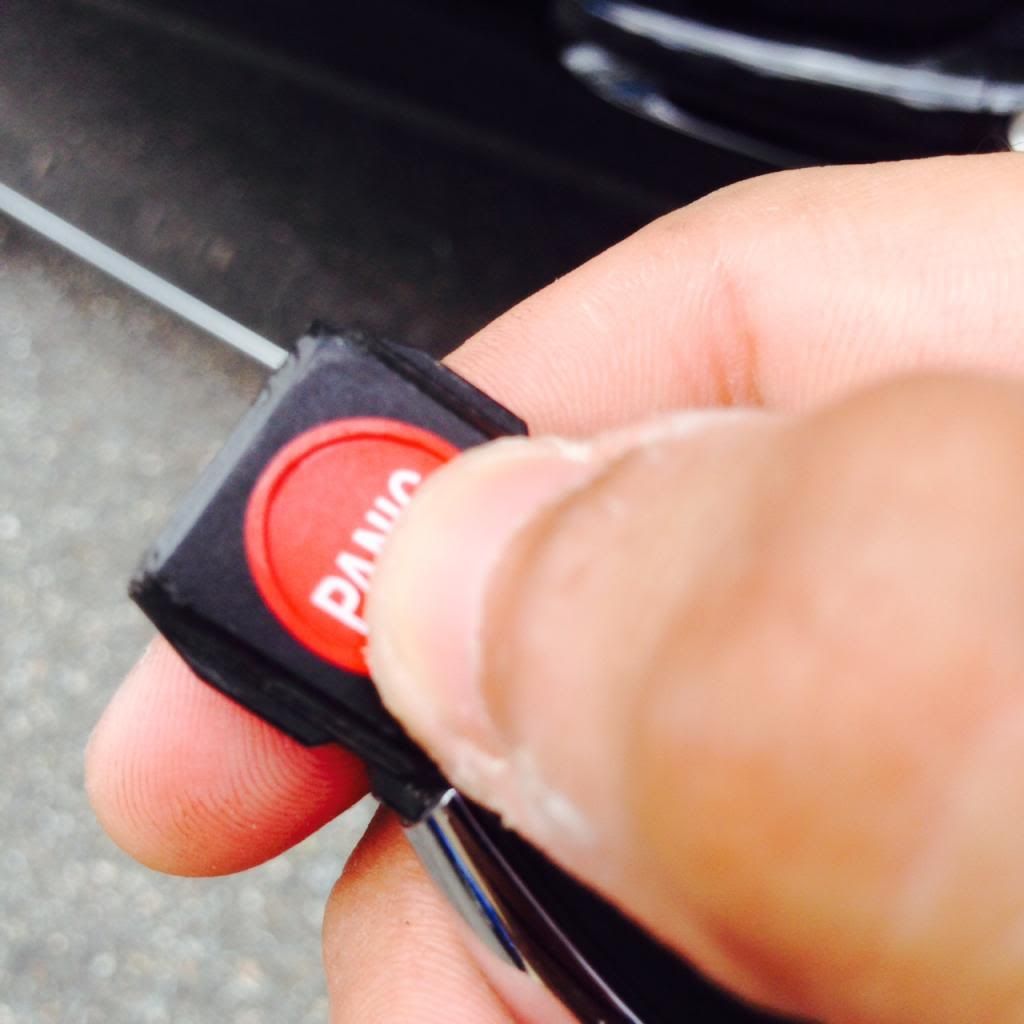
Figure 10. Programming sequence. 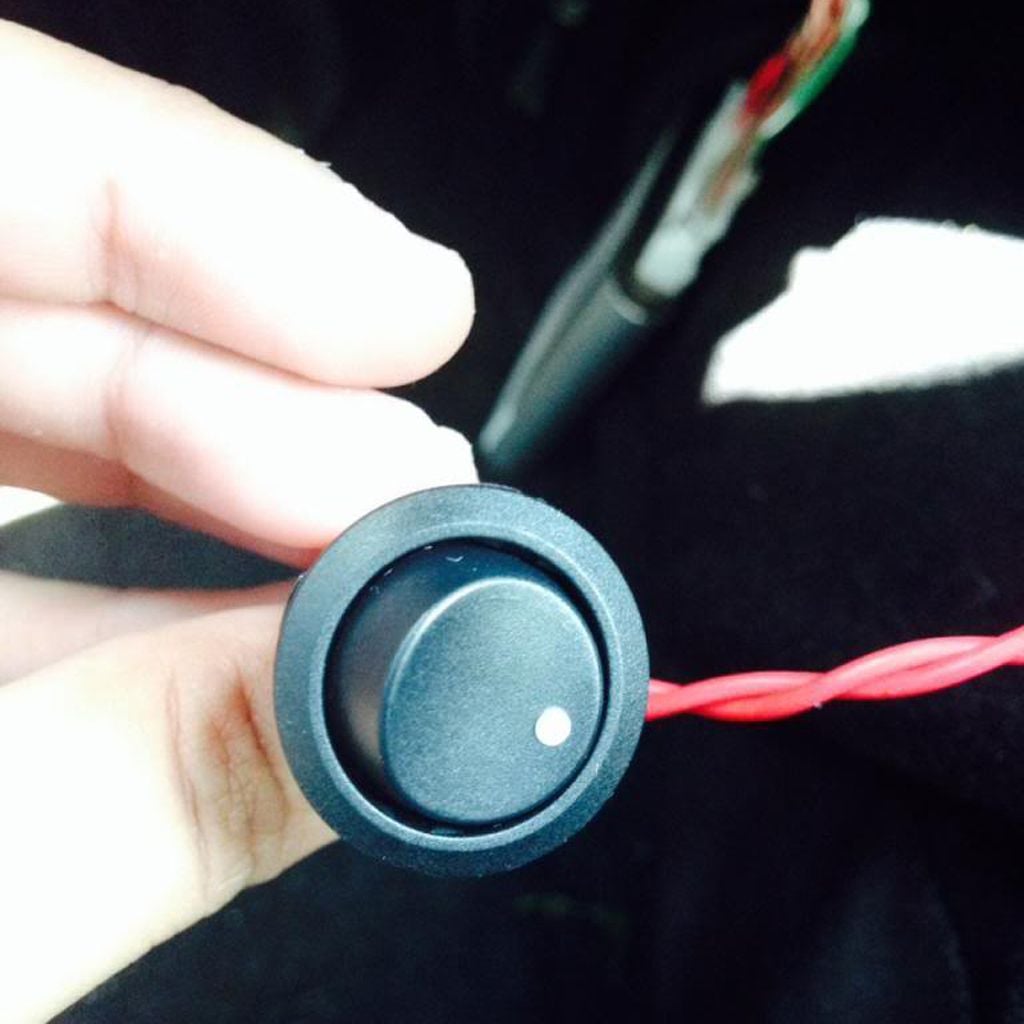
Figure 11. Valet switch.
Step 5 – Wrap-up
If everything goes as planned, you can now put the instrument cluster back in, move the steering wheel back into normal position, and replace the lower dash trim. Don't forget to tighten the three Torx screws in it. Enjoy your remote start!
Related Discussions
- Compustar Install for Mercedes C-Class - MBWorld.org
- Kinds of Remote Starts Recommended - MBWorld.org