Mercedes-Benz E-Class and E-Class AMG: How to Install AUX Input
Listen to the songs you love by installing an AUX cable to your car. This guide can show you the simplest way to do this on your E-Class.
This article applies to the Mercedes-Benz E-Class and E-Class AMG (2002-2009).
Having an AUX input is great because it allows you to play audio from virtually any device. If your car is pre-wired for an AUX input cable, then installing one will be a cinch. We'll also show you how to install one if your car isn't pre-wired. Just follow the instructions below.

Materials Needed
- OEM auxiliary cable harness
- Torx screwdriver
- Phillips screwdriver
- Soldering iron and solder
- Drill
- Silent CD
To check if your car is pre-wired to accept an AUX input, feel around the right side of the glove compartment. There should be a small hole in the siding that can be popped out. If you have it, then your car is pre-wired.
For Pre-Wired Vehicles
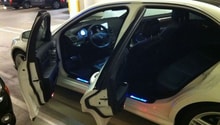
Step 1 – Remove the right front door sill and A-pillar
To remove the door sill, just pull up on it. There is a plastic screw on the A-pillar hidden behind a small circular cover. Remove the screw then pull the A-pillar out.
Step 2 – Remove the plastic cover of the glove compartment
Starting from the corner of the glove compartment, pull the plastic cover out sideways.
Step 3 – Install the auxiliary cable harness
The AUX input plug should fit into the hole in the side of the glove compartment. Route the wire of the cable harness down the side of the glove box to the corner of the door where you can plug it into the pre-wired connector. To test it, turn on the stereo then press and hold the CDC button until it says "AUX input active." Then, plug in a device and play some audio. When finished, reattach the glove box panel, A-pillar, and door sill.
Figure 3. AUX input plug. Figure 4. Pre-wired connector.
For Non Pre-Wired Vehicles
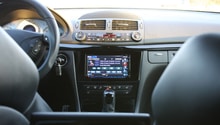
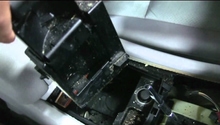
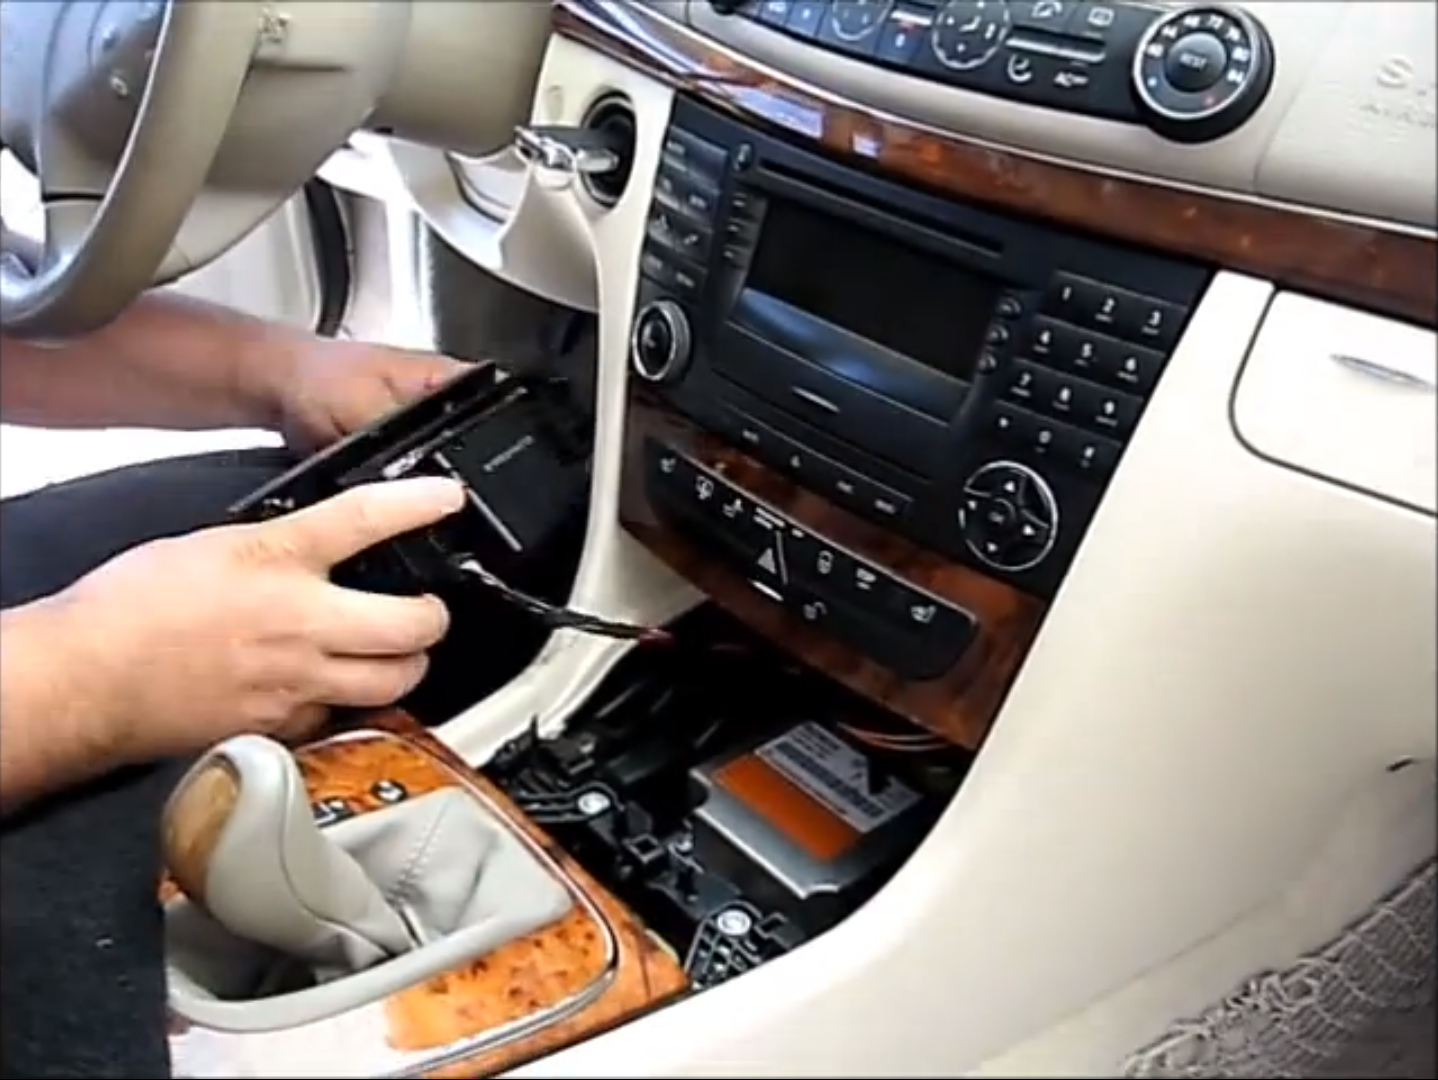
Step 1 – Remove the stereo head unit
Open the ashtray and pull out the console trim. Then, pull out the ashtray. Unscrew the two Torx screws at the corners of the HVAC unit and slide it out, unplugging all the connectors. Unscrew the two Torx screws under the stereo head unit and slide it out, unplugging any connectors there as well.
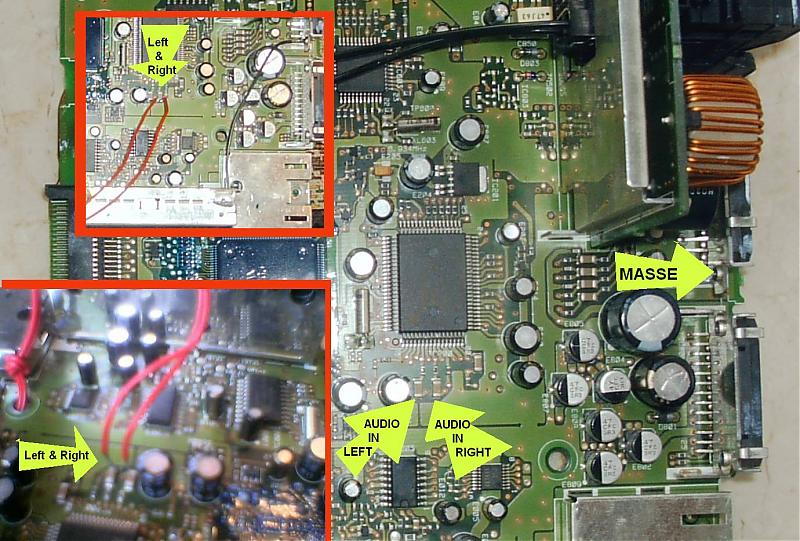
Step 2 – Solder audio cable to stereo
Open up the stereo casing and look for the left and right stereo inputs for the CD player on the stereo's circuit board. Carefully solder the audio cable to these inputs.
Step 3 – Install stereo head unit
Route the cable through the back of the stereo, then return the stereo to the car. Drill a small hole where you want the cable to come out and then route the cable to that point. Return the HVAC unit. To test it, burn a CD filled with silent tracks and insert it into the CD player. Turn on the CD player and press play. Plug in your device to the audio cable and play some audio. The audio should come through the stereo speakers. When you're finished restore the ashtray and console trim.
Featured Video: Aux on Audio 20 for w211
Related Discussions
- DIY - Setting Up the AUX Input for iPod, mp3, etc. - MBWorld.org
- W211 "Audio 20" AUX Input - MBWorld.org