Mercedes-Benz E-Class and E-Class AMG: How to Replace Thermostat
This guide will help you take the guesswork out of the running temperature in your engine. Follow these easy steps to replace the thermostat in your Mercedes-Benz E-Class and E-Class AMG and protect it from overheating.
This article applies to the Mercedes-Benz E-Class and E-Class AMG (2002-2009).
If your engine thermometer light continues to warn you that your engine is overheating, but you are certain that your coolant levels and engine oil are running at the correct level, it may be time to replace your coolant thermometer. This is an easy do-it-yourself project that can be accomplished fairly quickly and without any headaches.

Materials Needed
- 10mm socket wrench with extension
- Radiator drain pan
- Phillips and flathead screwdrivers
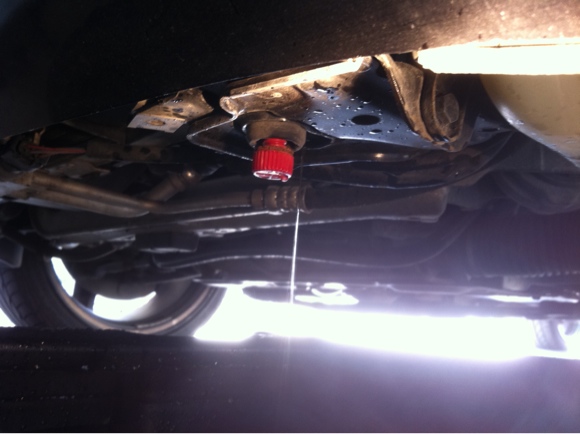
Step 1 – Drain 2 gallons of coolant from your radiator
Climb underneath your Mercedes-Benz, and locate the drain plug for the radiator. Place the radiator drain pan underneath the drain and loosen the drain plug. Bleed out approximately 2 gallons of coolant. Do not dispose of the coolant, as you will be putting it back into the car after you replace the coolant thermometer. After you have drained 2 gallons, replace the drain plug securely or you will have a mess to deal with when you complete the project.
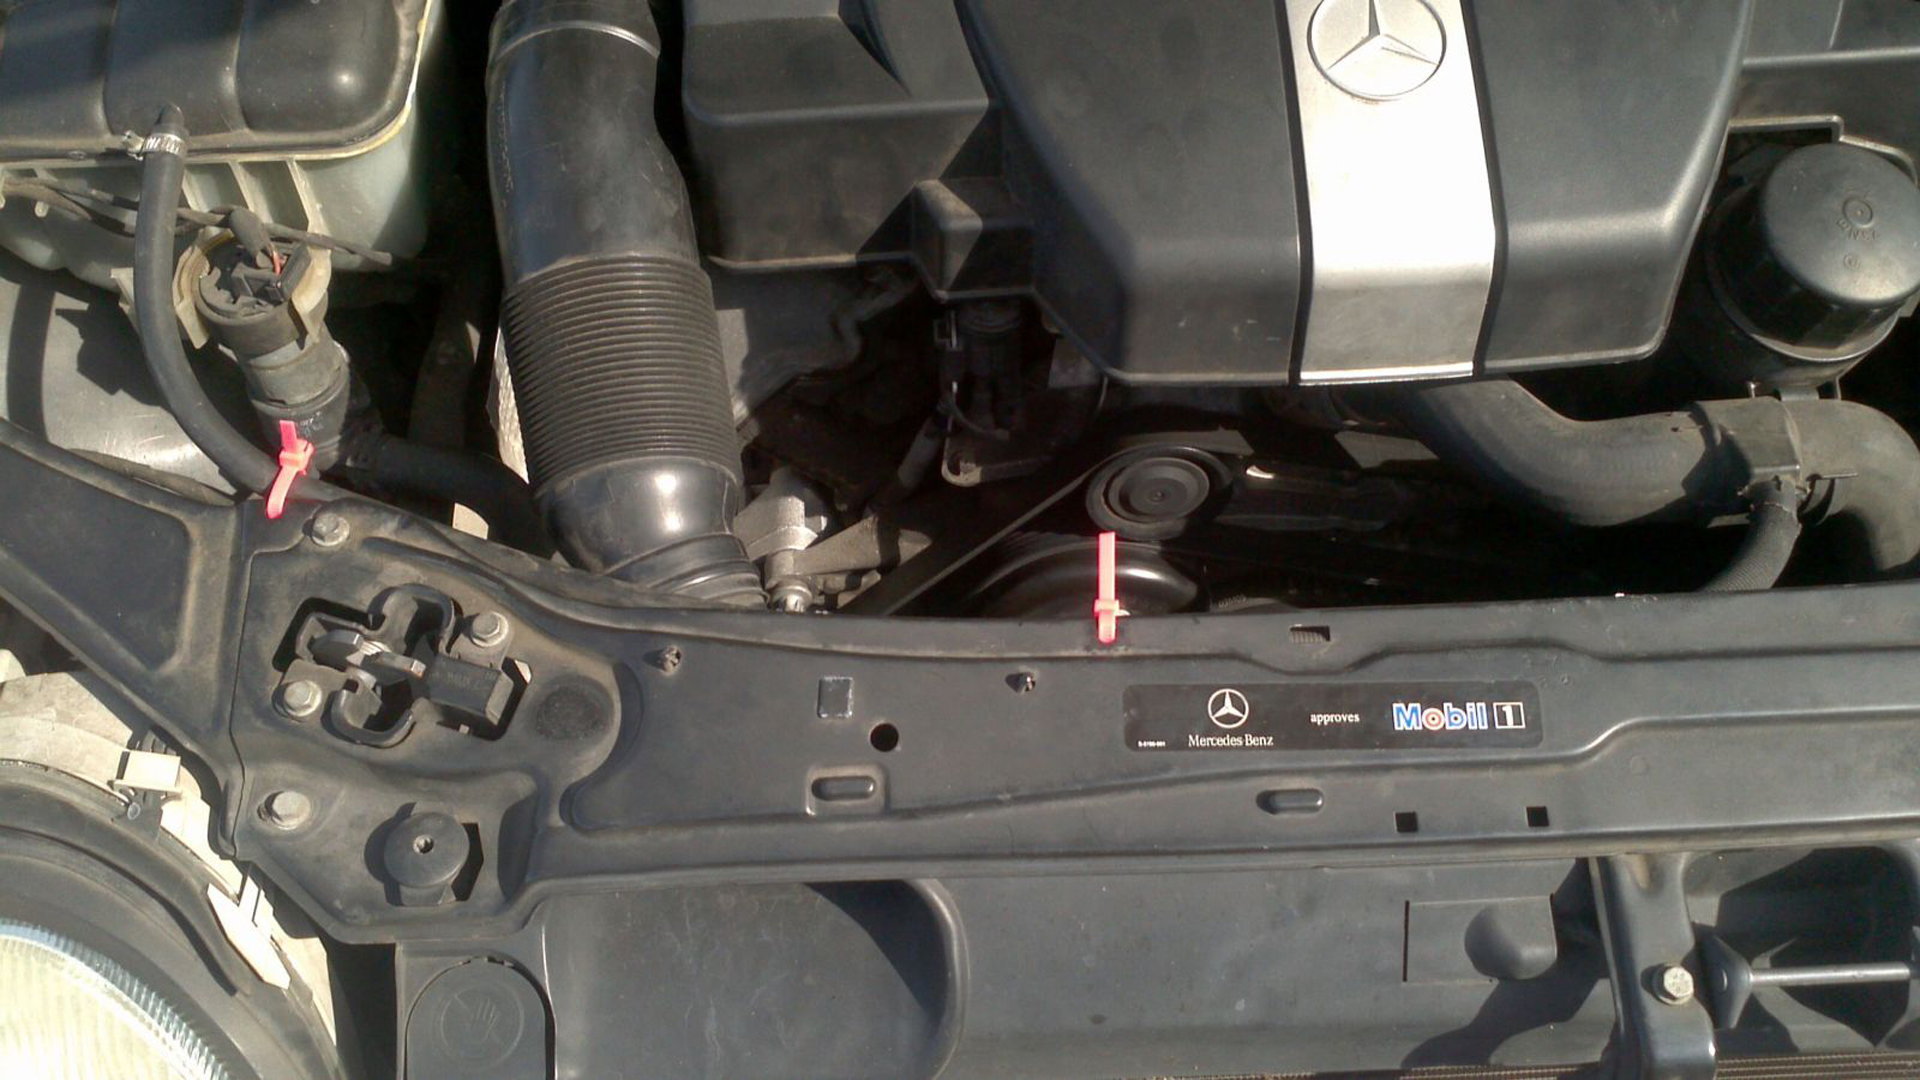
Step 2 – Remove the radiator hose
Locate the thermostat on your Mercedes-Benz, and remove the metal collar that is clamped to the radiator hose. Then pry the radiator hose from the thermostat casing.
Pro Tip
You may want to lay paper towels over the fan belts directly below the thermostat casing and radiator hose, as there may be a small amount of coolant spillage when you disconnect the radiator hose.

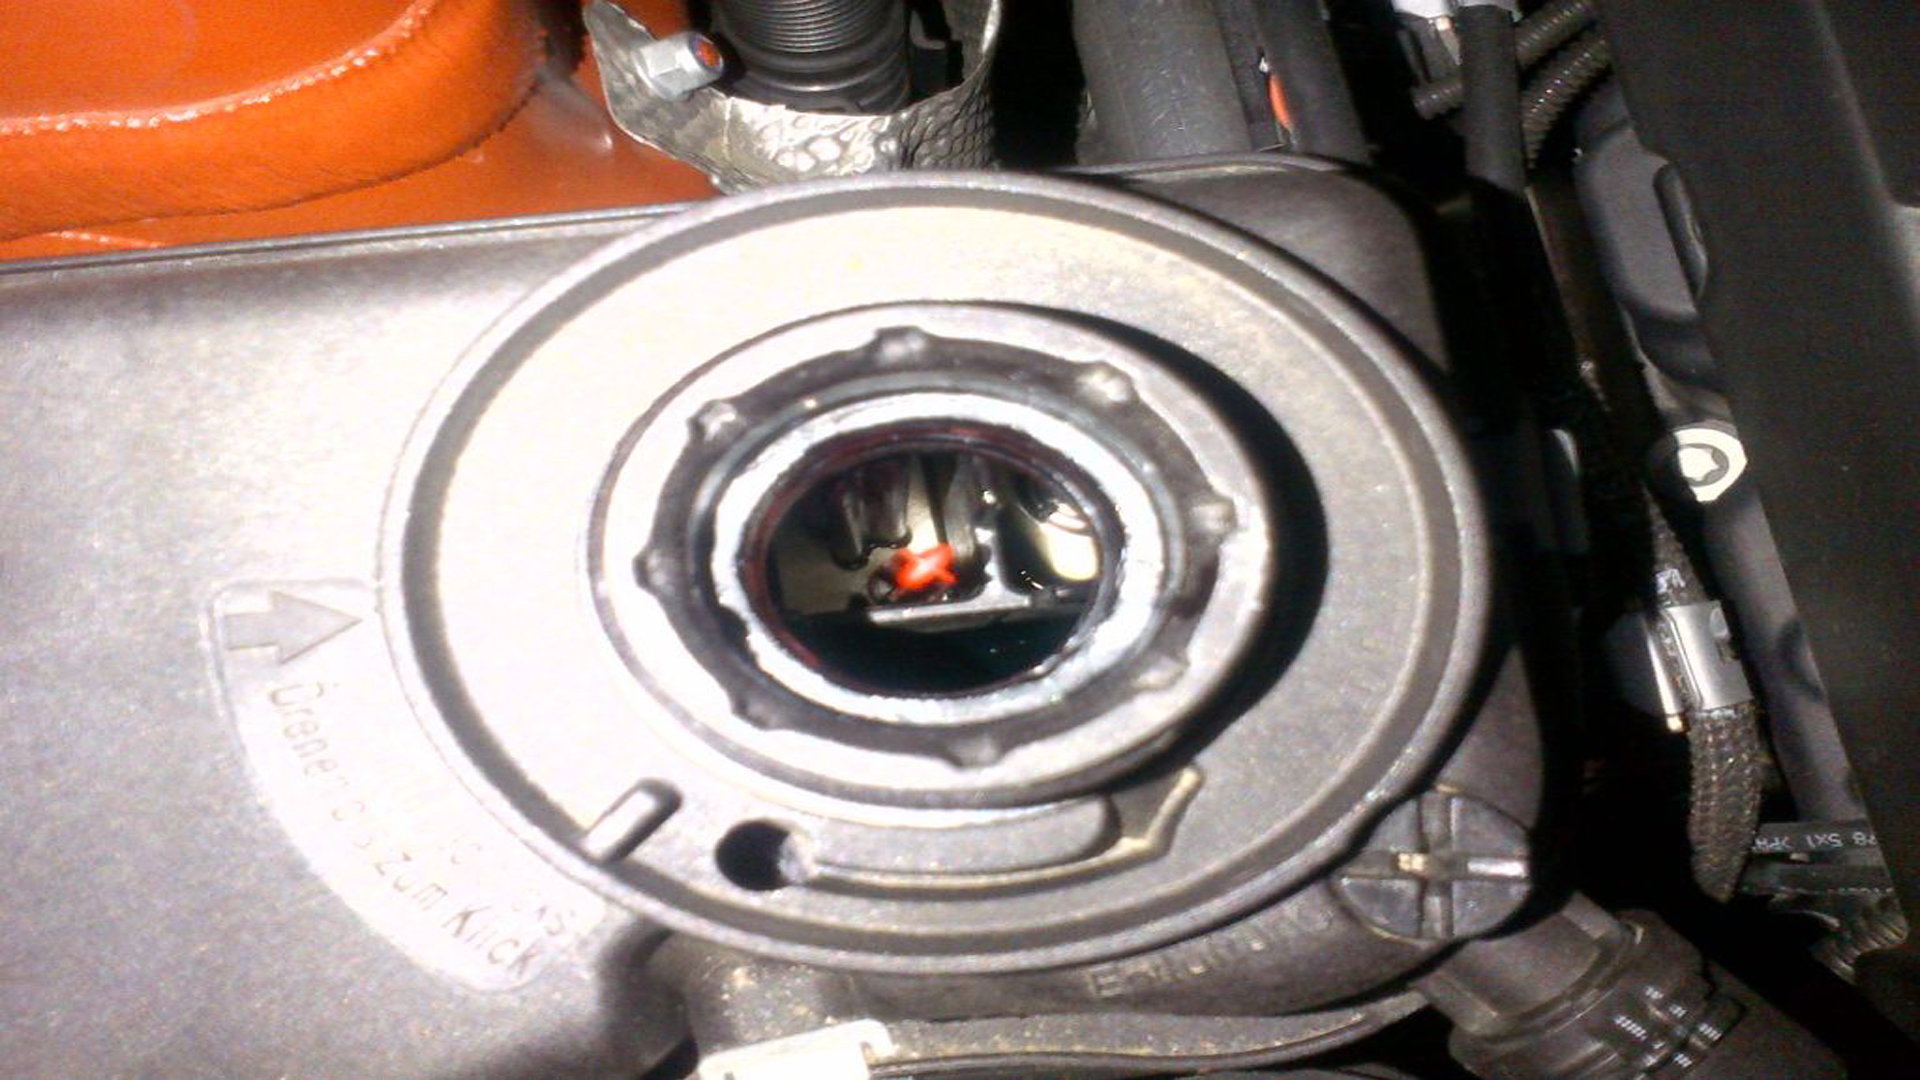
Step 3 – Remove the thermostat casing from the engine block
Using a 10 millimeter socket wrench, remove the screws from the thermostat casing that are attached to the engine block. Remove the hose that is attached to the top of the coolant thermometer casing. After removing the screws, remove the thermostat casing from the engine. A flat head screwdriver may be used to gently pry the thermostat casing from the engine.
Pro Tip
After you have removed the thermostat casing, you should wipe clean the lip area around the engine block where you will insert the new coolant thermometer. This will allow you to have a tighter seal when you install the new thermostat.

Step 4 – Install the new thermostat into the casing
Insert thermostat into the casing and then reattach to the engine block; be certain that the new one has the rubber ring at the insertion point. Most Mercedes-Benz certified parts dealers will include the rubber ring. If the ring is not included, then remove the rubber ring from the old thermostat and place it on the new one.

Step 5 – Reattach the top hose and radiator hose
Reattach the top hose and radiator hose, and place the collar clamps back on to secure the hoses to the thermostat casing.
Step 6 – Refill the radiator fluid and start the engine
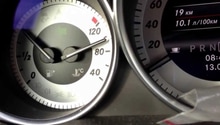
Pour the two gallons of coolant you bled from the radiator at the outset back into the coolant system. Start the engine on your Mercedes-Benz and allow the engine to run for approximately 10 minutes. Examine both around where you replaced the thermostat casing and underneath the car for any coolant leaks. Additionally, check the dashboard to ensure that you are running at the proper engine temperature and that you are no longer receiving the warning light regarding the thermostat.
Related Discussions
- Changing Thermostat - Mbworld.org
- Thermostat Replacement - Mbworld.org