Mercedes-Benz C-Class: How to Replace Thermostat
A malfunctioning thermostat in your Mercedes Benz w204 can cause the car to overheat, or not warm up properly. Either way, it could damage your vehicle. If you find yourself in this situation, take action by replacing the component before the situation gets worse.
This article applies to the Mercedes-Benz C-Class w204 (2007-2014).
While a malfunctioning thermostat can cause you headaches—between making the car overheat or otherwise not warming up properly,—the good news is that replacing the faulty component yourself is inexpensive. Plus, it is something you can do at home. Follow these few steps to learn how you can replace the thermostat in your Mercedes Benz C-Class w204.

Materials Needed
- Thermostat ($75)
- Coolant ($10)
- Distilled Water
- Wrench set
- Screwdriver
- Bucket
- Rags
Step 1 – Drain radiator system
While you are looking to replace the thermostat component in your car, you will need to lower the fluid in the radiator system in order to access it. That being the case, this is as good a time as any to flush out the entire system to replace it with new antifreeze.
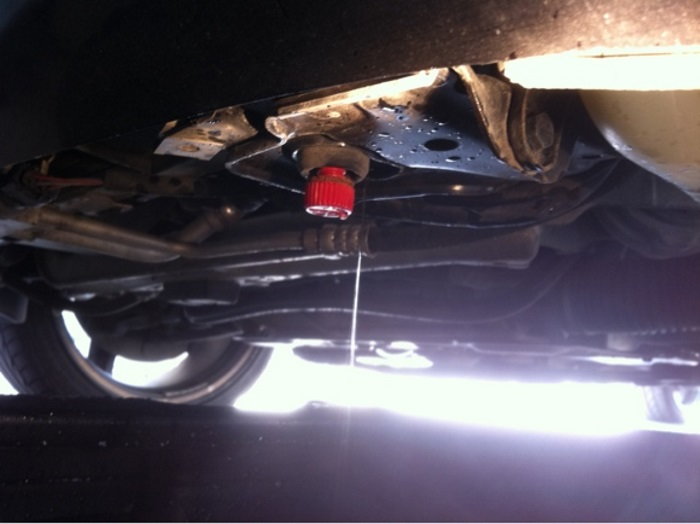
Park your car on a flat surface, and give it time to cool down. When the car is cool, remove the bottom shield (six screws). On the driver's side of the car, unscrew the plastic drain plug at the bottom of the radiator and catch the coolant in a bucket. Remove the cap on the reservoir to catch the remaining fluid. The system should be empty in about 15 to 20 minutes. Tighten plugs back into place.
Step 2 – Remove old thermostat
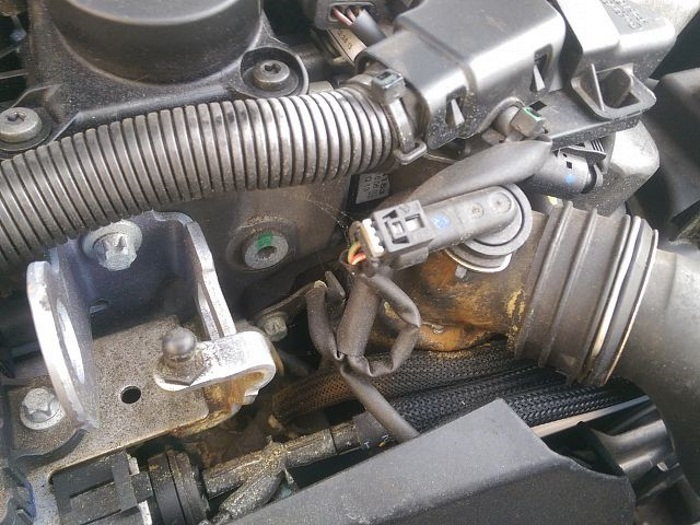
Un-clip the front plastic air inlet pipe from the grill, and remove the oil filter cap/filter etc. Fill hole with old rags to prevent any coolant going in. Doing this will allow you easier access to the thermostat housing. Un-clip the temperature sensor—it is located on the thermostat housing,—and undo the Torx bolts for the fuel pipes, which are attached to the thermostat. Next, undo the Torx bolts connecting the thermostat to the bracket, and use a screwdriver to undo bleed pipe as well as the top hose clips. Remove all the pipes. Now, undo the Torx bolts from the thermostat. Allow any remaining coolant to drain (should be just a little bit). Go ahead and remove the thermostat.
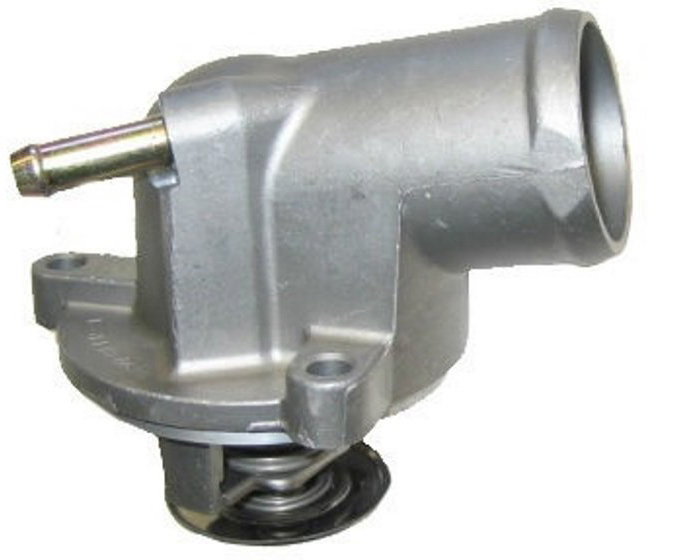
Step 3 – Replace with new thermostat
Wipe area with a cloth, and replace with new thermostat housing. Replace pipes, and screw in bleed pipe as well as the top hose clips. Tighten Torx bolts, and connect thermostat to bracket. Re-clip temperature sensor, remove rags, and replace oil filter cap/filter.
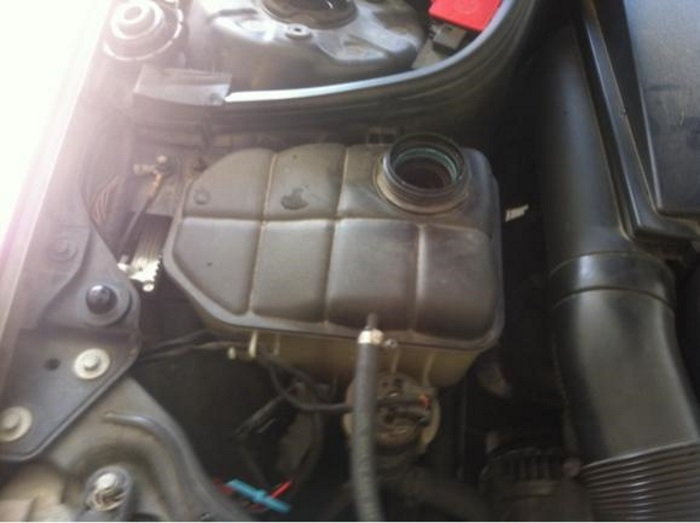
Step 4 – Replace coolant
Fill coolant reservoir with a mixture of distilled water and non-phosphorous antifreeze. When it looks like it’s filled, squeeze and pump the hose on top of the radiator for a few minutes to get some of the air bubble out. This will decrease the coolant level, so add more of the mix to the system. Do this a couple of times until the level does not decrease anymore.
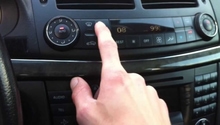
Next, start the car and turn the heater on (this opens the heater circuit). Continue to top off the coolant until the level stabilizes. Should take about 15 minutes. Go back a couple days later to see if the system needs a bit more of the mixture due to air getting out while the car is running.
Related Discussions
- Need to Change Coolant Thermostat - MBWorld.org
- Thermostat Replacement - MBWorld.org
- Thermostat Replaced: Would You Complain? - MBWorld.org