Mercedes-Benz E-Class: How to Change a Tire
Changing a flat tire is a skill that all drivers should know, especially those of you who own a Mercedes-Benz E-Class. You never know when your tire will pop, and you will have no choice but to pull over to replace it. Here's how to do it.
This article applies to the Mercedes-Benz E-Class w211/w212 (2002-Present).
Even under the best outdoor conditions, a flat tire is never fun to have. But knowing how to replace it can go a long way toward making the best of a bad situation, particularly at night when there's no "tire changer" professional to do it for you. Replacing a flat tire is simple and something even the most novice DIY'ers can do. When shopping for a Mercedes-Benz E-Class or if you already drive one, make sure there is a spare tire and tire changing kit in the trunk. You'll be glad you did.

Materials Needed
- Tire changing kit (included in car)
- Wheel chocks
- Alignment bolt
- Spare tire
- Jack
- Lug wrench
Step 1 – Stabilize the vehicle
- Park on a flat, leveled surface, and engage the parking brake.
- Remove the tire changing kit and wheel chocks from the trunk.
- To engage the wheel chock, lift the middle hinge until the face of the metal plate is inclined and locked.
- Position the wheel chocks under the front and rear side of one tire, diagonally opposite to the tire you are changing.
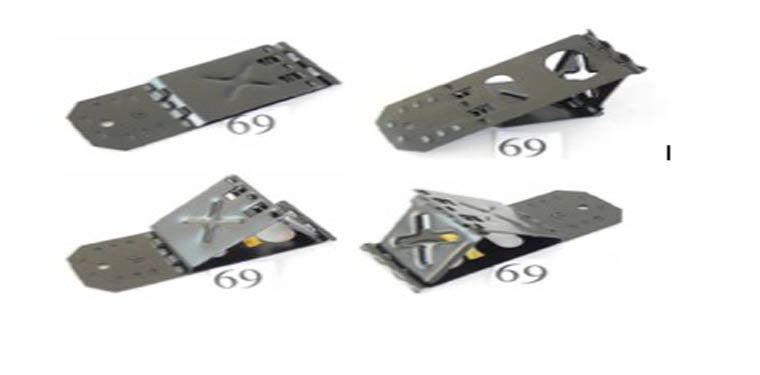
Figure 1. Lift and lock metal plate of the wheel chock. 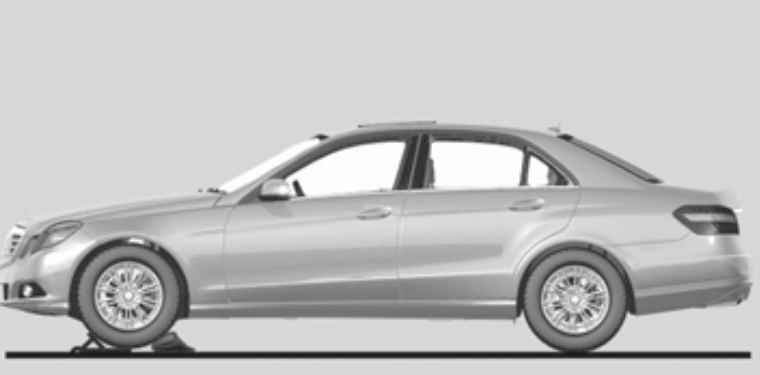
Figure 2. Position the wheel chocks under one wheel.
Step 2 – Lift the vehicle
- With the lug wrench, loosen each of the five lug nuts while the vehicle is grounded. This will allow you easily remove the lug nuts when the vehicle is lifted.
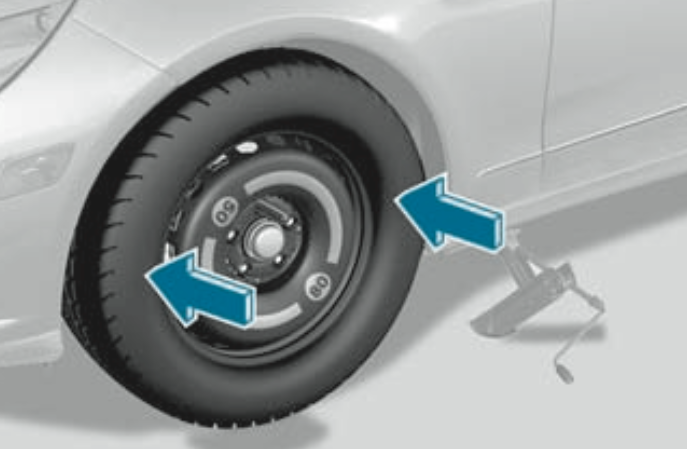
- Position the saddle of the jack directly beneath the jacking point. The jacking points of the frame rails are located on the side of each wheel closer to the center of the vehicle.
- Attach the lever to the hinged end of the jack, and rotate it clockwise to lift the saddle.
- Make sure the saddle is secure tightly to the jacking point, and lift the wheel about one to two inches off the ground.

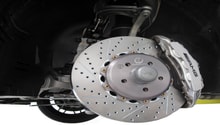
Figure 3. Visible jacking points on the frame rails. 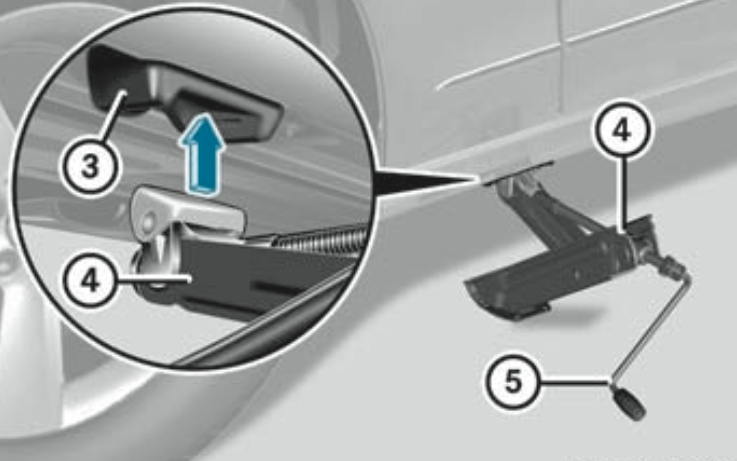
Figure 4. Crank lever clockwise to raise the saddle.
Step 3 – Remove the wheel
- Rotate the wheel until one lug nut is positioned at the top center.
- Loosen the lug nuts, rotating the lug wrench counterclockwise, and then remove them by hand. Save the top lug nut for last.
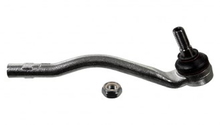
- Remove the remaining lug nut, and screw an alignment bolt into its slot.
- Place your hands firmly under two sides of the wheel and pull it toward you.
- Roll the wheel to a safe area, and set it down on its side.
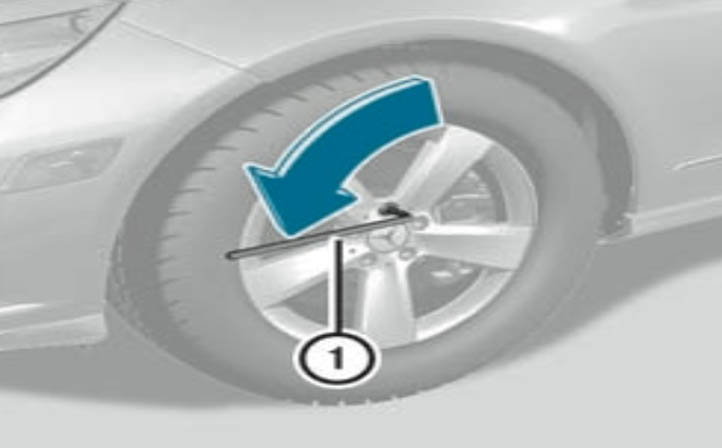
Figure 5. Turn the lug nut wrench counterclockwise. 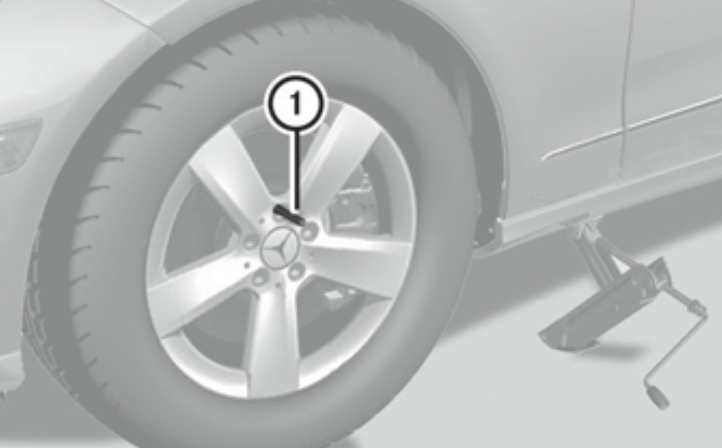
Figure 6. After removing the first lug, insert the alignment bolt.
Step 4 – Install the spare tire
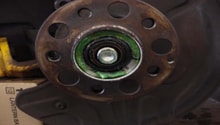
- Lift the spare tire and place it directly onto the rotors. Make sure the wheel is pushed in all the way and the wheel studs are through the holes of the wheel.
- Replace the lug nuts, and tighten them by hand. Rotate clockwise to properly attach them to the wheel studs.
- Unscrew and remove alignment bolt before installing the last lug nut.
- Use the lug wrench to tighten each lug nut, but do not tighten them all the way.
Step 5 – Tighten the lug nuts
- Rotate the jack lever counterclockwise until the vehicle is on the ground, and the jack is fully retracted.
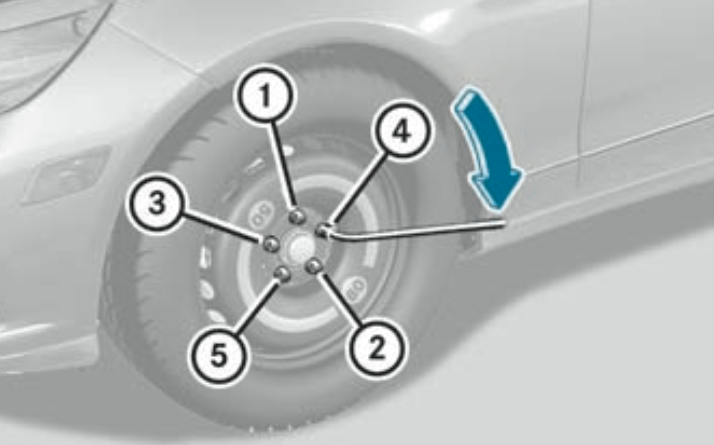
- Use the lug wrench to tighten each lug nut to a very snug fit. Start with the lug nut #1 (Figure 8) on the top center.
- In a star pattern, tighten the remaining lug nuts. Refer to Figure 8 for the correct order.
Related Discussion, and Sites
- Spare Tire Area: What Should It Look Like? - MBWorld.org
- Fix a Flat Tire (Mercedes-Benz C300) - CarCareKiosk.com
- Mercedes-Benz E-Class Operator's Manual - MBUSA.com