Mercedes-Benz E-Class: How to Change Your Oil and Oil Filter
Motor oil is said to be the "blood" of your car's engine. The oil functions to seal, lubricate, clean, and cool the engine while driving. Unfortunately, the oil can only perform these functions for a limited amount of time before it begins to breakdown. Fortunately, however, the oil can be quickly and easily changed at home. To add icing on the cake, Mercedes-Benz recommends that oil be changed every 10,000 miles in your E-Class to allow for more time cruising and less time working on your car.
This article applies to the Mercedes-Benz w211/w212 E-Class (2002-Present).
Today, Mercedes' engines last longer, burn less fuel, and allow fewer emissions levels, all with less maintenance than the cars of yesteryear. While much of this can be attributed to the mechanical engineers back in Stuttgart at the Mercedes-Benz headquarters, chemical engineers of modern engine oils can also take a bit of the credit. Multi-grade synthetic oils with advanced additives are able to maintain performance at temperature extremes, since the viscosity of the oil can cope better with temperature variations. In the case of Mercedes, oil change intervals are up to 10,000 miles. However, even with today's scientific oil blends, they eventually begin to wear out and can no longer provide the needed protection to engine components. If your E-Class is nearing its oil change maintenance interval and you are interested in rolling up your sleeves to change it yourself, follow the steps below in this DIY guide.

Materials Needed
- Vacuum pump and hose (Method 1)
- Floor jack and jack stands (Method 2)
- 14 point 74mm filter wrench
- Ratchet
- Oil catch pan
- 8mm socket (for undertray)
- 13mm socket (for drain plug)
- Torque wrench
- Shop rags
- Engine oil, filters, and O-rings
The oil change method Mercedes-Benz and its technicians have adopted is to suck the oil out of the engine via the dipstick tube with a vacuum extractor. While this method has proven to be quite effective, traditionalist can still change oil the conventional way through the oil pan drain plug. This article will outline both methods and is applicable to E-Class models with various engine configurations.
Method 1 – Vacuum extraction
Step 1 – Open hood and remove the engine covers
-
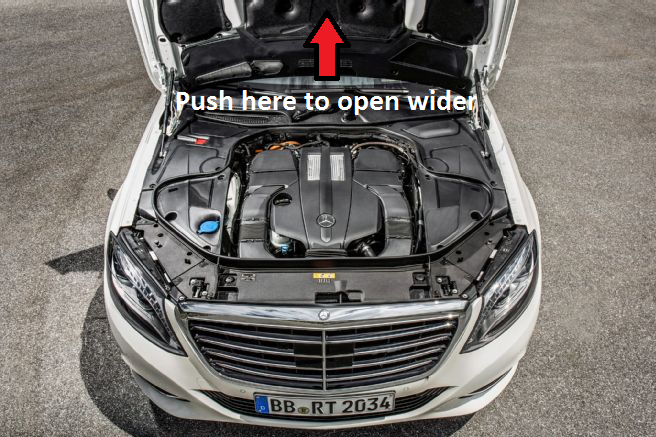
Open the hood on your E-Class. The hood will come to a stop at a 45-degree angle. Unlike previous models with a locking tap, the w212's hood can be opened to a 90-degree vertical angle by simply pushing upwards on it after it is already open. This will give you more room to work in.
-
Remove the engine cover or covers (depending on engine configuration) to gain access to the oil filter housing and dipstick tube. Engine covers are clipped into place via spring clips. These are easily released by lifting the cover upwards, starting at the front end.
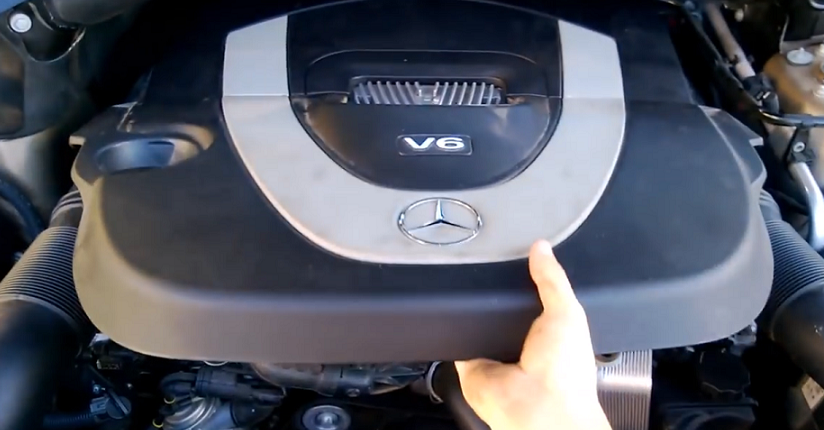
Figure 2. Engine cover removal.
Step 2 – Extract engine oil and remove the oil filter
- Remove the oil dipstick and place your suction tube into the dipstick tube. Be sure your suction tube is bottomed out, so that all engine oil can be removed from the crankcase.
- Begin extracting oil with your vacuum pump.
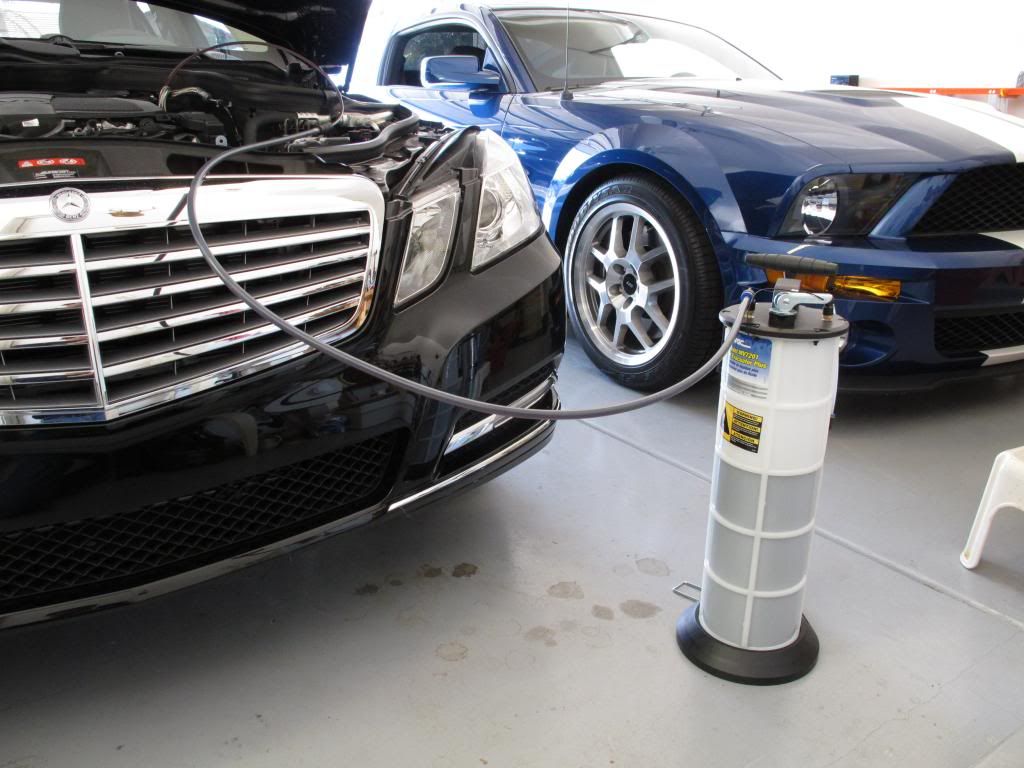
Figure 3. Vacuum pump for removing oil. 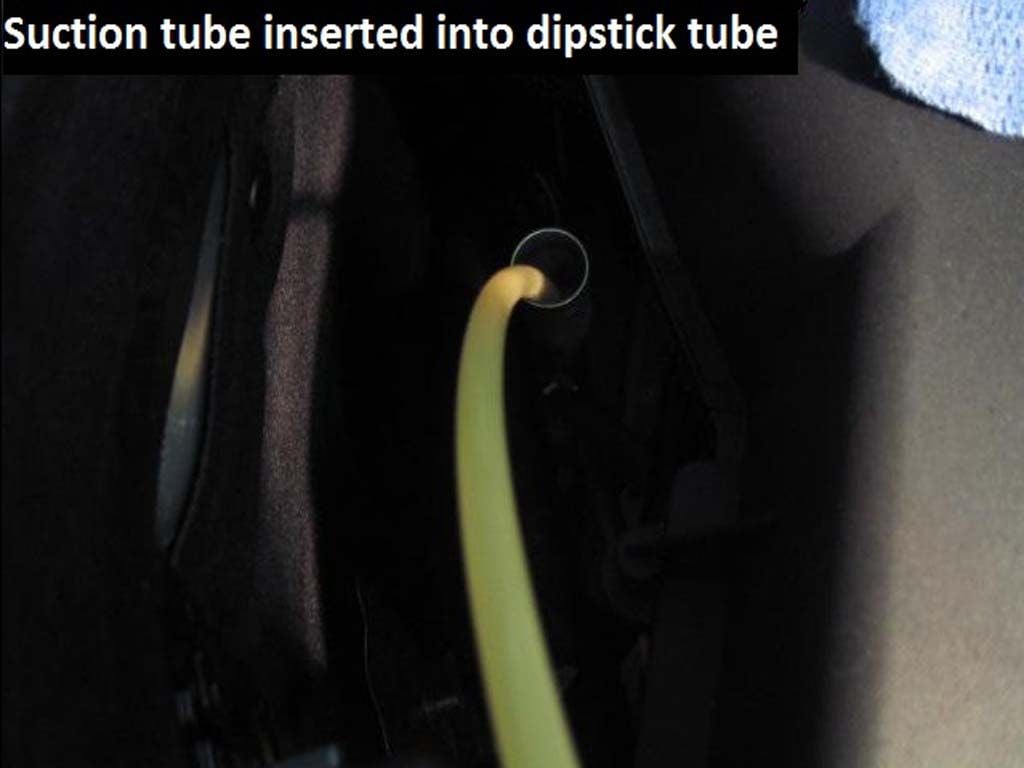
Figure 4. Suction tube in the dipstick tube.
-
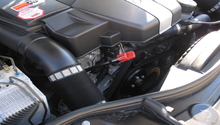
While the engine oil is being extracted, remove the engine oil filter. To do so, use a 14 point 74mm filter wrench to loosen the filter holder. The holder unscrews and can be lifted out of the filter housing with the filter element intact. Have a catch pan or shop rags handy to catch any residual oil.
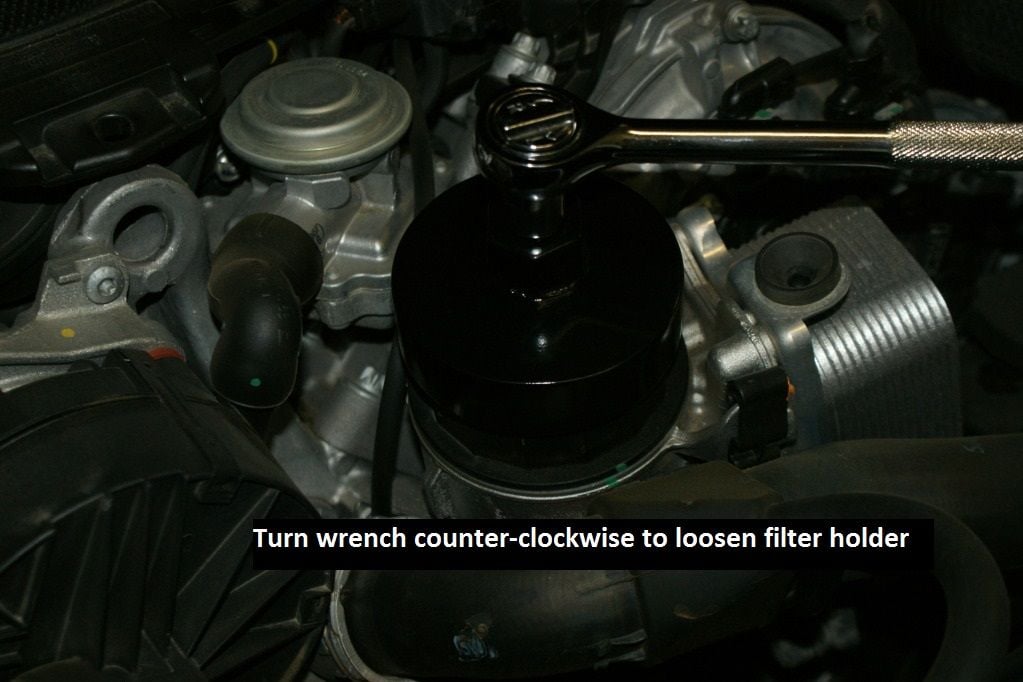
Figure 5. Removing oil filter with a filter wrench. 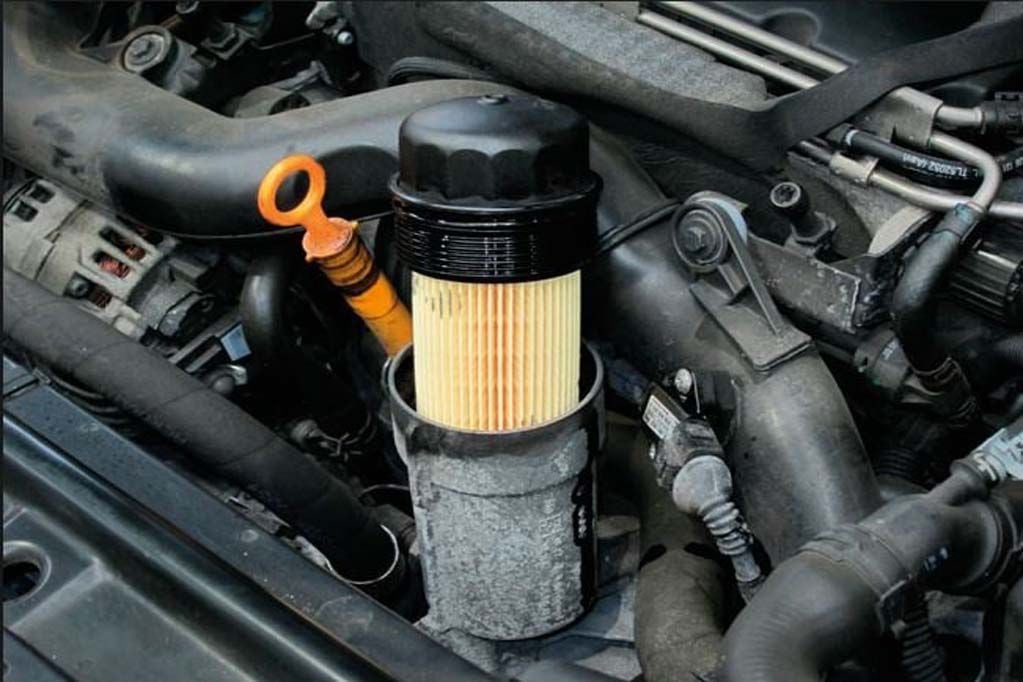
Figure 6. Filter and filter holder removal.
Step 3 – Install new filter and fill the engine with oil
After extracting all of the engine oil, you are now ready to install the new oil filter and fill the engine with new engine oil.
Note
It is recommended that the amount of oil removed from the engine be measured to ensure that all of the oil supply was extracted. Failure to extract all of the engine oil can result in overfilling.
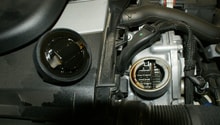
- Slide the oil filter off of the filter holder. Then, remove the small rubber O-rings and the large O-ring near the threads of the filter holder. Depending on your engine configuration, there may be one or two small O-rings. Be sure to have these on hand before starting your oil change.
- Lubricate all new O-rings in fresh engine oil and install them onto the filter holder. Slide the new filter element onto the filter holder, making sure the filter is fully seated in place.
-
Install the filter holder assembly into filter housing, and torque the assembly to approximately 18 ft-lbs.
- Pour fresh oil into the engine via the oil filler cap. Add the appropriate amount of oil for your engine configuration. This information can be found in your owner's manual under the "Service Products and Capacities" heading.
- Be sure to install and tighten the oil filler cap after the oil change is complete.

Pro Tip
It is important to use an approved engine oil in your E-Class, especially if your car is still under warranty. For a list of Mercedes-approved engine oils, visit the Mercedes-Benz's Operating Fluids-Extranet. This is Mercedes' official list of oils that have been tested and approved for use across their range of models.
Step 4 – Start car and install the engine covers
- After the new oil filter has been installed and the engine filled with oil, start the car to let it run for several minutes and allow the oil to circulate. Check for leaks around the oil filter housing to ensure it is dry. Shut the car off and allow it to sit for at least five minutes before attempting to check the engine oil level.
-
If everything checks out, replace the engine cover(s) and make sure they are properly clipped in place.

Pro Tip
The car must be sitting on a level surface to achieve accurate oil level reading.
Method 2 – Oil drain plug
The drain plug method involves many of the same steps as the vacuum extraction method. However, the oil is removed from the oil pan drain plug as opposed to being sucked out of the dipstick tube.
Step 1 – Lift car and remove the undertray
- Using a floor jack, lift the front of the car at the designated lift points and support it with jack stands.
-
Remove the undertray covering the engine oil pan. Use an 8mm socket or nut driver to remove the undertray fasteners. Sliding the undertray out of the way will reveal the oil pan and drain plug.
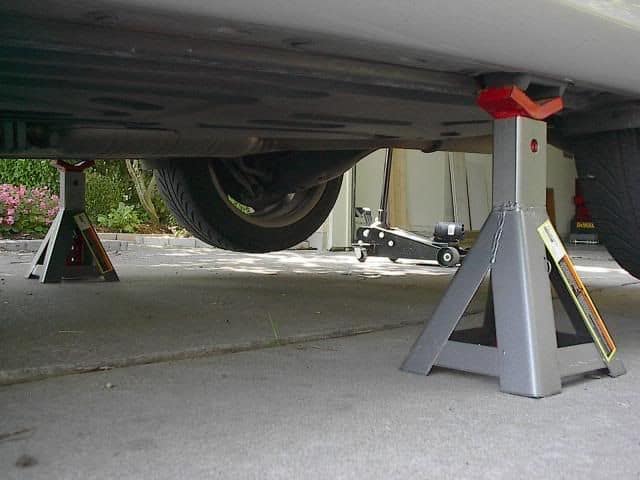
(Related Article: How to Jack up Your Car - MBWorld.org)
Step 2 – Drain engine oil and replace the oil filter
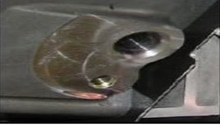
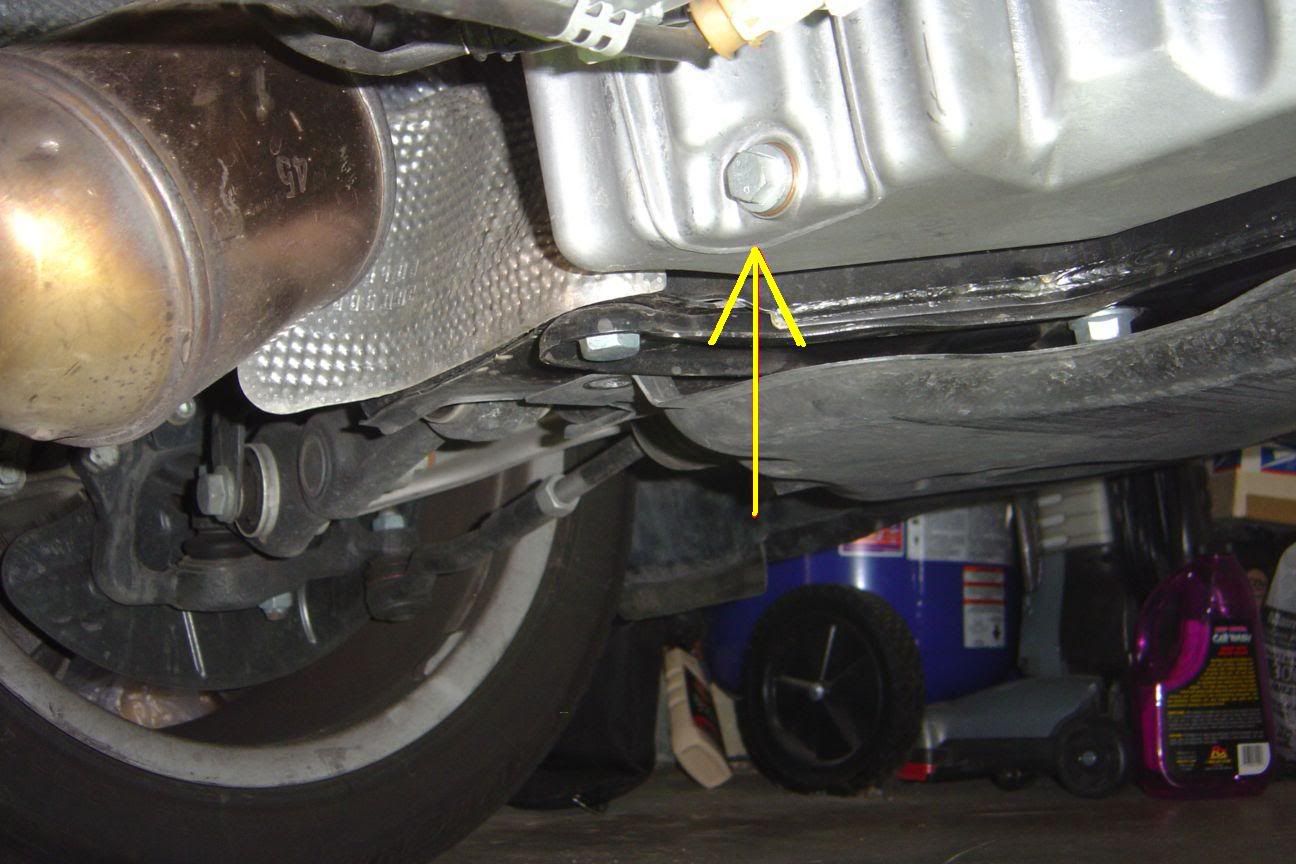
- Using a 13mm socket or wrench, remove the oil pan drain plug. Allow oil to flow into a drain pan.
- While the oil is draining, remove the engine cover and replace the oil filter element as well as the filter holder O-rings as outlined in Method 1 (Step 3). Be sure the oil pan drain plug is removed when removing the oil filter holder from the filter housing as this will allow additional oil to drain.
- After the oil has finished draining, re-install the drain plug with a new crush washer and torque the plug to approximately 18 ft-lbs.
Step 3 – Fill with oil and start the car
- With both the oil drain plug and new oil filter installed as well as tight, fill the engine with the appropriate amount of oil as specified in your owner's manual.
- Start the engine and allow it run for several minutes. While running, inspect the underside of vehicle at the oil drain plug to ensure there are no leaks. Similarly, inspect around the oil filter housing for leaks.
Step 4 – Re-install
- If no leaks are present, re-install the undertray and engine cover(s).
- Lower the car off of the jack stands using your floor jack.
- With the car sitting on a level surface, check the oil level and add oil if necessary.
Related Discussions
- W212 Oil Change - MBWorld.org
- Oil Filter Wrench - MBWorld.org
- Couple Oil Filter Pics - MBWorld.org