Mercedes-Benz C-Class and AMG: How to Install HID Headlights
Installing HID lights into your Mercedes-Benz C-Class is a simple process that requires basic tools and understanding of electrical equipment. Read the article to find out how to install HID headlights.
This article applies to the Mercedes-Benz C-Class and AMG w204 (2007-2014).
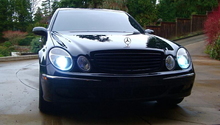
Sadly, some car corporations try to cut cost on ways to manufacturer a vehicle. This results on newer models losing features, such as premium headlights. The w204 series has unfortunately been included in the list of automobiles affected by budget cuts. However, for those of you interested in an upgrade, there is a very simple method that lets you install HID lights into your Mercedes C-Class and AMG. These instructions will show you how to safely install HID headlights into your car, which will help you save some cash in the process.

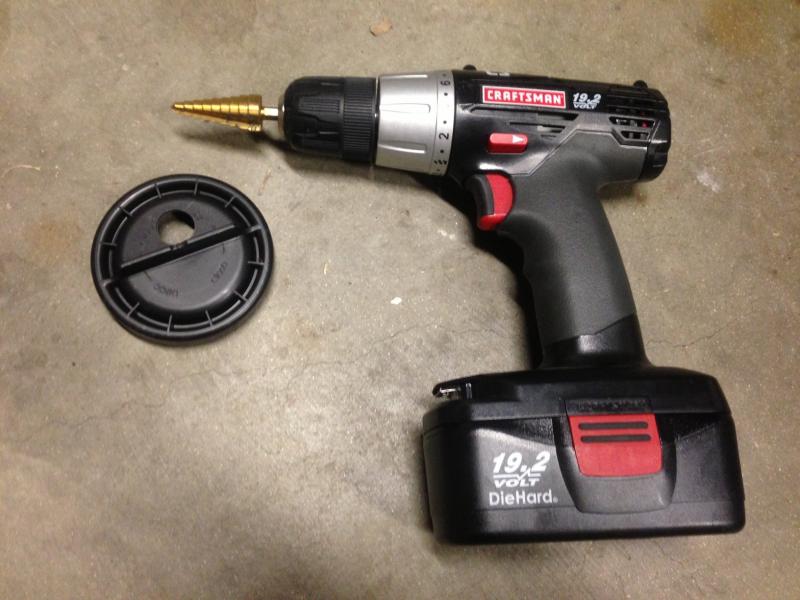
Materials Needed
- Screwdriver
- Pliers
- Drill
- 1-inch drill bit
- Rubber grommets
Step 1 – Disconnect battery and remove both covers on headlights
You are going to be installing a small wire harness for each bulb. So first things first, disconnect the negative (black) battery cable to avoid shock. After you have done that, remove the covers on the headlights:
- Locate the headlight covers behind the housings.
- Then, remove the stock bulb connector.
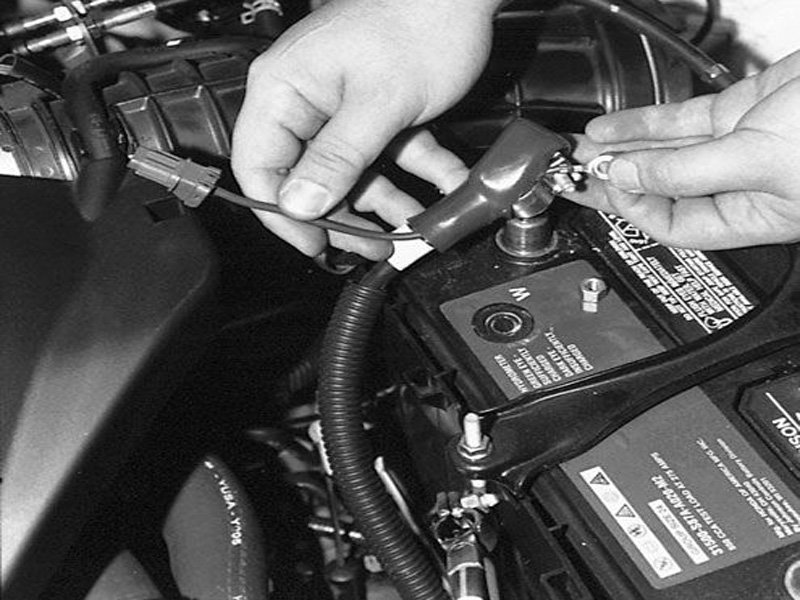
Figure 1. Disconnect the negative battery cable. 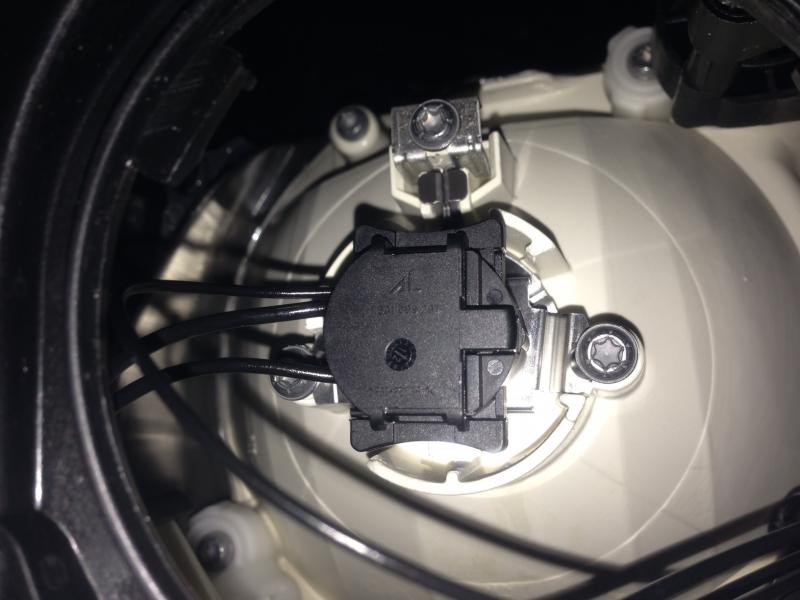
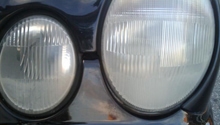
Figure 2. Headlight connector. 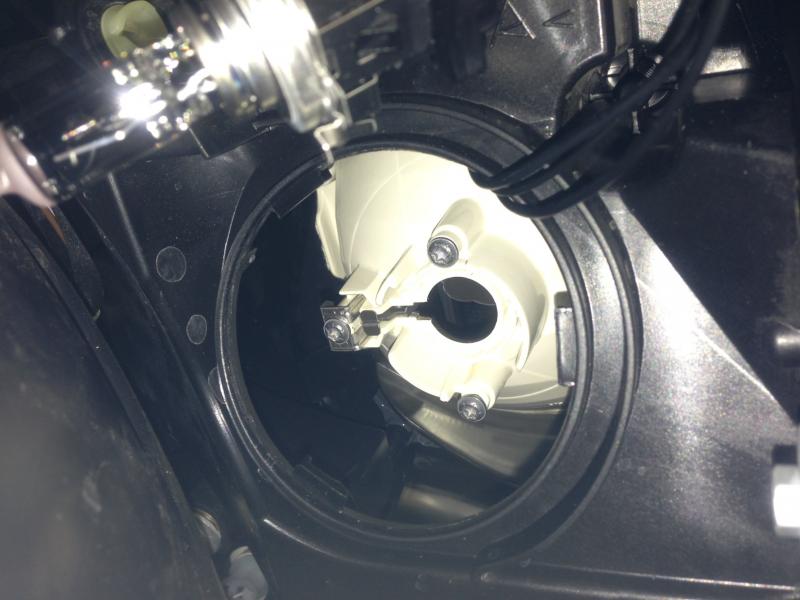
Figure 3. Headlight connector removed.
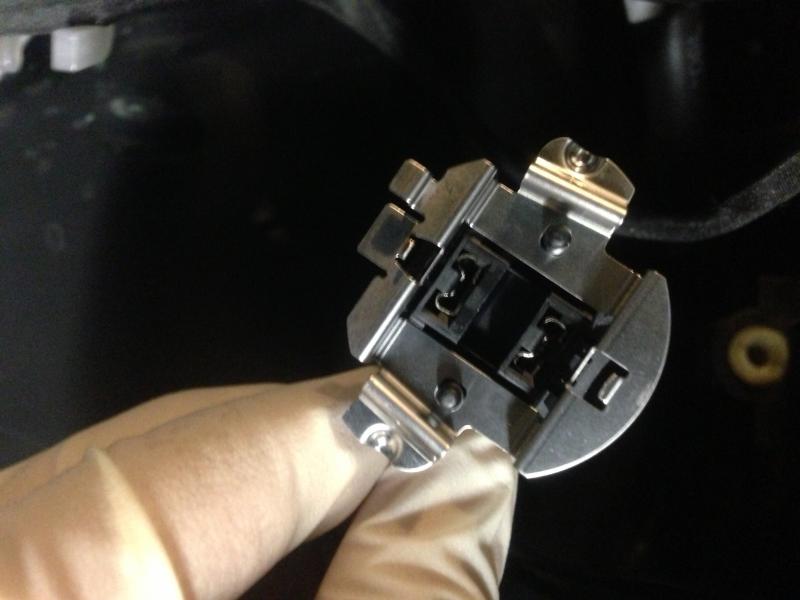
Step 2 – Remove the metal clip from the plug
- Pull the bulb off of the connector.
- Use a screwdriver to pry to metal clip off of the plug.
Step 3 – Drill a hole into the headlight cover
The cover has a very important function. It keeps moisture from entering into the headlight housing and fogging up the lens. The following is a delicate procedure because if the cover becomes cracked in the process, it must be replaced.
- Use a power drill with a 1-inch tip to drill a hole into the rear headlight cover.
Step 4 – Install the harness
- Take the wires from the HID harnesses, and fit them into each hole.
- Place rubber grommets at the end of the harness to help prevent moisture from entering into the headlight.
- Plug the HID bulb into the headlight housing.
- Run the wires through the covers of the headlight plug and into the newly installed HID bulb.
- Mount the ballast on the frame near the bumper.
- Reconnect the battery, and adjust the angle of the headlights.
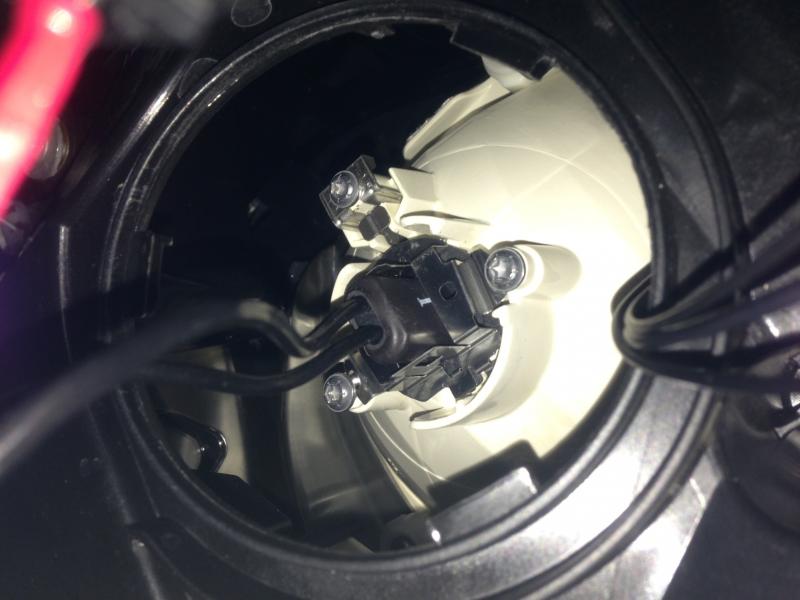
Figure 6. Plug in the HID bulb. 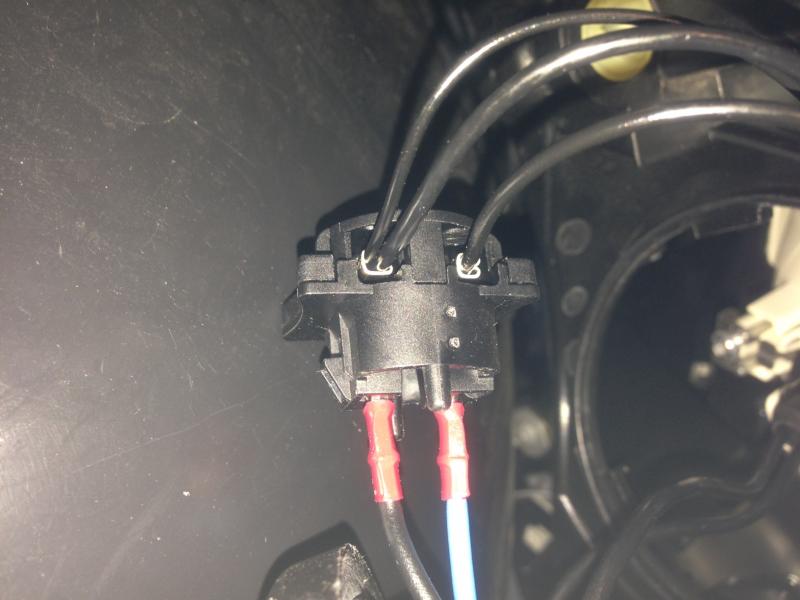
Figure 7. Run two wires from the positive and negative terminals on the headlight plug. 
Figure 8. Wires installed after placing the grommet inside the hole on the cover. 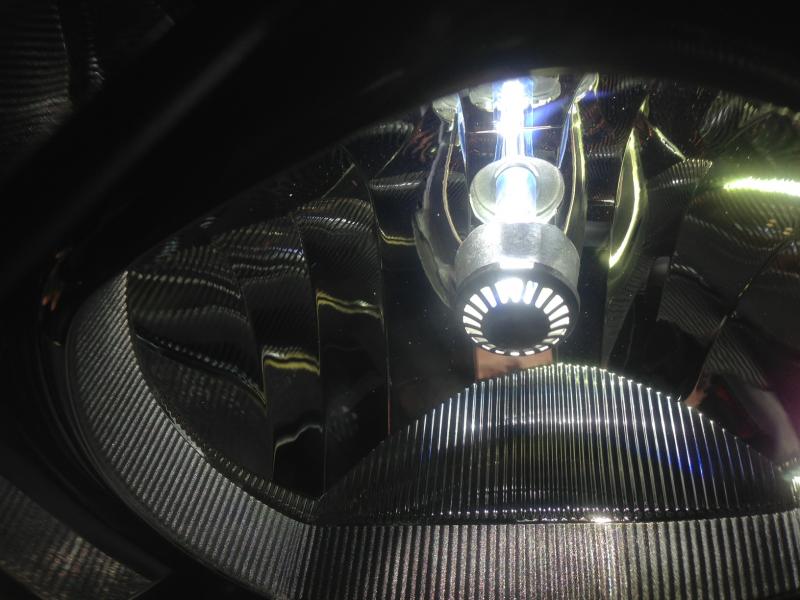
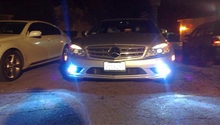
Figure 9. Your are done!
Pro Tip
The HID bulbs use the same housing as the stock lights. In order to adjust them, spin the headlight adjustment screw.
Related Discussions
- 2013 C250 HID Install - MBWorld.org
- Aftermarket HID Issues - MBWorld.org
- Best HID for Our Cars - MBWorld.org