Mercedes-Benz E-Class and E-Class AMG: How to Replace Headlights with HID
This guide will walk you through the installation of an HID conversion kit in the Mercedes-Benz E-Class.
This article applies to the Mercedes-Benz E-Class and E-Class AMG (2002-2009).
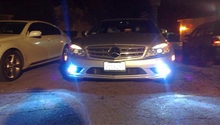
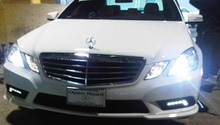
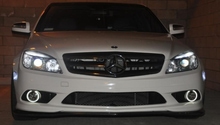
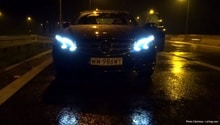
HID headlights offer greater visibility and a wider beam compared to standard halogen lights. There are plenty of HID conversion kits available online, but be certain that you're getting everything you need, including the HID bulbs, two mountable ballasts, and wiring harnesses for each ballast. Most of these kits will have difficulty communicating with the ECU on your Mercedes-Benz E-Class, but there is a way to work around this. Follow the instructions below to learn more.

Materials Needed
- HID conversion kit
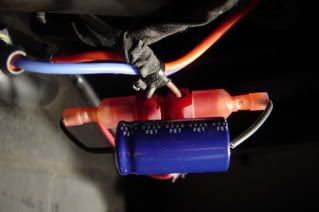
- Two capacitors 2200uf rated for 35 volts
- Ratchet w/ 8 mm socket
- Phillips screwdriver
- Jack and jack stands
- Lint-free cloth
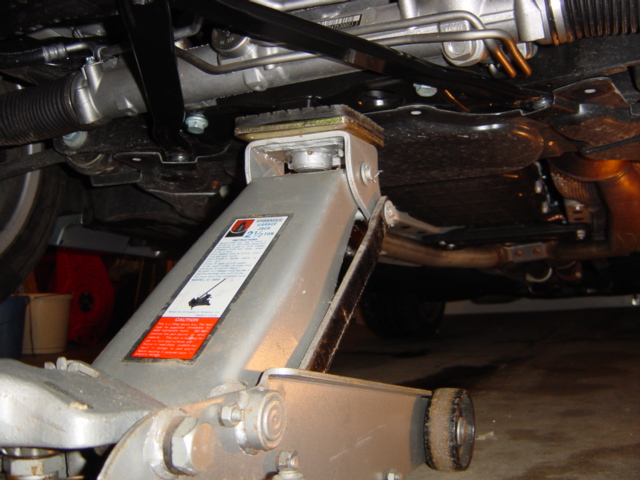
Step 1 – Lift the car and remove the front splash shield
Set the car on four jack stands so it sits evenly. Remove the front splash shield behind the front bumper by removing a series of eight bolts along the top of the splash shield.
(Related Article: Mercedes-Benz E-Class and E-Class AMG: How to Jack Up Your Car - MBWorld.org)
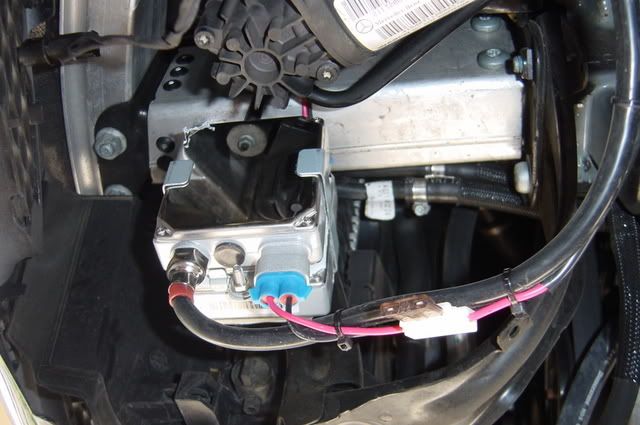
Step 2 – Mount the ballasts
Your ballasts should come with mounting brackets that you can use to mount them somewhere near the front of the car. One spot that works well for this is on the radiator core support which is close enough for the electrical harness to reach the headlights.
Pro Tip
The ballasts can create electromagnetic interference so keep them as far away from the ECU as possible.
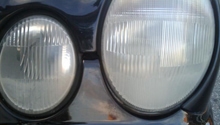
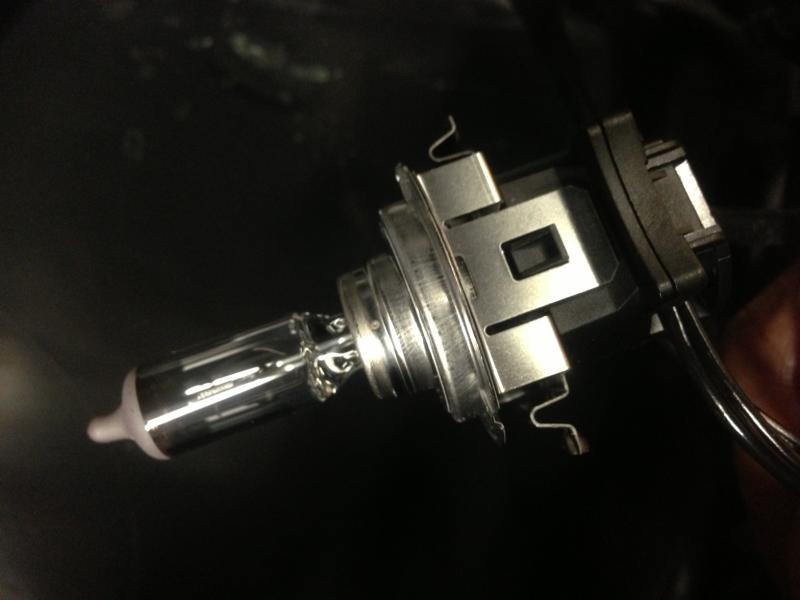
Step 3 – Replace old bulbs with new HID bulbs
Remove the back cover to the headlight case. To remove the headlight and fog light bulbs, turn the bulb counter clockwise then pull. Remove the electrical connector and pry off the metal retaining clip from the old bulbs. Install the metal retaining clip to your new bulbs and insert them into the headlight housing.
Pro Tip
Use a lint-free cloth to hold your HID bulbs so you don't get grease or oil on them. If you do get dirt on a bulb, clean it with rubbing alcohol and let it dry for some time.
Step 4 – Plug in the ballasts and the headlights
There should be a socket where you can connect the old headlight plugs to the ballasts. Attach capacitors to the wires from the HID kit then plug those into the headlights and ballasts. Make sure your capacitors are installed correctly otherwise they could get very hot and possibly explode. You should have power going to the headlights now. Turn on the car and test the lights.
Pro Tip
If you have stuttering lights, check if your ECU is giving an error for the bulbs. It could be cutting power to the headlights. In that case you can force the computer to power the headlights by switching lamp current to manual with your steering wheel buttons.
Step 5 – Reassemble components and lower the car
When you're finished, return the cover to the back of the headlight assembly. Return the splash shield behind the front bumper. Then lower the car. Before you take it on the road be sure to adjust the headlights. Make sure they are pointed either straight forward or down a little because these are very bright lights and can potentially blind other drivers if not adjusted properly.
Related Discussion
- HID, Fog Lights, Headlight Install Guide w211 E Series - MBWorld.org