Mercedes-Benz E-Class and E-Class AMG: Why Does My Brake Pedal Go to the Floor?
Driving a car with no brake pressure is a terrifying situation. Here are some possible causes as to why your brakes have lost pressure and what can be done to fix them in your Mercedes-Benz E-Class.
This article applies to the Mercedes-Benz E-Class and E-Class AMG (2002-2009).
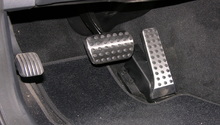
You are driving down the road coming to a stop sign when suddenly, the brake pedal drops to the floor. Luckily you roll on through with no cars in sight, but you are still left with no brakes. There are a few reasons as to what can cause brakes to hit the floor, which can include a line leak, air in the system, or complete component failure. What ever the cause may be, the solution needs to be quickly found. Use the following information to diagnose and repair why the brake pedal has lost pressure in your Mercedes-Benz E-Class.
Materials Needed
- 3/8 inch ratchet
- Metric socket set
- Brake fluid (DOT4)
- Brake cleaner
- Brake lubricant
- Brake bleed kit
- Jack and jack stands
Step 1 – Bleed the brakes
There may be air in the system.
Your brake system uses hydraulic fluid to compress the calipers, which then squeeze the pads onto the rotor. If there are air pockets in the system, the brake pedal may feel spongy or drop to the floor due to the lack of fluid pressure.
- Raise and secure the vehicle.
- Remove the 17mm lug nuts.
- Locate the bleeder valve on the caliper.
- Use a brake bleeding kit and strap the tube to the bleeder valve. Keep the other end of the tube submerged in brake fluid.
- Check the master cylinder and make sure it's full of DOT4 fluid.
- Pump the brakes.
- Check the master cylinder reservoir every 10 pumps and keep topping off the fluid.
- Continue until no more bubbles exit the caliper.
- Bleed all four brake calipers.
- Mount the wheel and lower the car.
(Related Article: Mercedez-Benz E-Class and E-Class AMG: How to Jack Up Your Car - MBWorld.org)

Take the car for a 10-20 minute test drive. Check the brakes and see if the pedal is still spongy. If the problem still persists, move onto the next step.
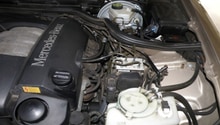
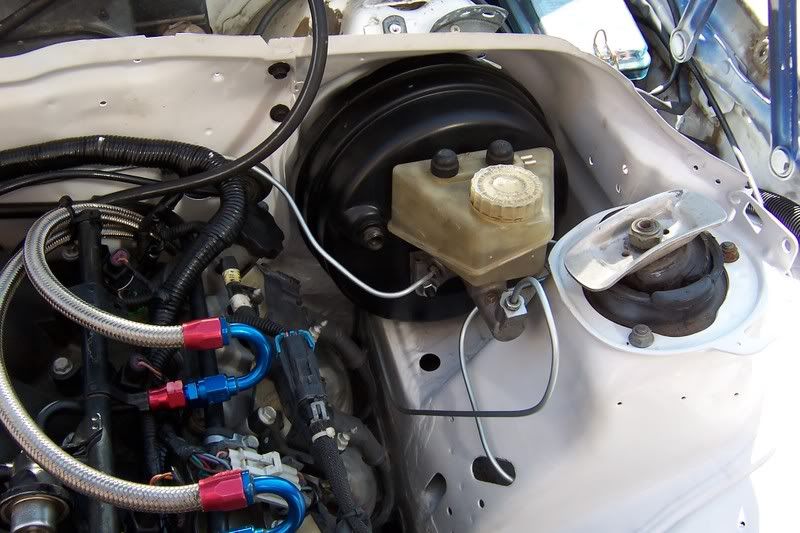
Step 2 – Replace the master cylinder
The master cylinder may be leaking.
The master cylinder is a mechanism that converts the force behind a brake pedal into hydraulic pressure. When these units fail–usually due to an internal leak–the brake pedal will lose pressure and stopping capabilities.
- Open the hood and wait for the engine to cool.
- Locate the brake master cylinder which is mounted on near the driver side firewall.
- Drain the master cylinder.
- Place rags on the floor to catch the extra brake fluid.
- Disconnect the brake lines from the master cylinder.
- Loosen the 13mm mounting bolts.
- Replace the unit.
- Follow the brake bleeding procedure mentioned in Step 1.
- Go for a test drive.
If the problem continues to persist, move on to Step 3.
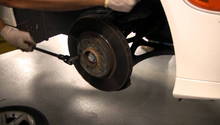
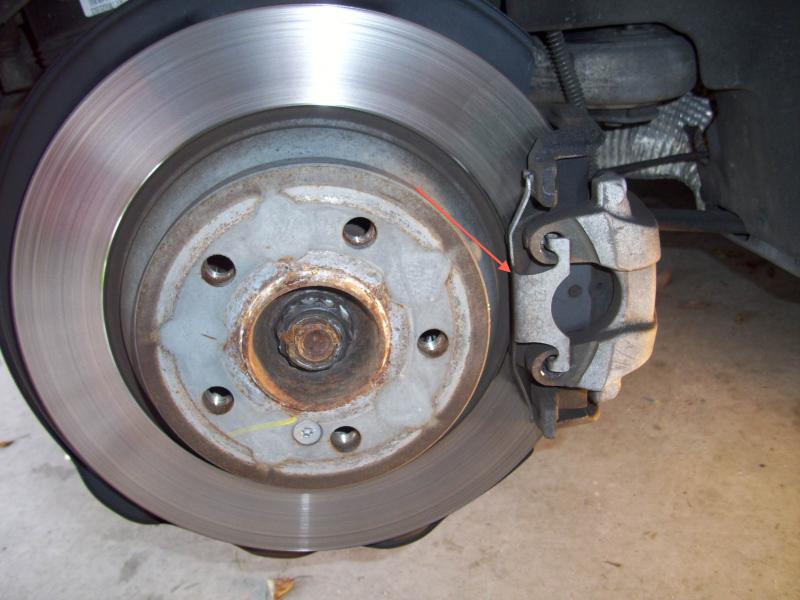
Step 3 – Check for seized calipers
One or more of the calipers may be stuck.
If the caliper is seized, the hydraulic fluid will boil from the heat created by the brakes. This will cause the brakes to become spongy and eventually fail. This inspection should be done on all four wheels.
- Safely raise and secure the vehicle using jack stands.
- Remove the 17mm lug nuts.
- Inspect the rotor.
- Look for blue coloration on the rotor.
- If blue is present, replace the caliper and follow the instructions in Step 4.
If nothing is found, proceed to Step 5.
Step 4 – Replace the caliper
- Some models before 2006 include an SBC feature that needs to be disabled before replacing the calipers. If applicable, disable the SBC braking system feature.
- Loosen and remove the caliper cover screws.
- Detach the pad sensors.
- Remove the brake line and place it into a cup to drain.
- Remove the two 16mm bolts that mount the caliper to the hub.
- Remove the caliper.
- Loosen the two bolts for the caliper bracket.
- Remove the caliper bracket.
- Remove the pads from the caliper.
- Install the new unit.
- Reconnect the pad sensors.
- Bleed the system following the instructions from Step 1.

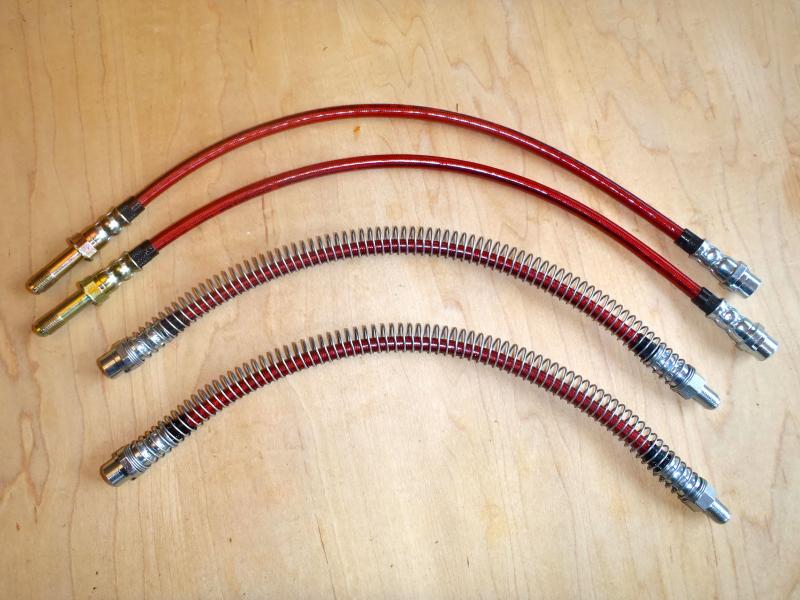
Step 5 – Find leaking brake line
One of the lines may be leaking.
There are brake lines that connect the master cylinder to the associated calipers. Each one is susceptible to creating a leak. This step implies that the vehicle is safely raised, supported, and has the wheels removed.
- Place newspapers under each wheel.
- Pump the brake pedal several times.
- Walk around the vehicle and inspect each newspaper.
- When a leak is found, have an assistant pump the brake pedal so you can see firsthand where the leak is coming from.
- Replace the leaking brake line.
Related Discussions
- Infrequent Brake Pedal Fault - MBWorld.org
- How to Change Master Cylinder - MBWorld.org
- DIY - Bleeding Brakes - MBWorld.org
- Brake Pedal to the Floor...Eventually - MBWorld.org