Mercedes-Benz E-Class: How to Install Video-In-Motion (VIM)
If you have young children in your Mercedes-Benz, a VIM system might be a great addition. This addition to your E-Class could be the difference between arriving in a serene state and being frazzled beyond words.
This article applies to the Mercedes-Benz E-Class (2010-present).
It's a beautiful thing to have some form of entertainment to accompany you and your passengers on your ride. Unfortunately, there are only so many radio stations one can bear to listen to. Today's technology enables many vehicles to benefit from DVD players and in-dash videos. One of the issues is that these systems are designed (for safety reasons) to only to be used when the vehicle is stopped. However, technology today has given way to a device that can allow video functions while the car is still in motion.

Materials Needed
- Flat head screw driver (varying sizes)
- Non-marring pry tool
- Torx bit screwdriver
Step 1 – Remove dash trim
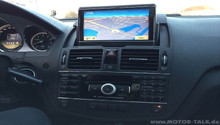
There is trim covering the access points to the COMMAND system.
- Open glove box to access tabs of trim.
- Use flat tip screw driver to pry tabs off trim.

Pro Tip
You can use a flash light to look between crevices to find the tabs before prying them off. Carefully use a flat head screw driver for the job.
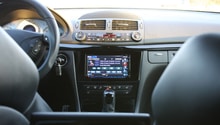
Step 2 – Disconnect and remove COMMAND unit
Now you will see that the unit is still attached via harness and Torx screws.
- Use a Torx bit to remove Torx screws.
- Disconnect harnesses on the side and back of unit.
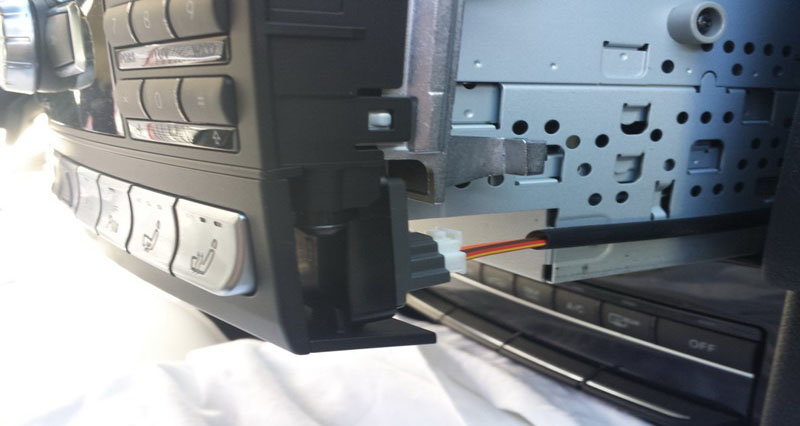
Figure 2. Disconnect all wires. 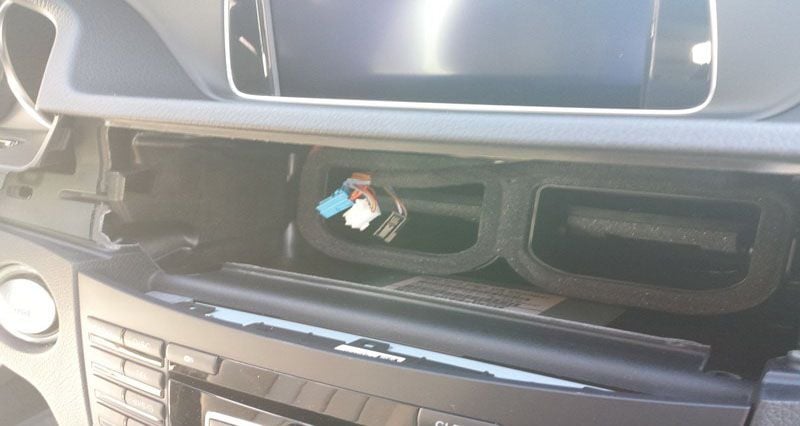
Figure 3. Disconnect all wires. 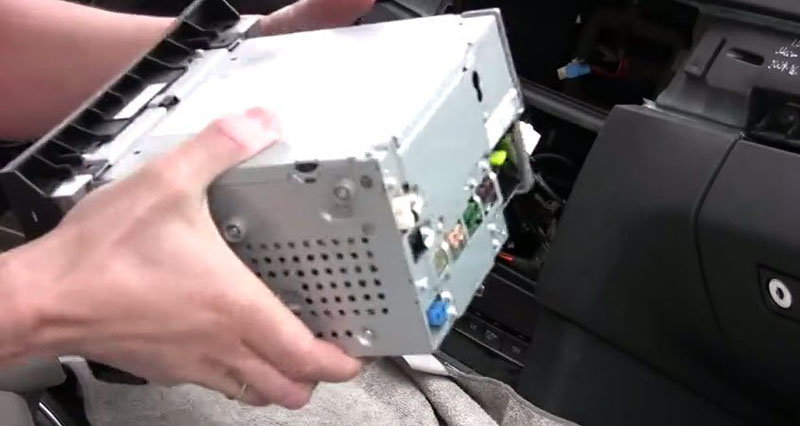
Figure 4. Pull out the system.
Step 3 – Connect VIM harness
Now that the unit is out and the harness is disconnected, install the new VIM harness.
- Disconnect black and white connectors from main connector.
- Disconnect small black optical connector using thin flat head screw driver.
- Connect male side of new harness to existing Quad connector.
- Connect the black, white and optical connectors to the female side of the new harness.
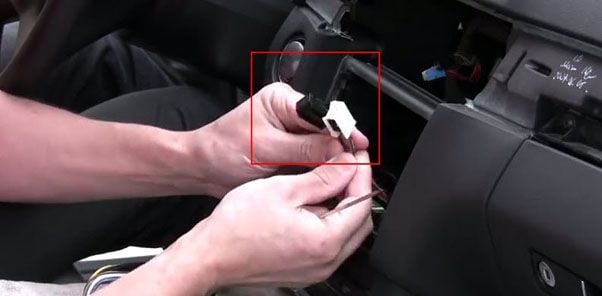
Figure 5. Connect optical connectors to female harness. 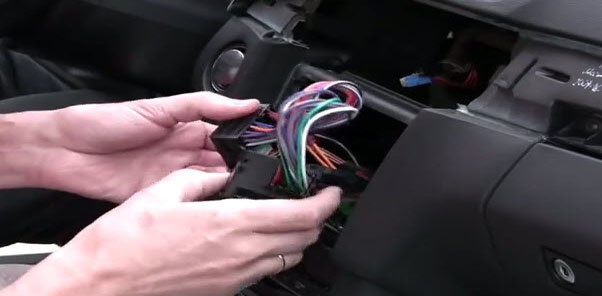
Figure 6. Connect male harness to Quad connector.
Step 4 – Re-install COMMAND unit and trim
Now that the unit is equipped with the new VIM harness, everything can be put back together.
- Reconnect COMMAND harness.
- Insert unit back into opening and tighten down with Torx bolts previously removed.
- Push trim back into place.
Pro Tip
Don't forget to connect the small white connector on the side of the COMMAND unit.
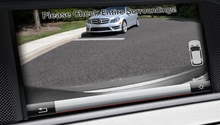
Step 5 – Activate VIM
To enjoy the new functionalities it must be activated through the system first.
- Press and hold the "end call" button on your steering wheel for 6 seconds.
- Settle in and grab some popcorn.
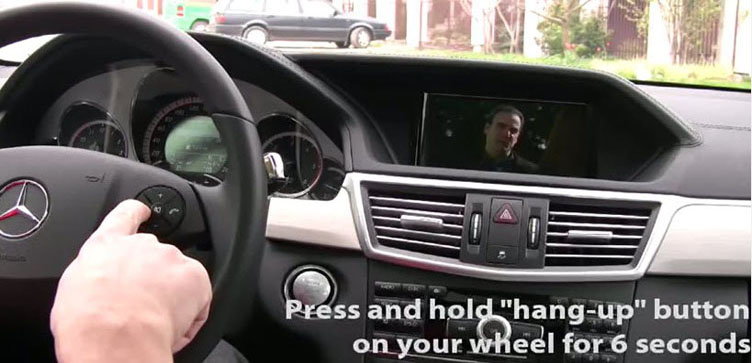
Figure 8. Press and hold the call button. 
Figure 9. Enjoy.
Featured Video - Installing VIM
Related Discussion
- DIY: Installing VIM - Mbworld.org